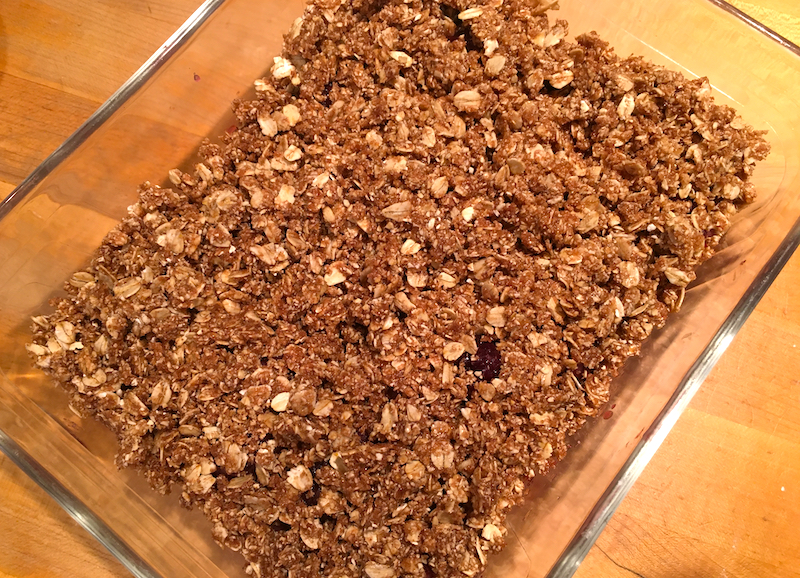
Brilliant Idea: Tortilla-Crusted Quiche!
It was one of those slap-me-upside-the-head moments. I was browsing through my Instagram feed and—what what what?—saw a quiche made, not with the usual pie crust, but…tortillas?
What?
Questions started running across my brain-pan, like: How does that work? Won't it leak and make a huge mess? This is brilliant, but…what?
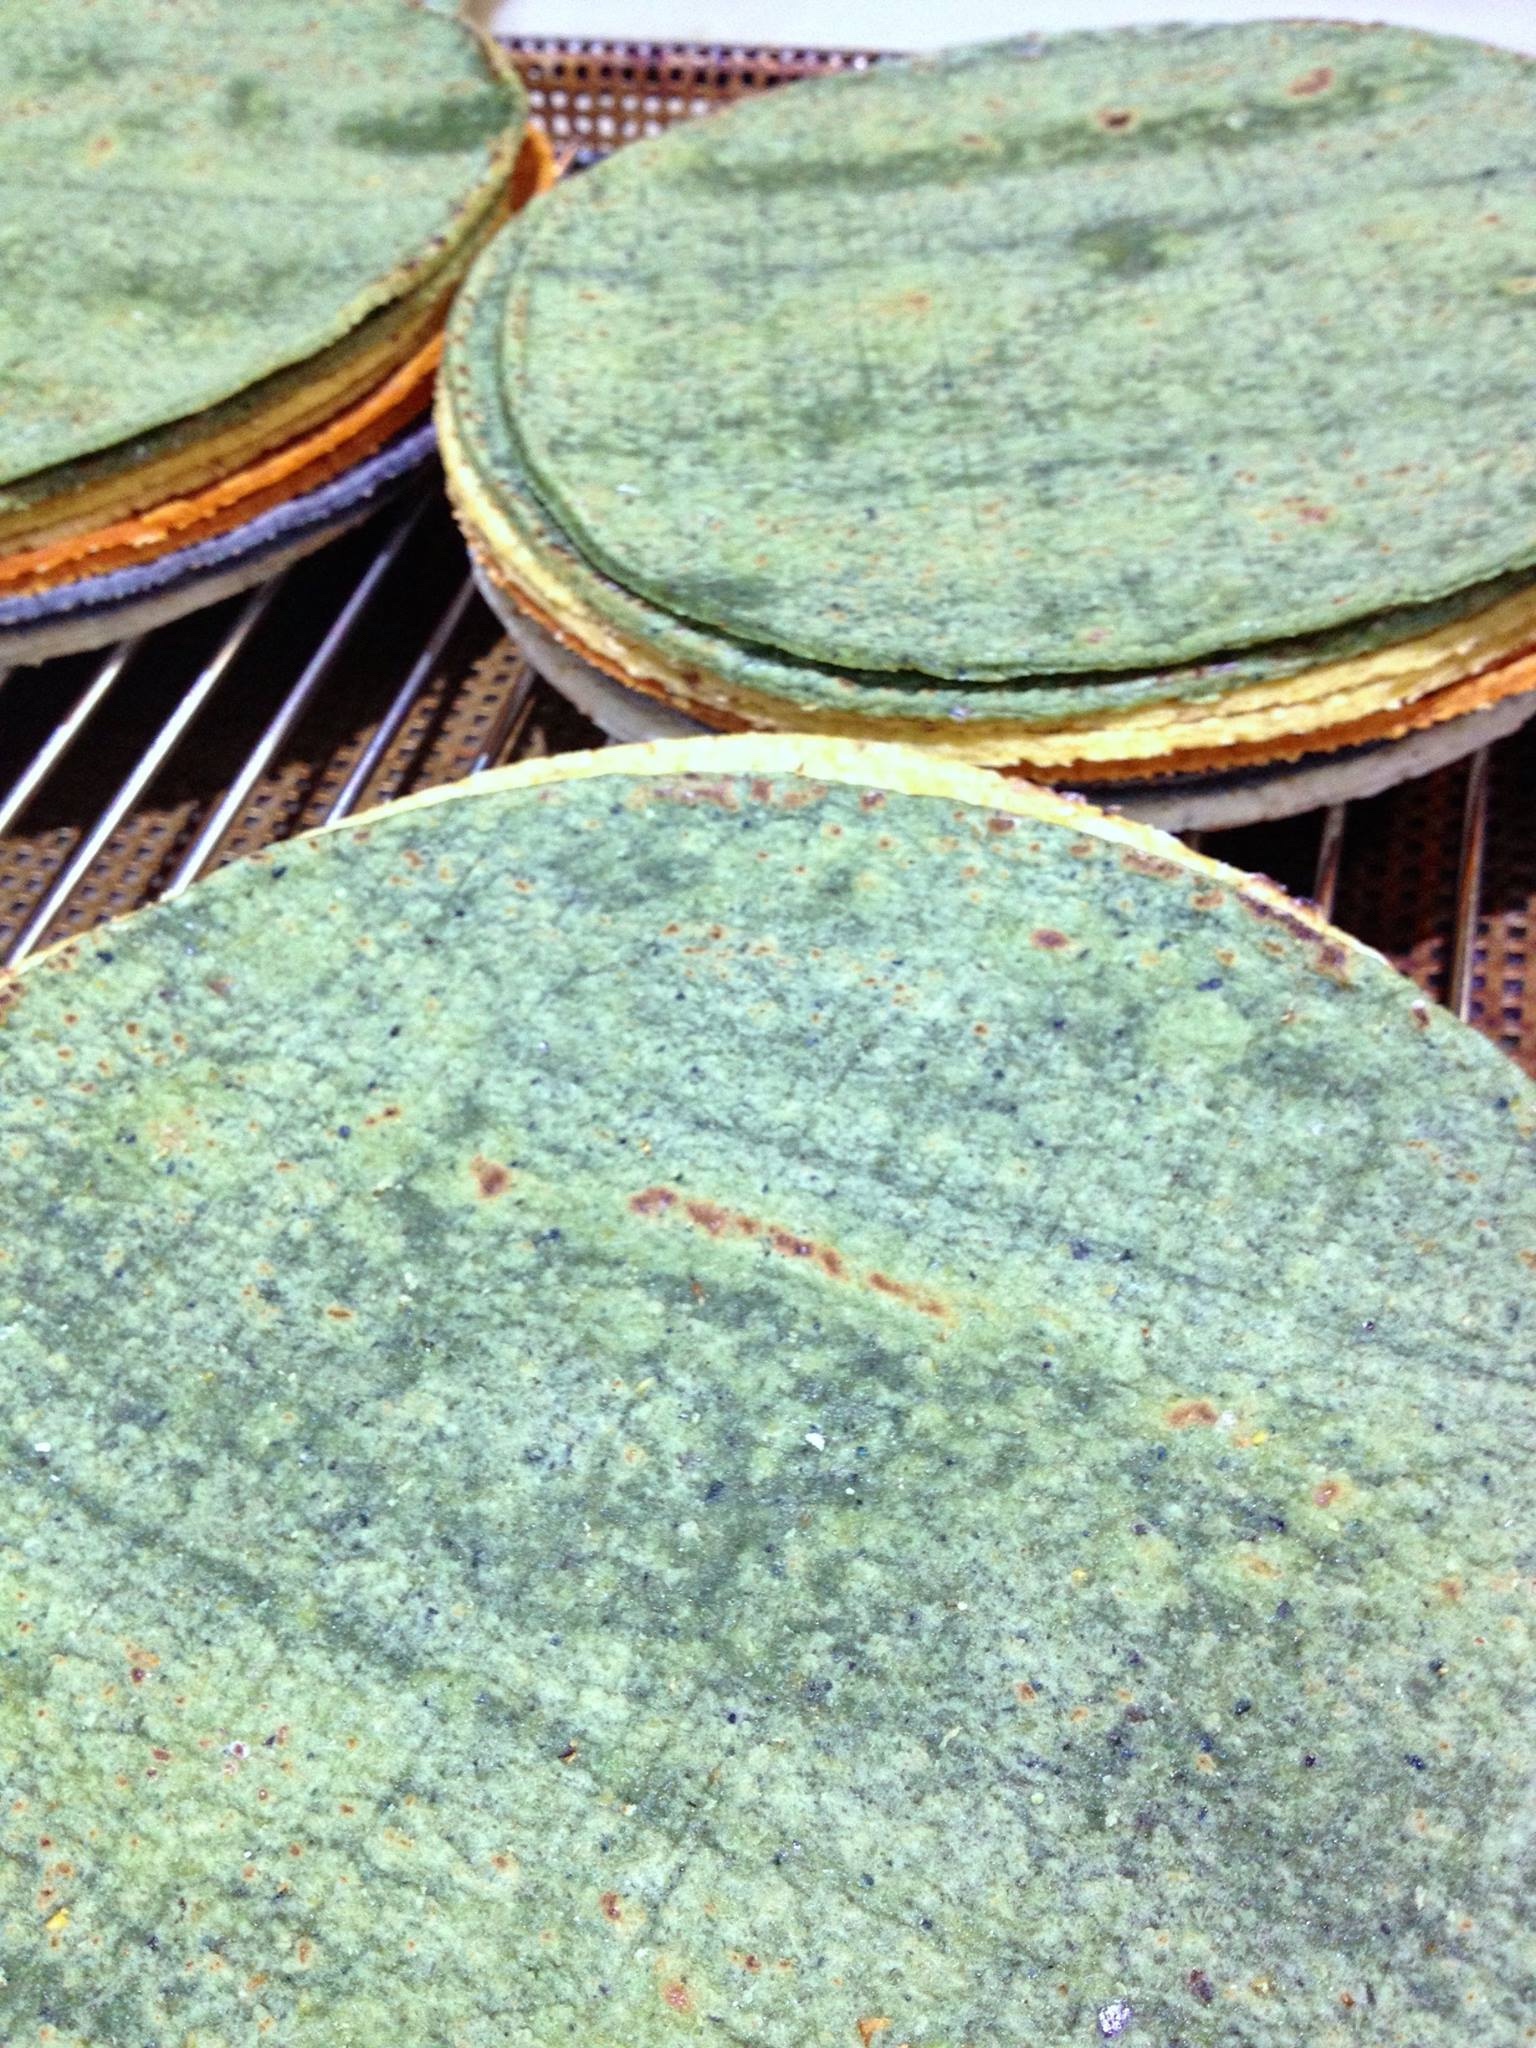
organic corn tortillas.
Then it was: Oh, man, if this works I can make quiche every week! (Most of the time I'm more or less a last-minute meal-maker, so the idea of making up dough, putting it in the fridge for AN HOUR, then rolling it out, putting it in the freezer for ten minutes then blind-baking it…that's work!)
But since this particular Instagram feed was from my friend Susana at Portland's Culinary Workshop, I knew it was not to be dismissed lightly. And because I'm a huge fan of Three Sisters Nixtamal's amazing organic tortillas, we always have a pack or two in the freezer for a throw-together taco night.
So guess what we had for dinner that night?
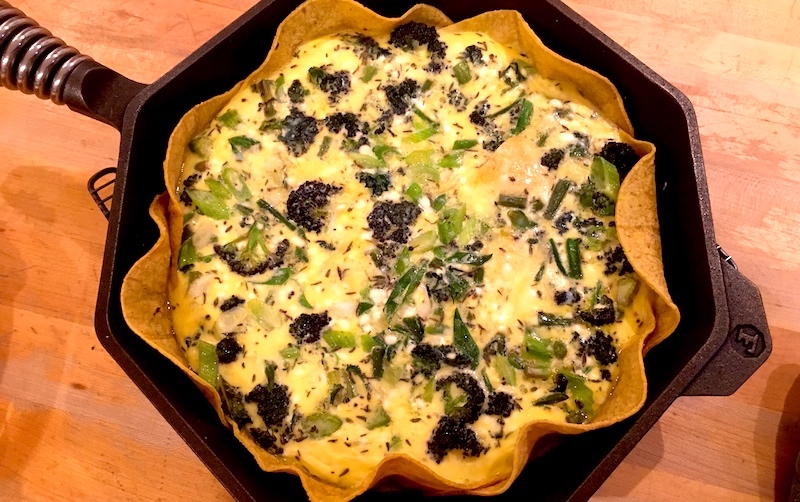
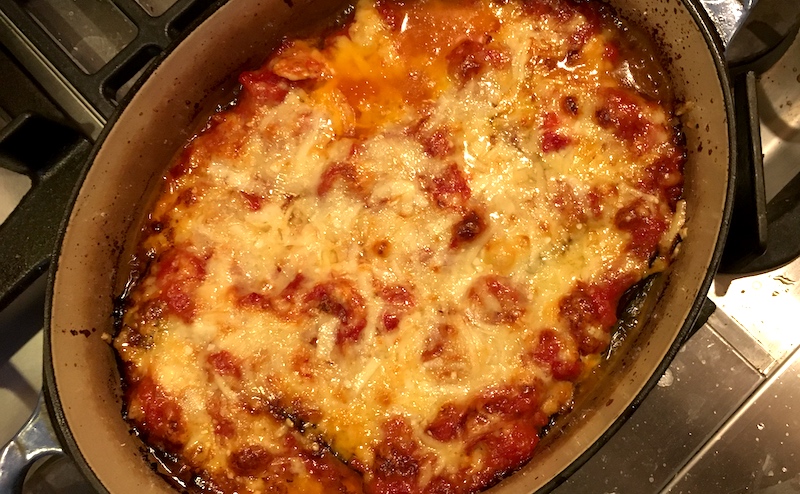
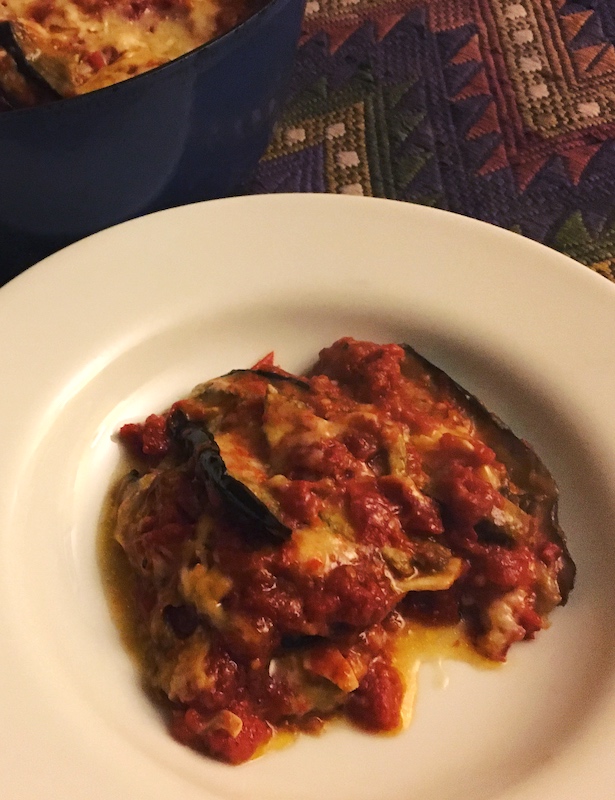
Eggs? Check. Veg? Yep. Cheese? Duh! I even threw in some leftover sour cream that had been sitting since our last taco night. And for you doubters, the tortillas held the mixture like champs, the bottom crusty and the edges crispy.
The corn tortillas, of course, make it ideal for a south-of-the-border treatment with a mix of lightly sautéed onion and chopped poblano and serrano peppers, but they also complement a primavera treatment with purple sprouting broccoli or broccolini, green onions, green garlic, chives and other spring lovelies thrown in. Some chopped avocados and salsa on the side with a dollop of sour cream? Never a bad idea.
As the old commercial used to say: "Try it. You'll like it!"
Tortilla-Crusted Quiche
2 Tbsp. vegetable oil
1/2 onion, chopped fine
3 cloves garlic, minced
3 c. chopped vegetables
6 eggs
Chopped fresh herbs like chives, tarragon, parsley, etc. (optional)
1/2 c. sour cream
1 tsp. salt
6-8 corn tortillas, warmed
2 1/2 c. grated cheddar
Preheat oven to 350°.
Heat oil in medium-sized skillet. When it shimmers, add chopped onion and sauté until tender. Add garlic and remaining chopped vegetables—can be anything from your veg bin such as kale, broccoli, raab, leeks, peppers, green onions, whatever—and sauté briefly until slightly tender but still a little crunchy. Remove from heat and set aside.
Break eggs into medium-sized mixing bowl and beat them to combine. Whisk in herbs, sour cream and salt. Set aside.
In a large skillet, pie pan or baking dish, place one warmed tortilla in the center of the dish and then fan out the remaining tortillas around the edges, making sure they overlap with no breaks between them (don't worry about the very top edges that'll stick up above the egg mixture). The number of tortillas can vary depending on the size of your baking dish.
Take 2 cups of cheddar and scatter it evenly on the bottom of the quiche. Top with sautéed vegetables. Pour egg mixture over the top, making sure it covers the bottom of the pan. Scatter remaining half cup of cheddar over the top.
Place in oven for 25 minutes or until set. If you want the top browned, take the quiche out of the oven, set the broiler on high and put the quiche under the broiler very briefly (watch it closely!) until lightly browned.
Allow to cool slightly, slice into wedges and serve.
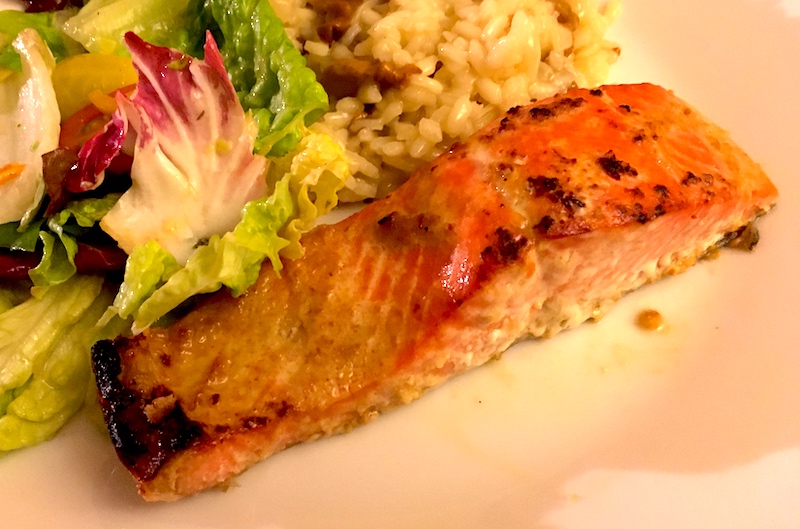
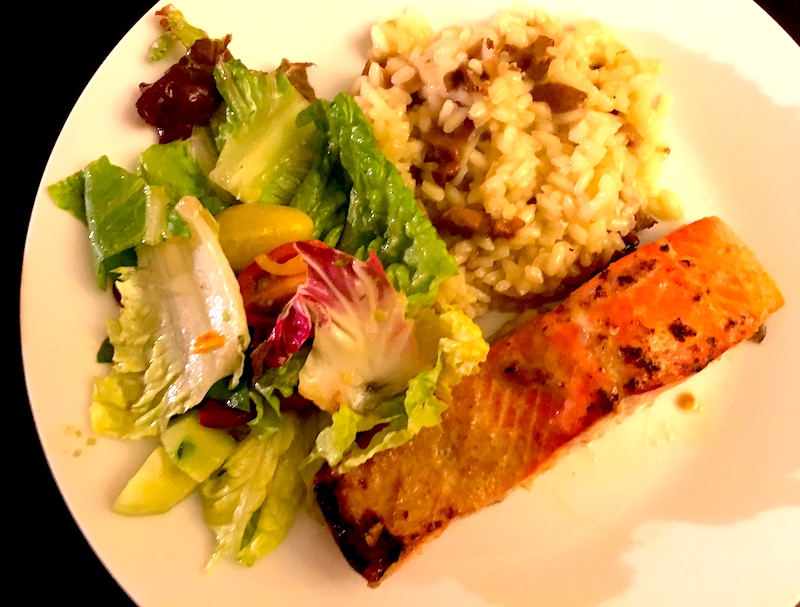 So now's the time to go to the freezer and haul out one of those sides of salmon
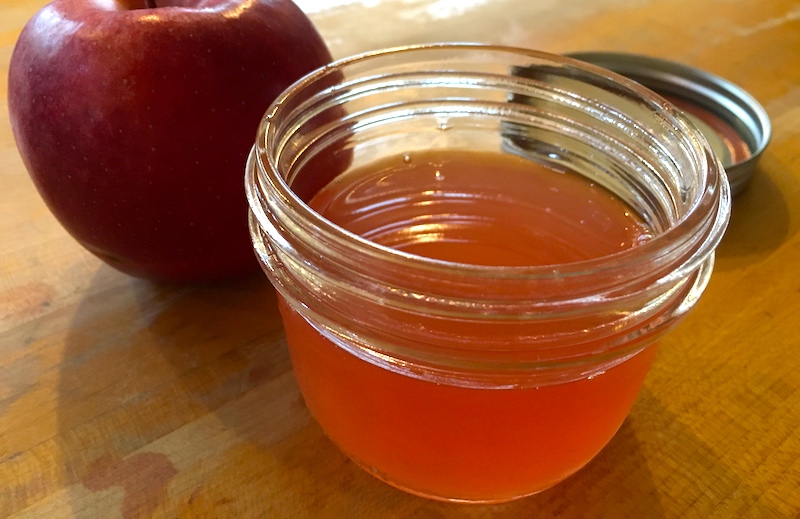
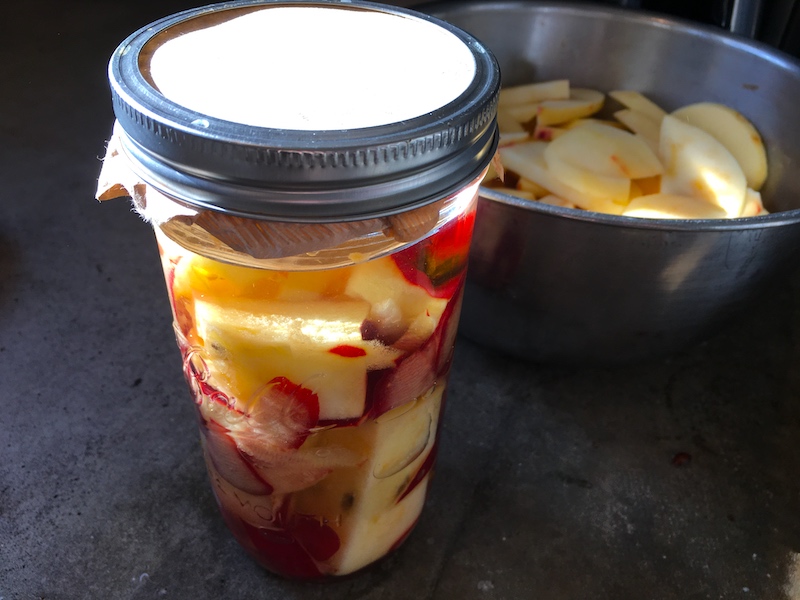 Looking up a few vinegar how-to websites made it even more of a slap-myself moment.

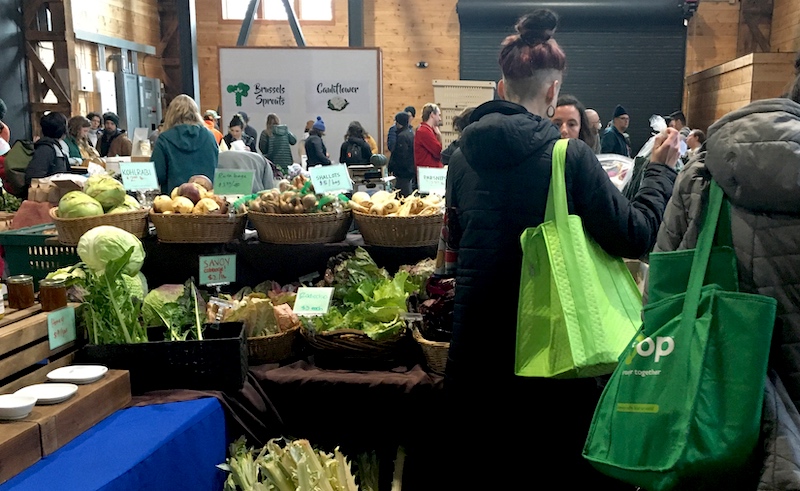


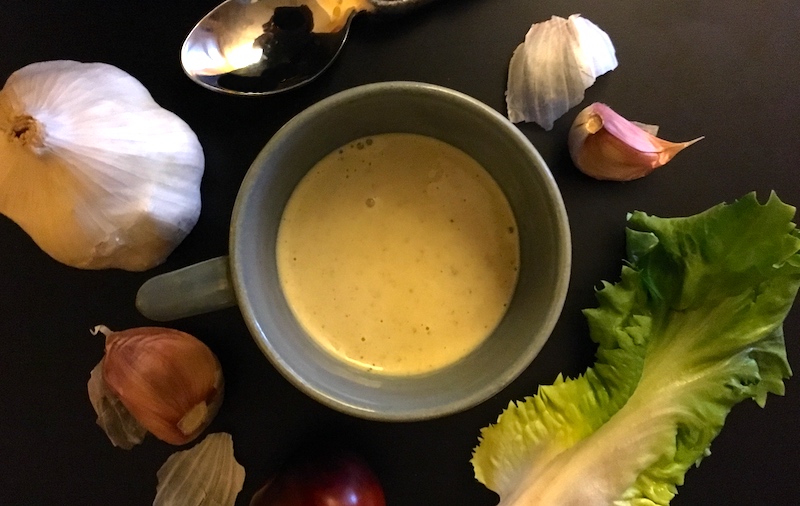
 So when I've got some sturdy heads of romaine, escarole or chicories that can stand up to heftier dressings, my thoughts turn to Caesar dressings loaded with anchovy or, lately, miso mixed with mayonnaise (hey Mom!), studded with garlic and a dollop of mustard.