Fun with Paper Bags: Snowflakes and Stars for the Holidays (or Any Day)
The sudden winter storms that seem to have taken over most of the country right before the Christmas holiday have folks sheltering in place, eschewing the usual frenzy of shopping for gifts and ingredients for meals that precede this holiday.
So what's a trapped-in-the-house parent/host/please-anything-other-than-housework human to do?
 My friend Lisa Belt, proprietor of Flour Market bakery on Killingsworth (and mad crafter to boot), introduced me to these stellar snowflake stars. She recently gave a tutorial to the kids and adults at a "Crafternoon" event she hosted at the bakery and they were an instant hit.
Made with small paper lunch bags, they’re totally simple and as easy as those paper snowflakes of yore that my mother would pull out of her bag of parental tricks when she wanted to get some work done (or just needed a break from her three overly excited offspring, particularly around the holidays).
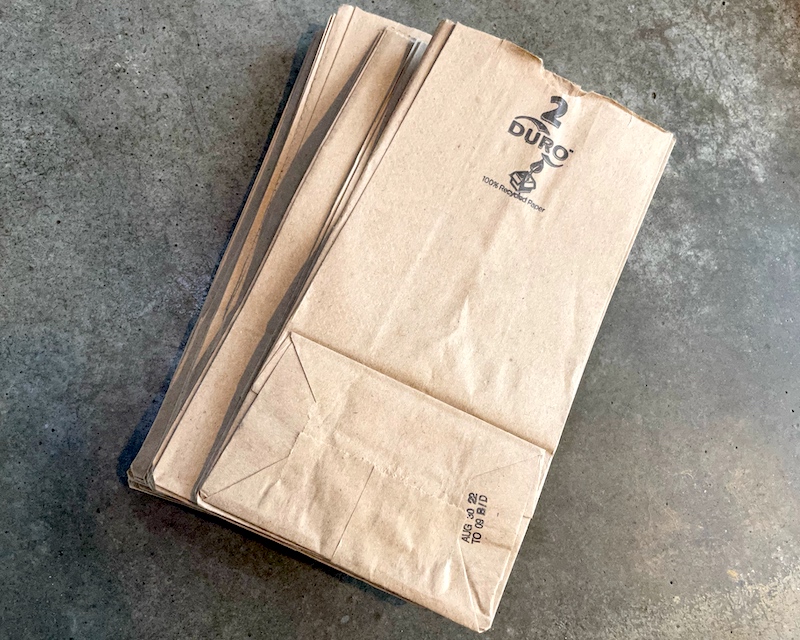
 You'll need eight paper bags—the white ones are particularly attractive, I think—glue sticks or a bottle of good old Elmer's, and a pair of scissors. (Glue sticks are better if you’ve got young ones…they dry faster and are easier to handle for small fingers and won't drip all over everything.)
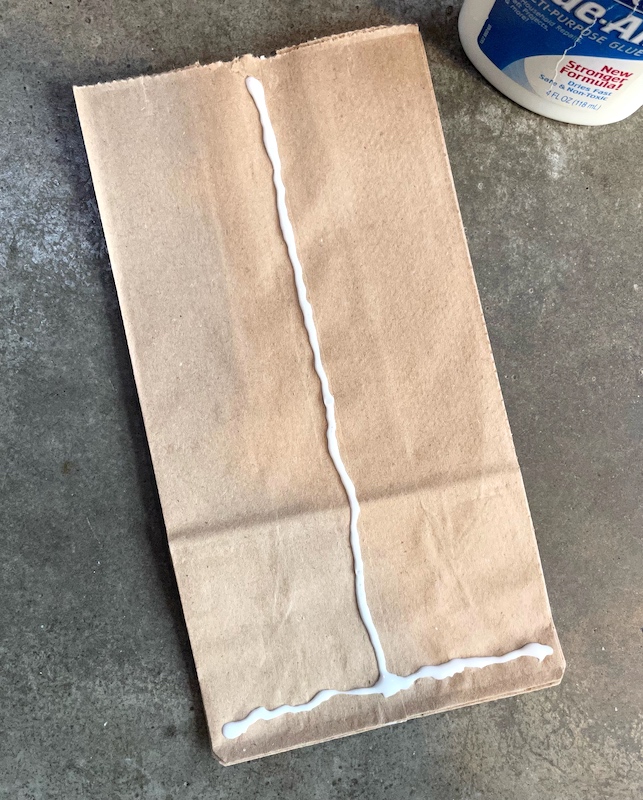
All you need to do is make a line of glue down the center of the back of the bag (the side without the bottom flap) and another line across the bottom (photo, right). Then place another bag, flap-side down, on top of that and repeat the same lines of glue as the first bag. Repeat this with the remaining bags (keeping the top one unglued) and allow to dry.
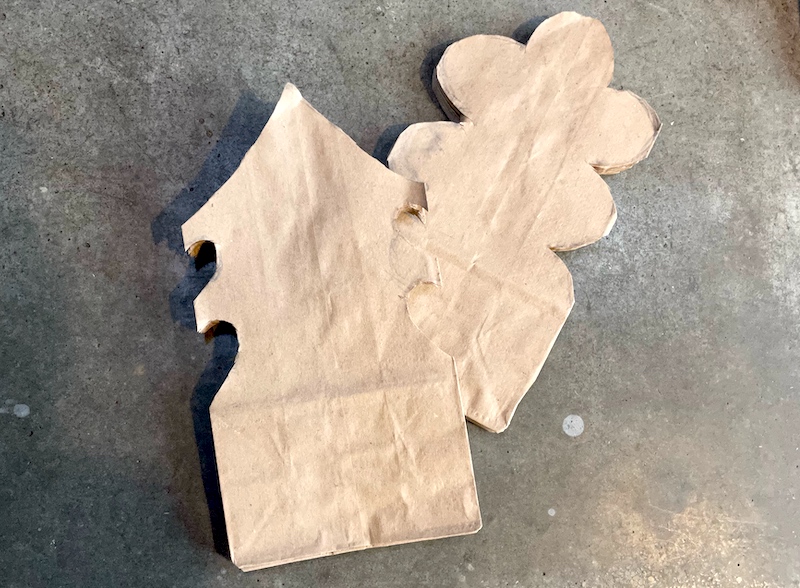 If you remember cutting out snowflakes from folded pieces of paper, this is exactly the same thing. Lisa says making a rounded or pointed design at the top of the bag is prettier, but you'll for sure want to cut some shapes out of the sides, keeping at least 1/4" of the folds between shapes. Don't cut into the flap section, though, since that holds the center together.
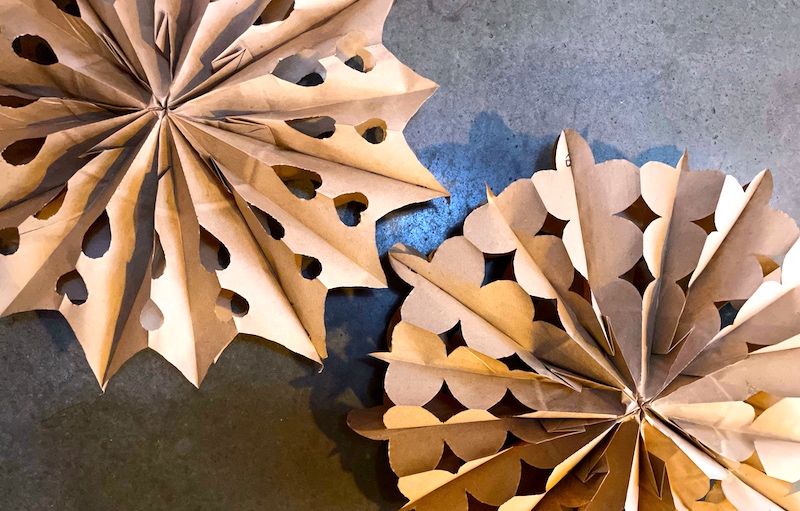
When the glue has dried and your shapes are cut, open the star by gently pulling the outside bags around to meet each other. You can either glue these together to hold the star open permanently, or punch a hole near the top and make a loop to hang it from—this also make it easier to untie and store it flat for next time. (Completely confused? There's a video here.)
Leave it plain or decorate with paints, sparkles or whatnot and hang wherever!