Never Too Much of a Good Thing: Pickled Shallots
Recently I found my kitchen counter awash in shallots. They'd been slowly collecting there, nestled amongst the onions and garlic, sitting innocuously on the counter in a brightly colored bowl I brought back from Mexico many decades ago. Our CSA subscription with Stoneboat Farm yielded many shallots this past winter, but, honestly, I'm just not used to incorporating them into our everyday recipes the way I do with their more common relatives in the allium family.
So there they collected until one day they were practically spilling out onto the counter. But what to do witht them? I was at a loss until I ran across a recipe from the brilliant Andrea Nguyen for pickling them. She called for a brine using white vinegar, but I like the subtlety of rice vinegar with its gentler tang. And another writer suggested separating the bulbs into petals rather than leaving them whole. Perfect!
Until 2010 shallots—from the French eschalotte, by way of eschaloigne, from the Latin Ascalonia caepa or Ascalonian onion, a namesake of the ancient city of Ascalon, according to Wikipedia—were classified as a separate species from the common onion, but that year someone in a position to make such a momentous decision declared it was too small a difference to have its own taxonomic distinction, and shallots were brought into the larger allium family, joining their relatives garlic, scallions, leeks, chives and the Chinese onion.
Like any pickled thing, they're a bright addition to sandwiches, burgers and tacos, but can also be chopped and incorporated into salad dressings and grain salads, as well as being a feature on charcuterie boards and antipasti platters.
Pickled Shallots
10 oz. shallots (peeled, tops and root ends removed)
1 1/2 c. rice vinegar (unseasoned)
1/2 c. water
3 Tbsp. salt
3/4 c. sugar
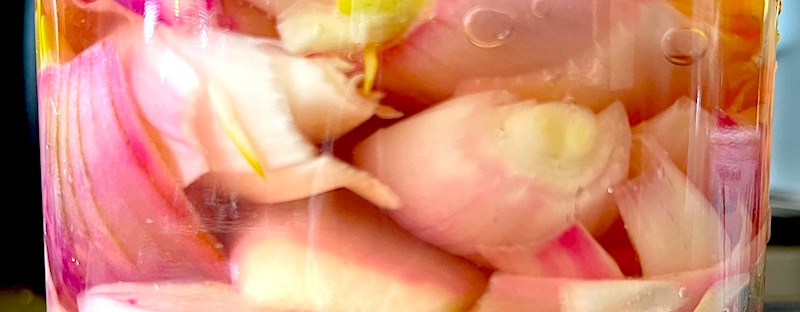
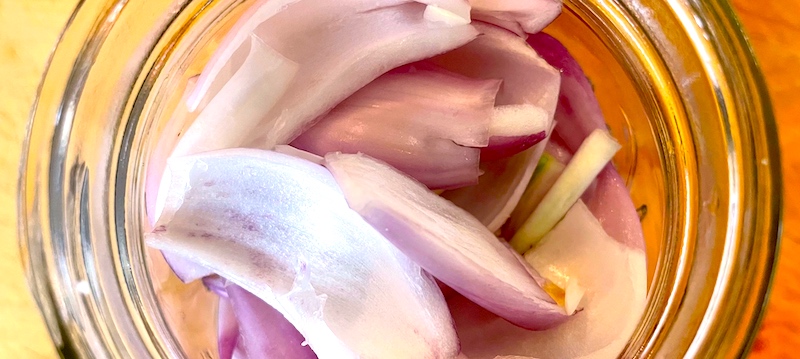
Separate shallots into cloves. Halve smaller shallots or quarter larger ones and separate layers into petals. Gently pack petals into wide-mouth quart jar.
In a small saucepan over medium-high heat, combine rice vinegar, water, salt and sugar and bring to a boil, stirring to dissolve salt and sugar. When it comes to a boil, pour over shallots, filling to 1/2” from rim. Place a fermentation weight (or other weight) over the shallots to keep them submerged.
Let the jar of shallots sit on counter until completely cool. Place in refrigerator and refrigerate for five days. Shallots should then be ready to incorporate into dressings, salads, hamburgers, tacos, platters of antipasti, etc. When the shallots are gone, save the brine and incorporate it into your favorite spring salad dressings!


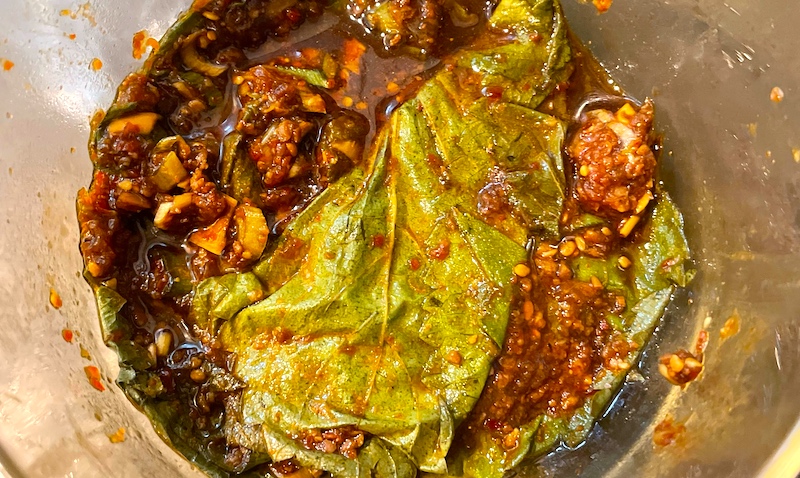
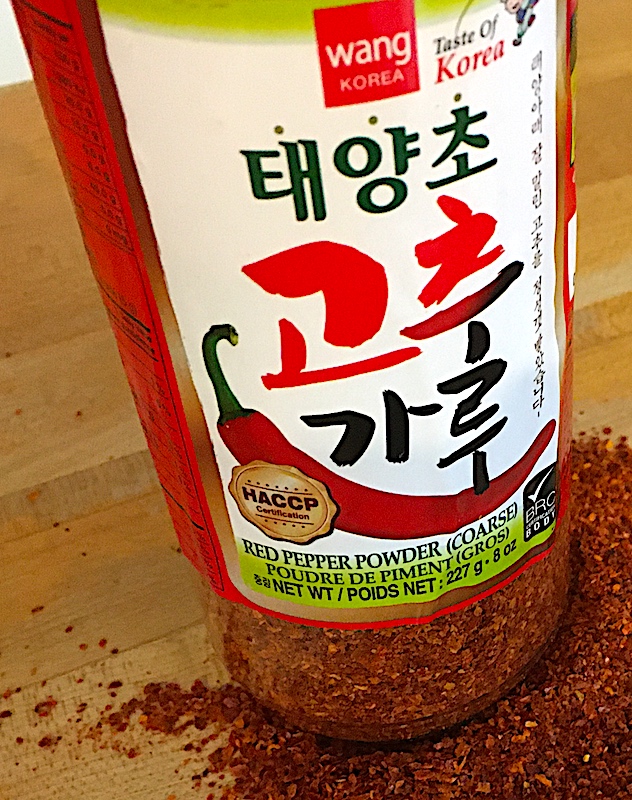
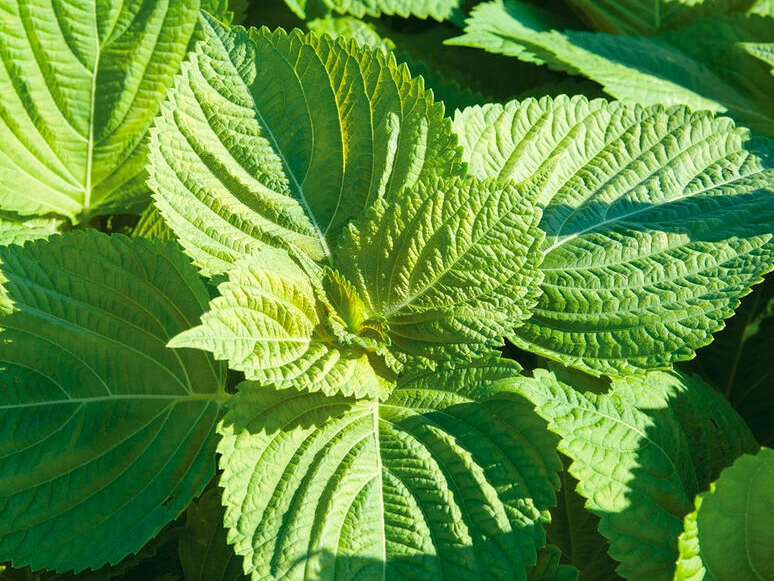 It's made using shiso leaves, halfway between a leafy green and an herb that the New York Times described as "a mysterious, bright taste that reminds people of mint, basil, tarragon, cilantro, cinnamon, anise or the smell of a mountain meadow after a rainstorm." (Ooooookay…?) I'd say it's flavor is on the same spectrum as cilantro: definitely pungent, with a slightly minty twang. Shiso is, for me, a little strong to use in a salad, for instance, but the process of fermentation and the other ingredients in the brine—soy, ginger, garlic and the Korean ground peppers called gochugaru—seem to tame its somewhat, shall we say, overpowering personality.
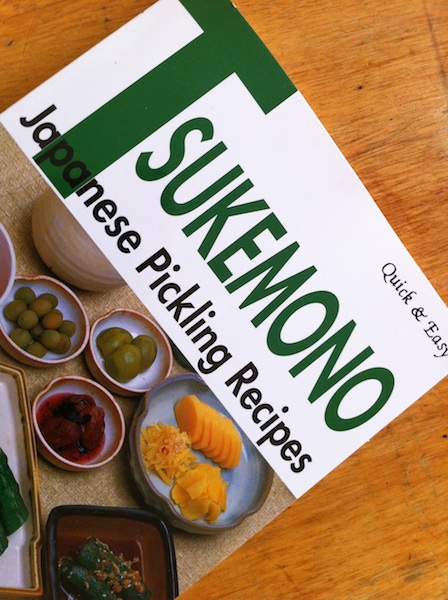 The recipe is adapted from a book I absolutely love,