Ikoi No Kai: Preserving Culinary Traditions, Nourishing Community
"Kai means group or association, Ikoi is someplace where people can feel comfortable and get together, like a shelter. I think this is a perfect name for it because it is a place where people can really be themselves and feel comfortable and absorb all of the good vibes that everybody around them is giving them." - Reverend Eisei Ikenaga*
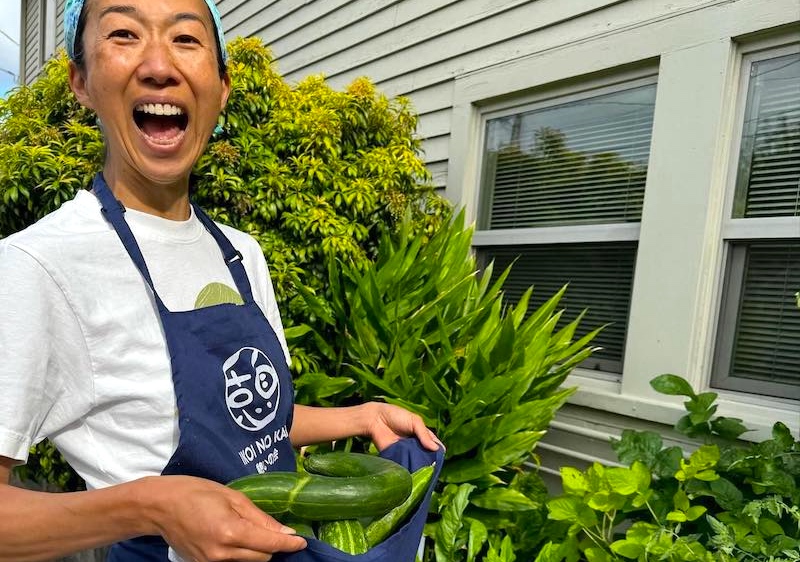
For 45 years, Ikoi no Kai has been cooking and serving culturally appropriate meals to Portland's second and third-generation Japanese Americans from the basement of a Southeast Portland church, and providing a safe, welcoming space for the community to gather, laugh and share news over familiar, comforting food.
Thanks to the work of a small army of volunteer chefs, cooks and servers, Ikoi no Kai provides hearty mid-day meals four days a week, and once a month delivers fresh-cooked meals to homebound seniors. Most of the ingredients for those meals have come from donations from local farms and businesses like Troutdale's Mora Mora Farm and Fujii Farms, Kasama Farm in Hood River, and Umi Organic and Jorinji Miso in Portland.
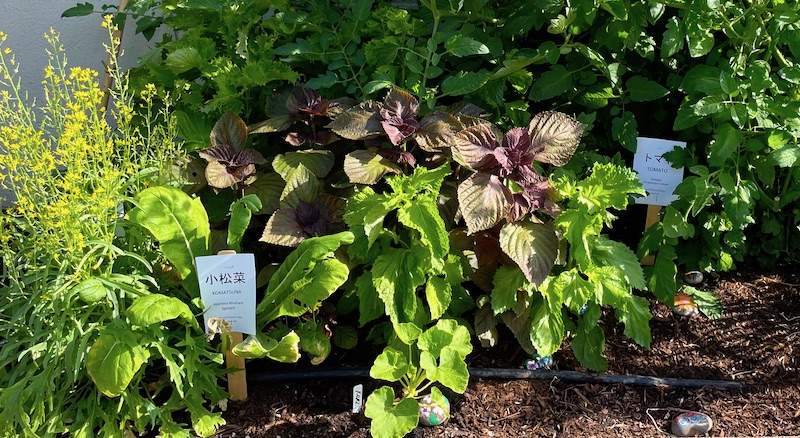
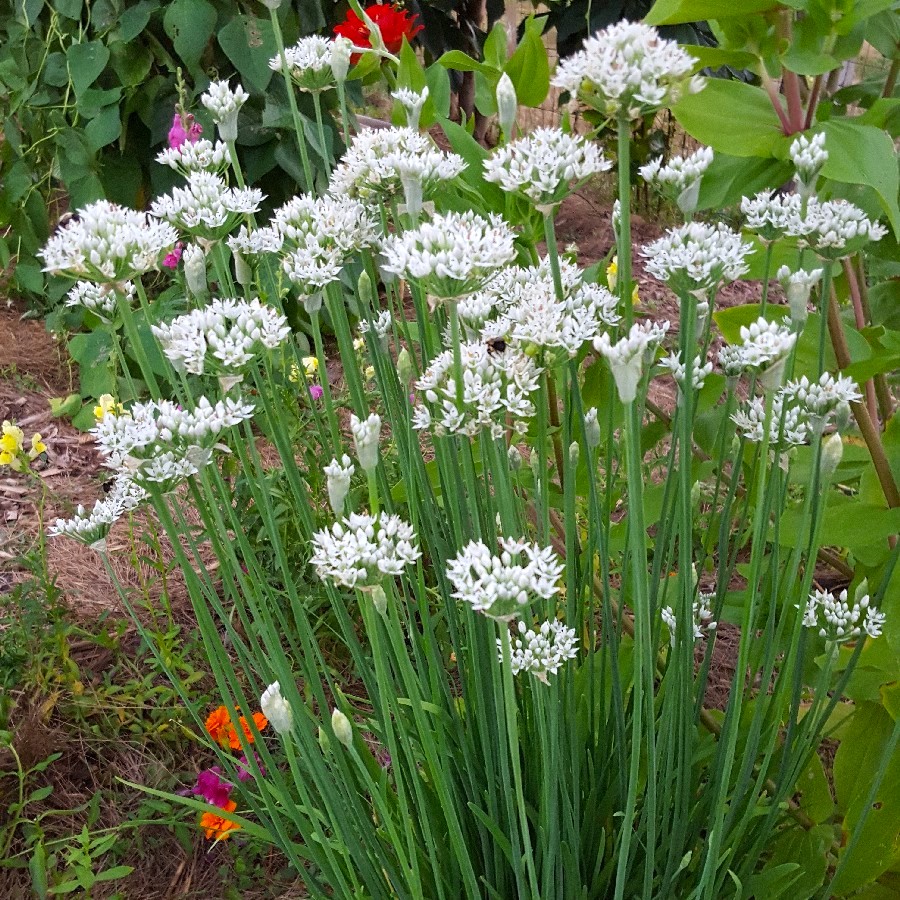
This summer, some of the eggplant in the Eggplant with Pork and Miso Sauce or the vegetables in the Chilled Udon with Tempura Vegetables served to customers might come from the onsite heritage vegetable garden stocked with culturally significant vegetables like mizuna, adzuki, ginger, komatsuna, shiso, eggplant and cucumbers. Begun by Program Director Jeannine Shinoda, it originally functioned as a display garden and educational tool. Now in its third growing season, it has become a kitchen garden for the lunch program, with seed and seedlings provided by East Multnomah Soil and Water Conservation District, donations from local farms, and an irrigation system provided by Mora Mora Farm.
Shinoda has also greatly expanded Ikoi no Kai's social media presence—you can follow them on Instagram and Facebook—and has begun working with local businesses like Jorinji Miso to hold pop-ups showcasing its products in the lunch program and teaching classes on making miso and koji at home. She is also currently working with the Japanese American Museum of Oregon on an exhibit showcasing the 45-year history of the program that will debut this fall.

If you want to see this unique program in action, visitors are welcome to attend the community lunches—one fan called it "the best unknown restaurant in town." You can check out the menu here and make a reservation by e-mail or call 503-238-0775. You can also catch the Food That Connects interviews Shinoda recorded with members of Portland's Japanese American community (scroll down to "Food That Connects" section).
* From "Ikoi no Kai: Food That Connects," a Metro Community Placemaking grant to record oral histories of members of Portland's Japanese community.
Top photo from the Ikoi no Kai Facebook page. Others are from a visit to the program.
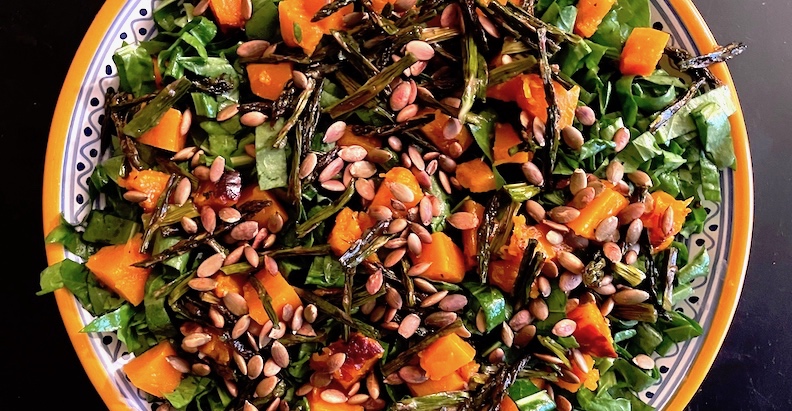
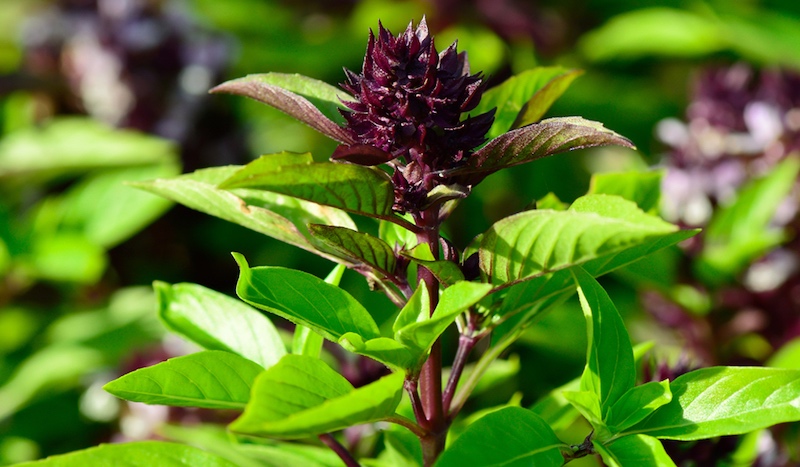
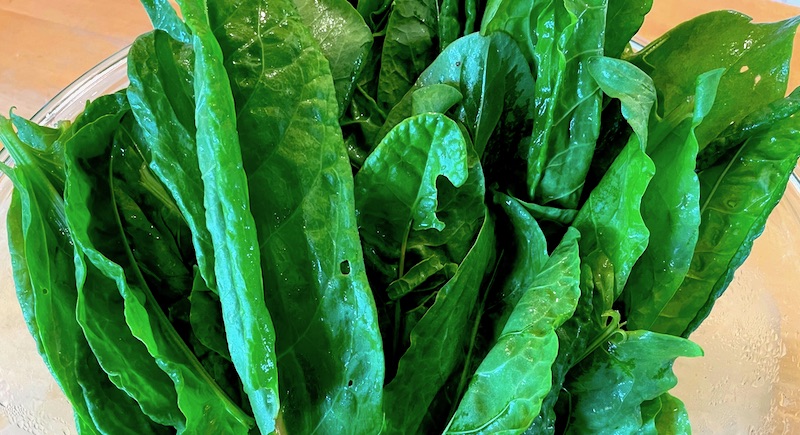 Chopping a few leaves into a salad was okay, but adding much more than four or five leaves, and their tangy, citrus-y bite overwhelmed the pleasant sweetness of the other greens. A pesto using half sorrel and half of another herb like spinach or parsley or basil worked, pepping up its flavor and giving it a lively greenness. But any of the above only used a smidgen of what the prolific plants were producing.
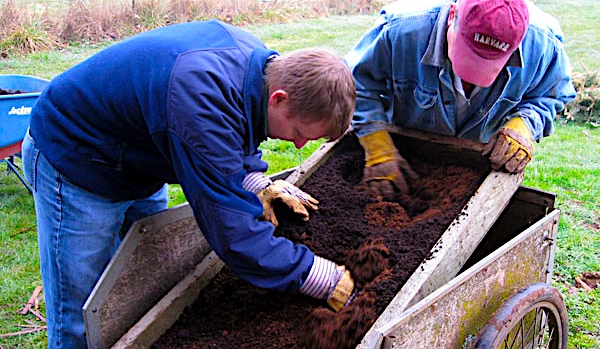
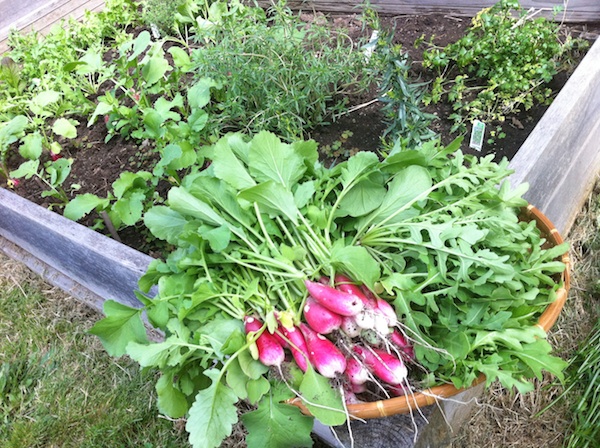

 This, of course, necessitated getting out the computer and
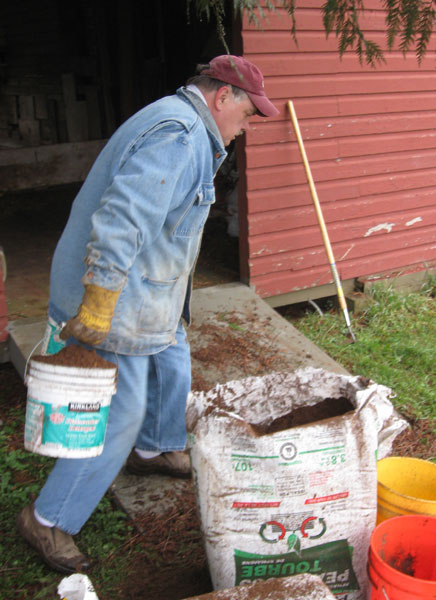
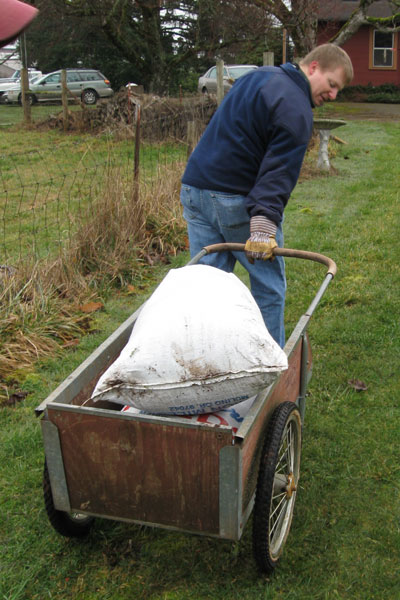
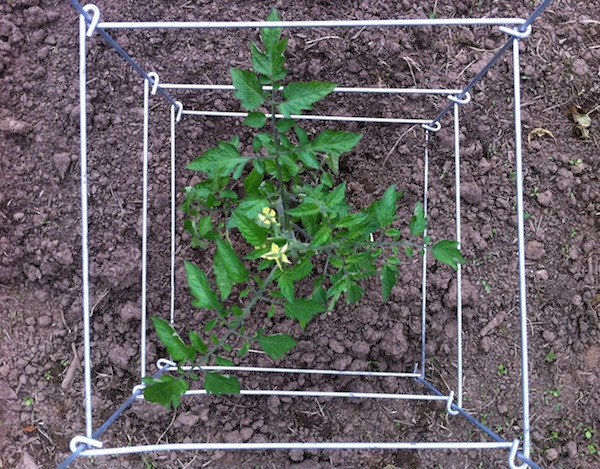
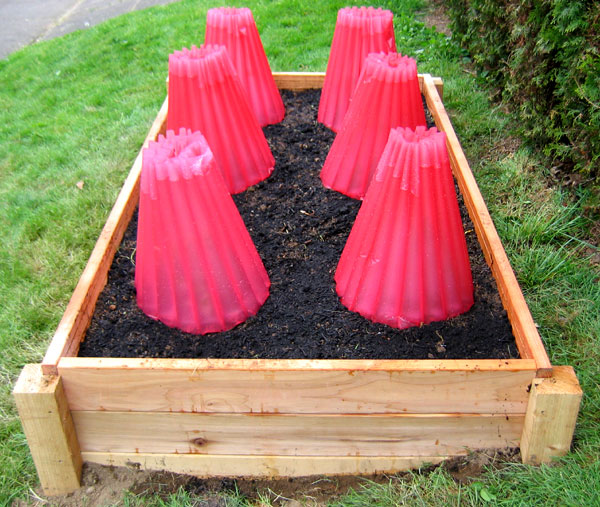
 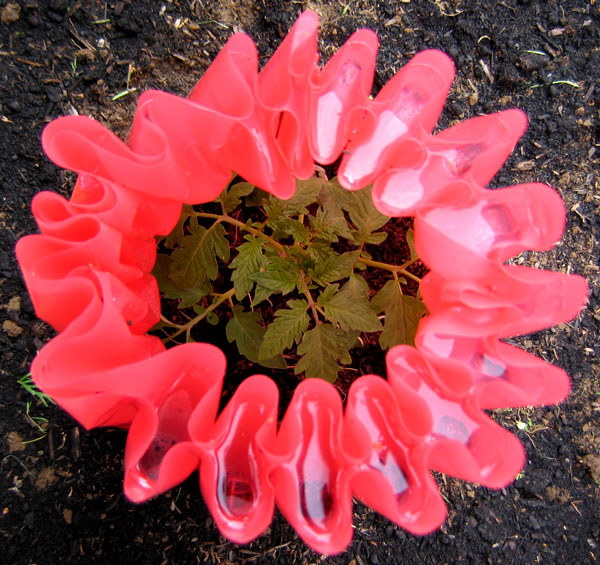 We had to wait a week or so for the weather and our schedules to clear, then we dug up the lawn, put the frame together and hauled in multiple bags of compost and manure, a solid afternoon of hard work that was rewarded with a very dry martini and toasts to the eventual harvest. The next day I planted two Cherokee Purple tomatoes, a Brandywine, a Green Zebra, a Black Plum cherry and an Isis Candy cherry, then surrounded them with their red Wall O' Water tomato teepees. The bases were scattered with basil and arugula seeds and watered liberally.