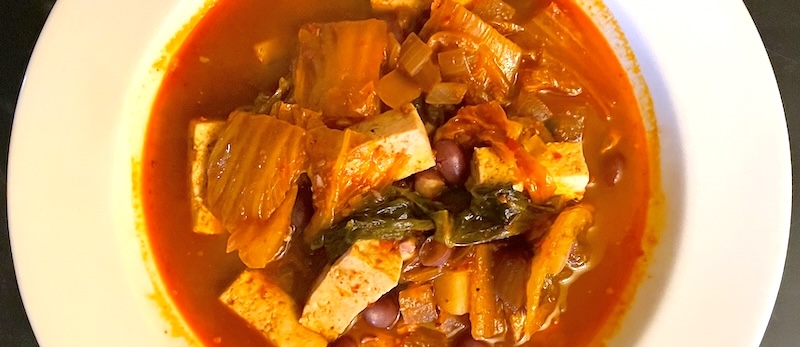
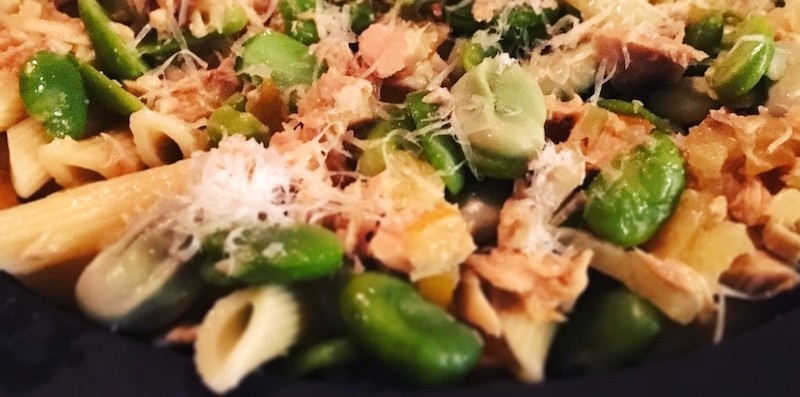
Easy Early Summer Stew: Kimchi Jjigae
In the Pacific Northwest, early summer and late spring can feel like fraternal twins. So much alike and yet, at the same time, so different. Just as you're ready to toss your hoodies and jeans into the bottom drawer of the dresser until you reluctantly dig them out again in the fall, a cool maritime front blows in from the coast causing the mercury to plummet 20 degrees.
In cases like that—and I'm not speaking hyperbolically, since today's 94 degrees is predicted to be a cool 75 tomorrow—it's wise to have a good soup recipe sequestered in your back pocket when the chillier of our early summer twins is in residence. Luckily for me, I found an extra jar of my favorite local kimchi hanging out in the back of the fridge (we're out of my homemade kimchi, a situation soon to be remedied in about a month when Napa cabbage is available at the farmers' market) along with a tub of local Ota tofu and just enough leftover roasted chicken to shred into it.
Oddly, in searching through recipes online, I came across one from Joanne Molinaro, aka The Korean Vegan, that called for black beans to be added to this most Korean of stews. Coincidentally I had just cooked up a big pot of those legumes and, since Joanne said it was okey-doke to add them, I did, though not only for the added fiber alone. Just two cups of beans added a pop of color and a bit of that bean-y texture that complemented the crunch of the fermented cabbage quite nicely. It might just be a combo I'll try in other dishes.
Kimchi Jjigae
1 Tbsp. sesame oil
2 Tbsp. gochugaru
1/2 c. diced onion
4 green onions, sliced crosswise into 1" pieces
3 cloves garlic, minced
1 medium-sized potato, chopped into 1/2" dice
2-3 c. Napa kimchi (cut into bite-sized pieces)
3 Tbsp. gochujang
2 Tbsp. soy sauce
1/2 c. water
4 c. stock (chicken or vegetable)
1 16-oz. block medium firm tofu, diced
2 c. cooked, drained black beans or 1 15-oz. can of black beans, drained
1-1 1/2 c. shredded chicken (optional)
Heat a Dutch oven or your favorite soup pot over medium heat, then add sesame oil until it shimmers. Add gochugaru and cook for about one minute, then add onion and sauté until onions begin to become translucent. Add green onions and garlic, stirring often to keep the gochugaru from sticking to the bottom of the pot.
Add potatoes, kimchi, and gochujang, stirring to combine. Add water and soy sauce, stir, then add stock. Bring to a boil, reduce heat to low and simmer for 20 minutes. Add sliced tofu, black beans and shredded chicken, if using, return stew to a boil, reduce heat and simmer for 15 minutes. Serve with jasmine rice. Garnish with toasted sesame seeds, roasted unsalted peanuts or more finely sliced green onions if desired.
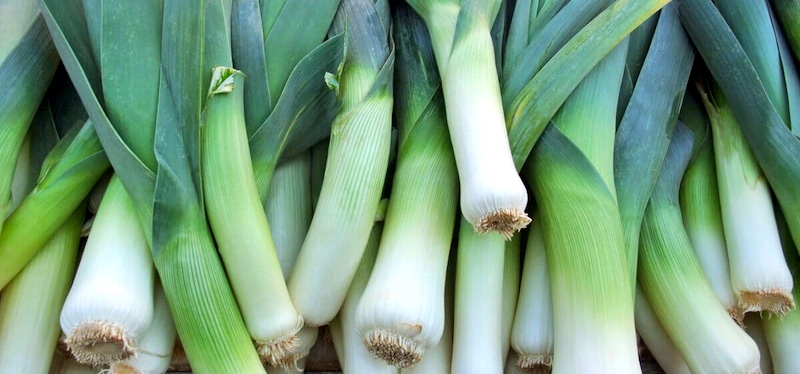
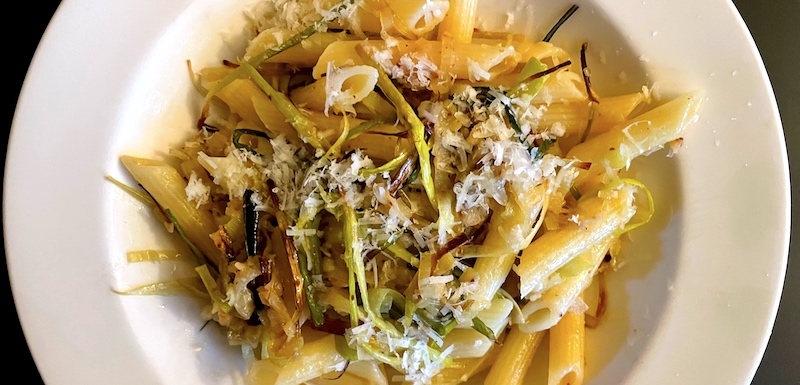 I am, though, a latecomer to the leek. While I love alliums of all sorts, leeks intimidated me with their baseball bat size and warnings about the need to clean them thoroughly, since their upright growth habit provides a perfect receptacle for splashes of spring mud.