Fermentation Fascination: Try It, You'll Like It, Guaranteed!

"Foods like yogurt, kimchi, sauerkraut and kombucha increased the diversity of gut microbes and led to lower levels of inflammation," according to an article in the New York Times describing a new study from researchers at Stanford University.

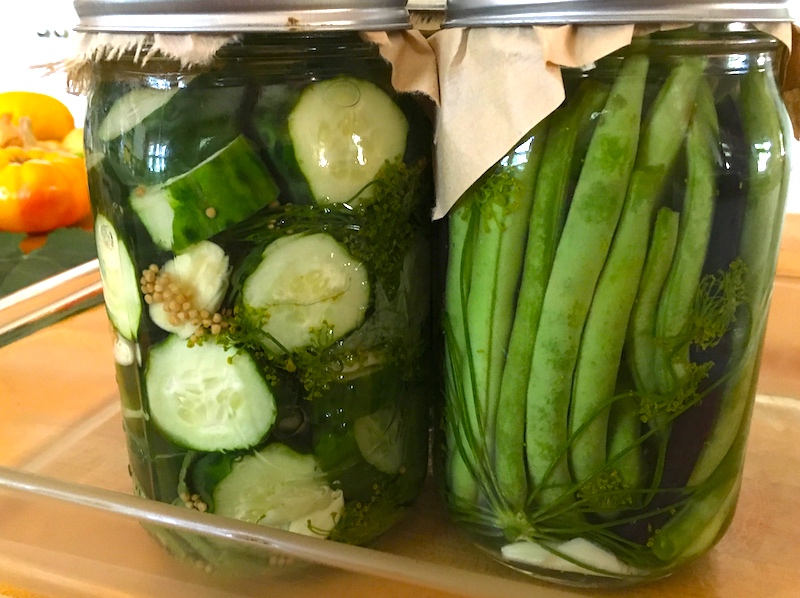
My summer, in a nutshell (or a pickle jar).

This is welcome news considering the pounds (and pounds) of cucumbers and beans I've been getting from our CSA this summer and turning into pickles. If you've read past posts about my methods for preserving the hundred-plus pounds of fabulous Astiana tomatoes from Ayers Creek Farm that I roast every summer, you'll know that I'm not big on huge messes or laborious processes.

Which is why pickling vegetables by lacto-fermentation is high on my list. First, it's ridiculously easy…all it takes is salt, water and time, often a week or less. You can use herbs to flavor it—I'm partial to traditional dill, garlic and mustard seeds for cukes and "dilly beans"—but plain is just fine, too. Second, it requires no special equipment, just a clean glass jar with a tight-fitting lid, and no cooking or heating, a godsend on hot summer days when fresh vegetables are cascading in from local farms. Third is the health aspect, outlined in the study linked above.

A paper coffee filter, a canning ring, and your pickles can "breathe"!

But really, I wouldn't bother with it if these pickles didn't taste great. Crunchy, briny without being overly tart, they have a freshness and snap that you don't get from water bath or pressure-canned methods. The only drawback to this method is that because the live bacteria hasn't been killed by cooking, these pickles aren't shelf-stable and will need to be refrigerated.

So far this summer I've made sauerkraut, the aforementioned cucumber pickles and dilly beans, and will soon be making a couple of quarts of Hank Shaw's sour corn to have with tacos, relishes and salads. After that, who knows? I'll definitely keep you posted!

Just click for recipes for sauerkraut, garlic dill pickles, quick refrigerator pickles, and Hank Shaw's Southern Sour Corn.

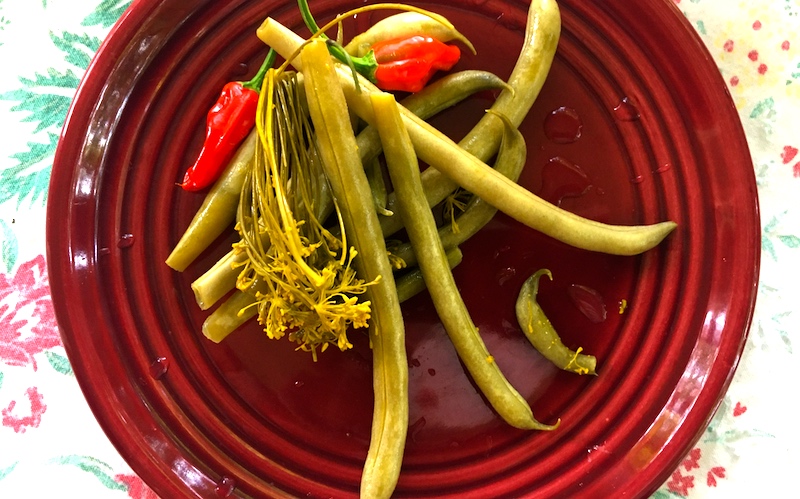
Lacto-Fermented Garlic "Dilly" Beans

2 clean wide-mouth quart jars
2 lbs. green beans
2 qts. water
6 Tbsp. sea salt
4 dill flower heads
1 head garlic, cloves separated and peeled

Make a 5 percent brine solution by adding the salt to the 2 quarts water in a saucepan or bowl. Stir until the salt dissolves completely.

Push one dill flower head into the bottom of the quart jar along with two cloves of garlic. Holding the jar on its side, start packing the beans into the jar along with half of the garlic cloves. The tighter the beans are packed, the less likely they'll be to float up to the surface during pickling. Make sure the beans stay 1" below the rim of the jar; if they're too long, simply snap them off.

When you can't jam any more beans into the jar, take a second dill flower head and push it into the upright beans, again trying to keep it 1" below the rim. Stir the brine to dissolve any remaining salt crystals and pour it into the jar of beans until it rises to 1/2" below the rim.

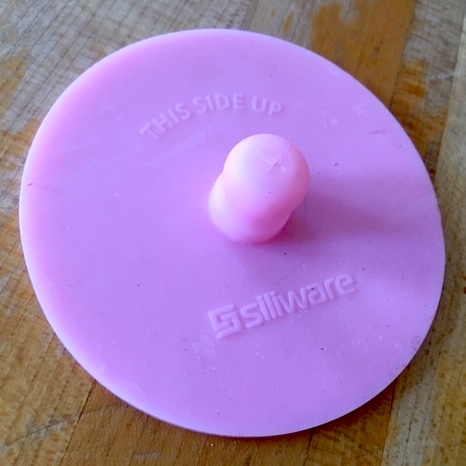
Pickle pipe airlock for pickling.

Place a lid on the jar and screw it down until it's finger-tight, then back it off about a half turn to give the bacteria room to "breathe" and for any brine to escape during pickling. You can also use a commercial pickle pipe secured with a canning ring for the same purpose, or simply take half a #4 or larger paper coffee filter, place it over the top of the jar and screw it down with a canning ring.

Repeat with second jar.

Place both jars on a plate or in a small baking dish to catch any liquid that escapes and keep them in a cool, dark place (like a basement) for several days. In a couple of days you will notice the brine getting cloudy, and it will have a distinctly vinegar-y smell. This means your brine is working! After five days you can test the beans to see if they're to your liking or leave them for another couple of days and they'll continue to get more pickled. (I usually leave them at least a week to 10 days.)

Because this method does not kill the (healthful, probiotic) live bacteria in the brine through processing in a water bath or pressure canner, the pickles are not shelf stable and must be stored in the refrigerator. If you used a pickle pipe or coffee filter for the pickling process, simply remove them and replace with a solid lid or canning lid and ring.

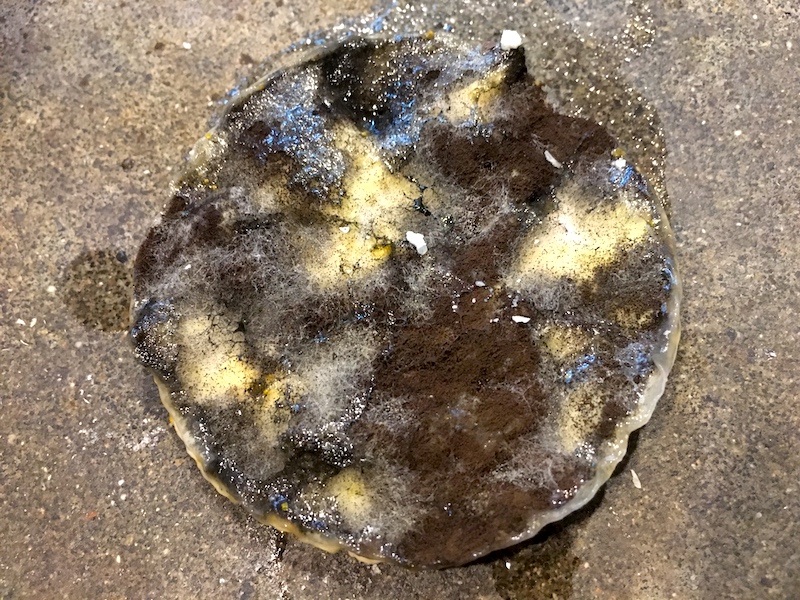
Don't panic if this is floating on your pickles. Just lift out and toss.

NOTE: When you open the jar you may see a spongy, grey mass floating on top of your pickles (photo, right). As Douglas Adams wrote in "The Hitchhiker's Guide to the Galaxy," DON'T PANIC. This is perfectly normal and your pickles are not affected.  The spongy mass can be easily lifted out and disposed of. Your pickles are good to go!

Fermentation Fascination: Garlic Dill Pickles

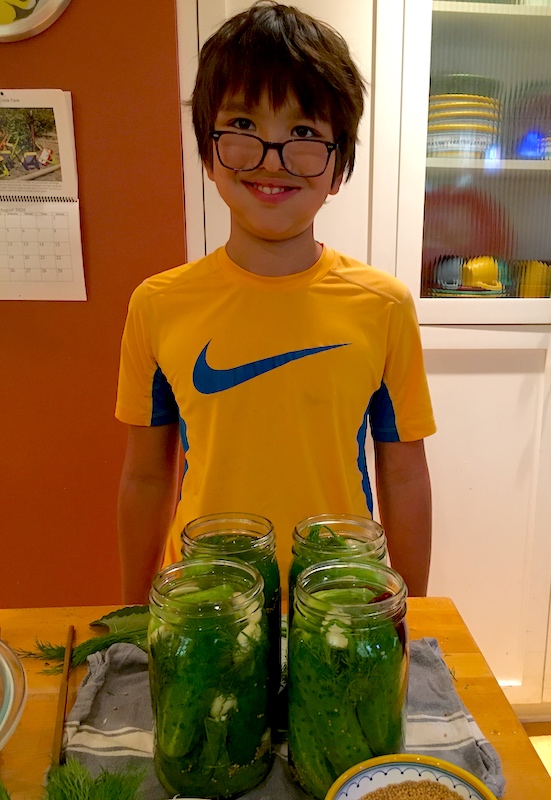
My 10-year-old nephew was coming over to spend the day, and while he's pretty low-maintenance—Legos and our vast collection of books, everything from Tintin to Narnia to Bulfinch's Mythology seem to keep him occupied—it's always fun to do a project together. That's when I noticed the bunch of cucumbers from my neighbor Bill that were needing to be used.

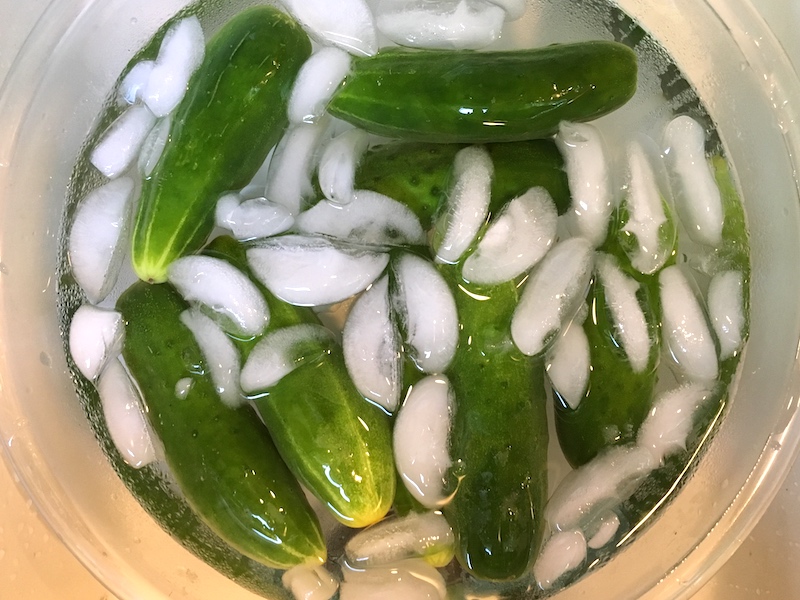
An ice bath helps firm up the cukes.

The cukes were the bumpy, prickly kind good for pickling, though they were larger than I normally think of for dill pickles and I was a little nervous about being able to jam them into the quart jars I had. But heck, there's a reason it's called a science experiment, so I washed the jars and stuck the cucumbers in an ice bath to firm them up.

When my  nephew arrived, we read the instructions for making pickles in the extremely informative and useful "The Art of Fermentation" by Sandor Ellix Katz, a tome suitable for fermentation nerds and newbs alike. As we let his words settle in, we walked around the corner to my neighbor's garden to pick grape leaves, which Katz recommends adding to the jars. Apparently the tannins they contain help to keep the pickles crisp, and with grape season in full swing there were plenty to choose from. (Katz also mentions that horseradish leaves, oak leaves, cherry leaves or other tannin-rich materials can do the same job.)

My able assistant was pleased!

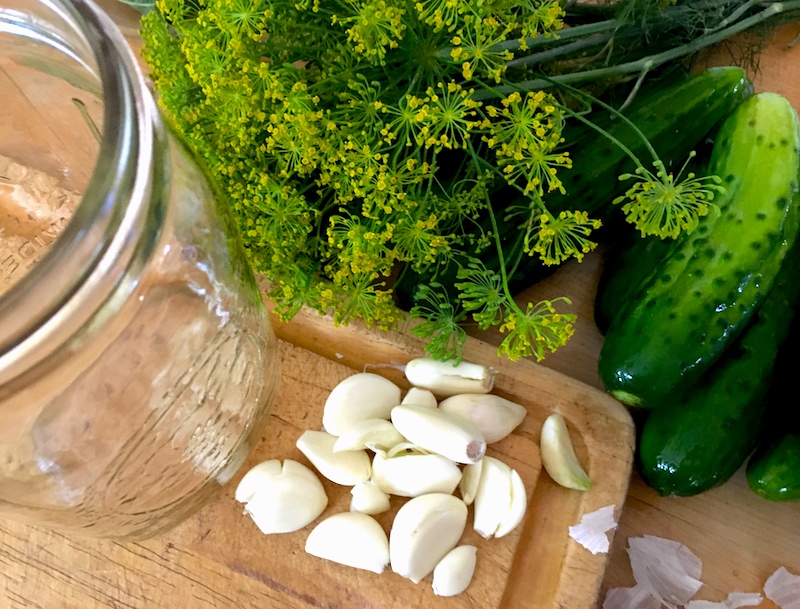
Back home with our leaves, we gathered the ingredients to add to the pickles, including fresh dill, garlic and peppercorns, plus mustard seeds and dried chiles from Ayers Creek Farm. We measured the salt into two quarts of water for the brine, and while my able assistant stirred it to dissolve the salt, I cracked the peppercorns and peeled the garlic.

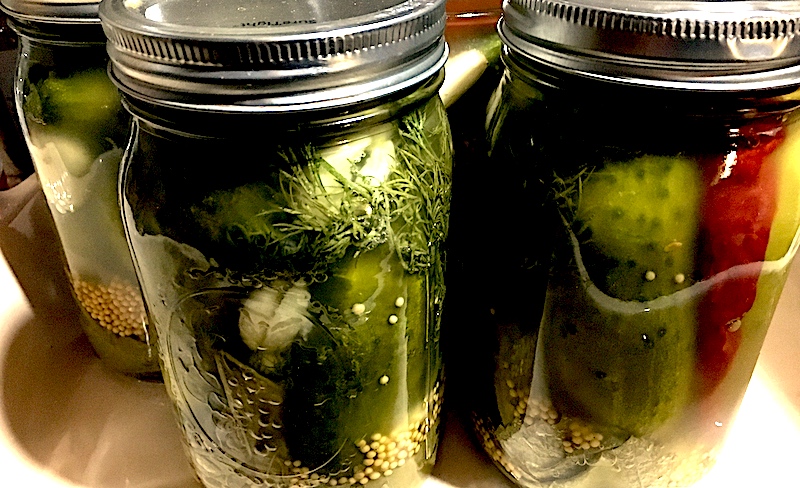
All that was left was to jam the cukes into the jars with whatever struck our fancy—I confess mine were probably more than a little garlic-heavy—and to fill the jars with brine. We placed canning lids on top and loosely screwed on the bands to allow gas to escape as fermentation progresses. It can also include some liquid bubbling out, so we prudently placed the jars in a baking dish before taking them down in the basement to ferment for a few days.

A couple of days later I was able to report to my nephew that not only had their color begun to change, there was noticeable bubbling and a tiny bit of liquid had escaped. The fourth day there was more bubbling, the brine was slightly cloudier, a larger puddle of brine had formed and there was a distinct vinegar aroma wafting over our jars.

Success!

I waited a full week before pulling out a jar to taste them.

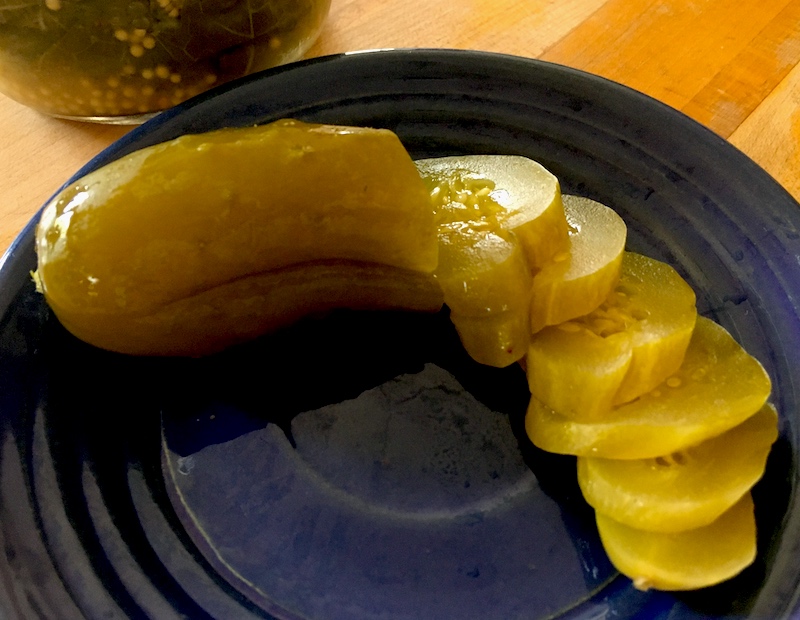
Fresher and a bit milder than most store-bought brands, our pickles were nicely crunchy with a tart, light vinegar flavor that was infused with garlic, dill and mustard.

On his next visit, one jar went home with my nephew and the rest are sitting in our refrigerator—lacto-fermented pickles are not shelf stable—awaiting our next antipasto platter, hamburger extravaganza or albacore salad.

Basic Lacto-Fermented Garlic Dill Pickles

2 lbs. pickling cucumbers
12 medium-sized grape leaves
Mustard seeds
Garlic cloves, peeled
Bunch fresh dill or dill flowers
Dried red chiles
Peppercorns, lightly crushed
Sea salt

Wash four quart jars. Wash cucumbers, rub off the prickly bits and place cukes in an ice bath for one hour.

Make a 5 percent brine by dissolving 6 tablespoons of sea salt in two quarts of water. Set aside.

Start with a grape leaf in the bottom of each jar, then tightly pack in the cucumbers with one or two more leaves and a variety of flavoring ingredients. Leave an inch or so of head room above the cucumbers, then add brine to within 1/2 inch of the lip of the jar.

A "pickle pipe" fermentation airlock.

Place a canning lid, coffee filter, or a device called a "pickle pipe" airlock (right) on top, then loosely screw on a jar band. The idea is to allow gas to escape during fermentation, so you don't want to seal it completely or the pressure buildup could cause it to blow off. 

Watch for color change, bubbles and cloudiness. A spongy mold may form on top, but you can just pull that off and dispose of it…the pickles should be fine as long as they have stayed submerged and they still smell good (that is, pickley). After five days, pull a jar and taste one of the pickles. If it's not pickled enough, put the lid back on and let it ferment another day or two (temperature plays a big part in the time it takes to ferment).

When pickles are to your liking, store in refrigerator for several months.

Fermentation Fascination: Rave-worthy Quick Refrigerator Pickles

I'm not a woo-woo sort of person. Pragmatism runs deep in my veins, but recently it's been feeling like the universe is pointing me in the direction of fermentation. Not in a Portlandia "I can pickle that" way, though the show definitely picked up on a trend here with almost every chef in town featuring her own house-made pickles on every plate.

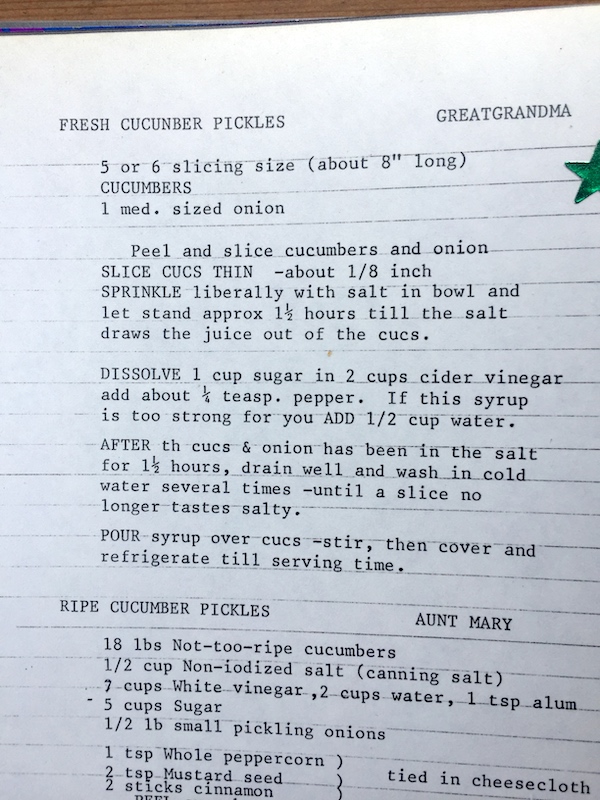
Great-grandma's recipe.

Granted, for several years I've been saying "This is the year I'm going to learn to make pickles!"—or kimchi or sauerkraut or whatever. And the year comes and goes without much progress being made, though I've participated in a few pickling sessions with friends. One of those sessions involved making pickled onions with my neighbors Bill and Jen, who have a huge garden on their city lot and preserve a great deal of what they grow every year.

When I dropped by their place to pick up some cucumbers the other day, Jen brought out one of two thick, three-ring binders full of favorite family recipes that her grandmother had carefully typed out—color me envious! It included one from her great-grandmother for fresh cucumber pickles that are ready in 24 hours. Need I mention that anything quick and easy has my name written all over it?

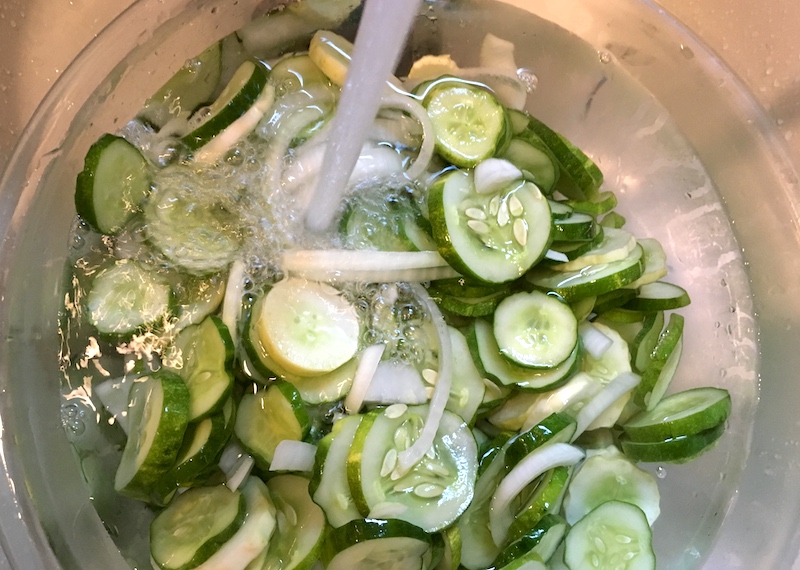
Rinse those cukes!

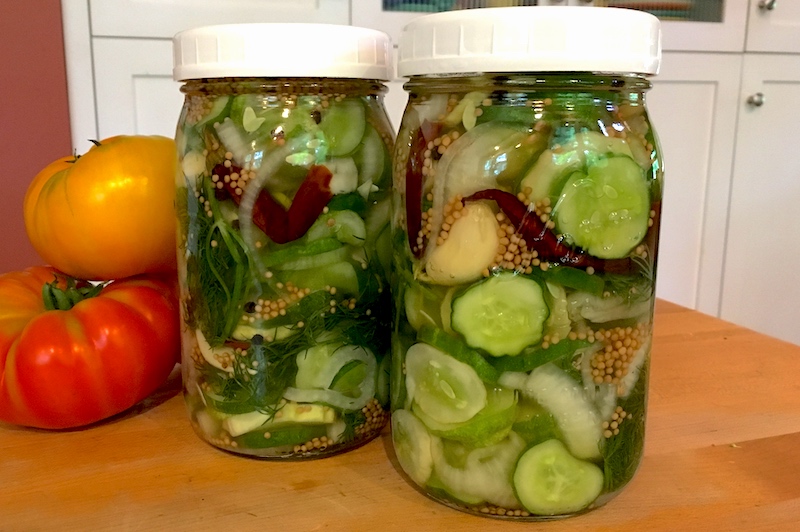
And indeed, when I got home, I sliced up those cucumbers, salted them down per great-grandma's instructions, made the brine, and a couple of hours later had two quart jars of pickles sitting in the fridge. I admit I sampled them before the 24 hours had gone by and they were delightful. So good, in fact, that they ended up coming with us that very evening as part of an antipasto platter we were taking to celebrate our friends' new home.

As for future fermentation festivities? Turns out the universe wasn't done with me just yet. Dave gave me a copy of Sandor Katz's The Art of Fermentation as an anniversary present, so expect to read about those adventures in future installments!

Great-Grandma's Fresh Cucumber Pickles

From my neighbor Jen.

5-6 cucumbers, about 8" long
1 medium onion
3-4 Tbsp. salt
2 c. cider vinegar
1/2 c. sugar
1/2 c. water
Optional: mustard seeds, peppercorns, fresh dill, dried chiles, whole garlic cloves

Slice cucumbers into 1/8" coins. Slice onion into quarters lengthwise, then into 1/4" slices crosswise. Combine in large bowl. Add salt and mix. Place in refrigerator for 90 minutes.

While cucumber mixture is soaking, in a medium-sized pan heat vinegar and water to a bare simmer. Add sugar. Stir until it dissolves, then add any desired spices (mustard seeds, pappercorns, dried chiles and garlic cloves). Allow to cool slightly.

When cucumbers are ready, rinse in several changes of running water, draining thoroughly between rinses. (Great-grandma says to rinse until they no longer taste of salt, but mine never did get to that stage.) Drain thoroughly. Pack cucumbers and onions into quart jars, layering them with spices from the brine and the fresh dill. Pour brine over packed cucumbers, using a chopstick inserted down the side to press out air bubbles as much as possible. Cover with lid and put in refrigerator. The pickles will be ready in 24 hours. Makes approximately 2 quarts.