Homemade Ricotta: Easy, Creamy, Dreamy!
Writing this blog has been full of slap-upside-the-head, "D'oh!" moments over the years. There was the time someone mentioned making a stock from leftover corn cobs. And another time when I discovered how simple it was—not to mention how much more delicious it tastes—to make your own peanut butter. (Got five minutes and a blender?)
I'm constantly asking myself: How could it have taken me so long to figure this stuff out?
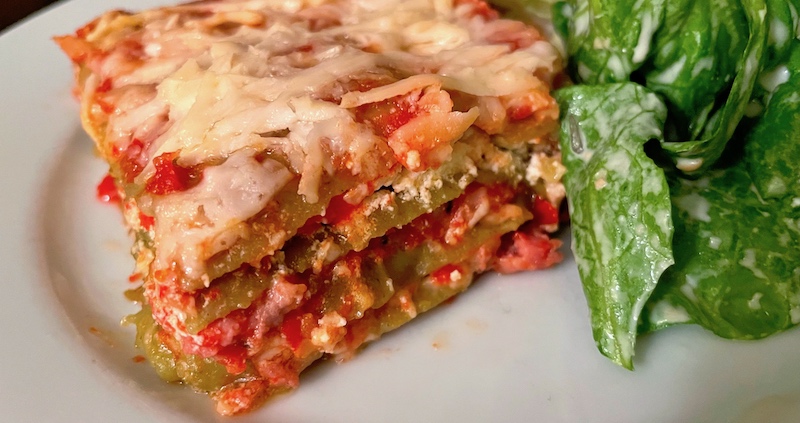
So this last week I decided to make a big pan of lasagne, something I've done a zillion times before. A few years ago I would have bought a container of ricotta and slathered it on the next-to-the-top layer to give a creamy, oozy richness to this Italian-American classic. But when Dave developed a problem with dairy, and with lactose-free commercial ricotta not readily available, I had to eschew that particular ingredient for several years.
Then I read somewhere that it was super easy to make your own at home. D'oh!
While, according to my friend and cookbood author Nancy Harmon-Jenkins, traditional Italian ricotta is made from the recooked whey left over from cheesemaking (ri-cotta means "recooked"), another method makes a delicious fresh cheese that's as good or better than most store-bought brands. With the availability of organic lactose-free whole milk (thank you, Organic Valley), all it requires is lemon juice and salt!
I tried it, fiddled with the timing a bit to get the texture I wanted and, like magic, the creamy softness was back in our lives. And it's so dang easy, I can guarantee that it's going to start showing up on crostini, mixed in pasta and dolloped on salads.
Homemade Ricotta-Style Cheese
For 1 cup ricotta (double to make 2 cups):
4 c. whole milk
1/3 c. fresh-squeezed lemon juice
1 tsp. salt
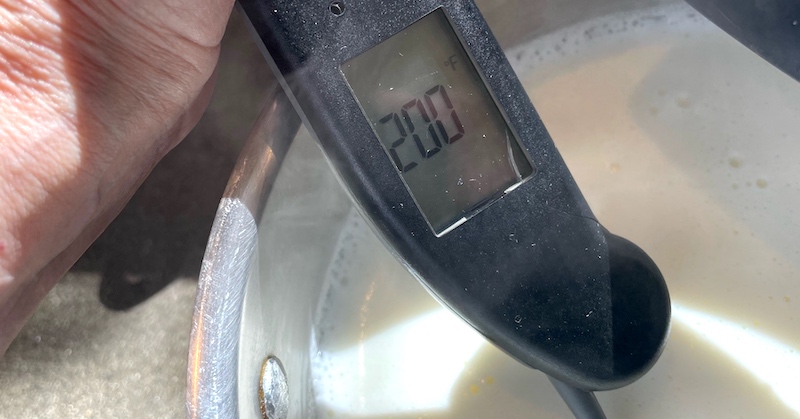
In a saucepan, heat milk over medium heat (you don’t want to heat it too quickly). Stirring occasionally to keep it from scalding and measuring often with an instant read thermometer, bring milk to 200°. When it reaches 200°, remove from heat and add lemon juice and salt. Stir a couple of times to combine and let it sit for 5 minutes. (You'll notice it start to curdle and separate.)
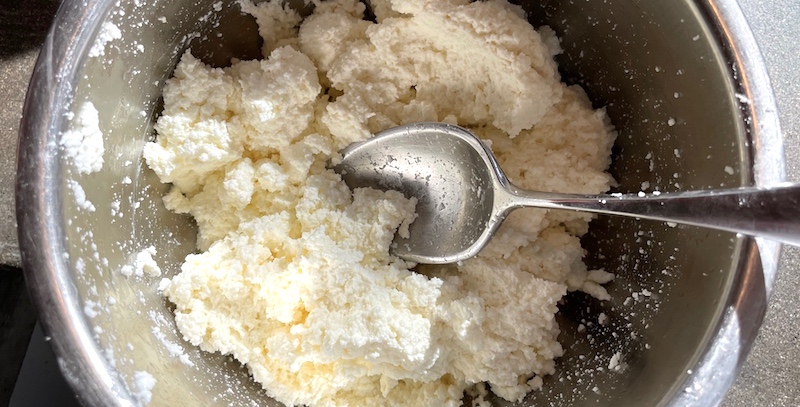
While it’s sitting, put cheesecloth or a cloth jelly bag in a fine mesh strainer over a large bowl. Pour the contents of the pan into the lined strainer and drain, making sure to save the watery whey (see note, below). Depending on how dry you want your ricotta to be, let it sit for two to 20 minutes. Draining it for a shorter time will give you creamier ricotta, while waiting the full time will result in a dry texture. When it's reached your desired texture, taste it for salt and adjust.
NOTE: Save the whey (the watery liquid left after draining) and feed it to your chickens or pigs. If you don't have livestock, don't worry—you can feed it to your family, as well! It's very nutritious and is great added to soups, stews and sauces that benefit from a slight milkiness. (Think chowders, or a potato-leek soup.) One reader said she used the leftover whey to cook pork loin in the crock pot for pulled pork, which confirms what I'd read about the acids in the whey helping to break down meat. I've used it to make carnitas, and it worked fabulously. Try it!