No Waste: Making Vinegar from Apple Peels!
Here in Portland, especially in our increasingly warm summers, we know that yeasty, vinegary smell whenever we go out to dump our compost in the bin the city provides. (Portland has had curbside composting since 2005 when the city developed the Portland Composts program that required city garbage companies to offer it.) Well, those intense olfactory experiences had me pondering how to make my own vinegar, especially since I've been learning about fermentation lately, and discovering how incredibly simple it is.
 Looking up a few vinegar how-to websites made it even more of a slap-myself moment. Being the cautious sort, I decided to start small and see how it went, but since I'd just bought a few apples for pie, the supplies for a small batch—apple peels and cores—were readily at hand.
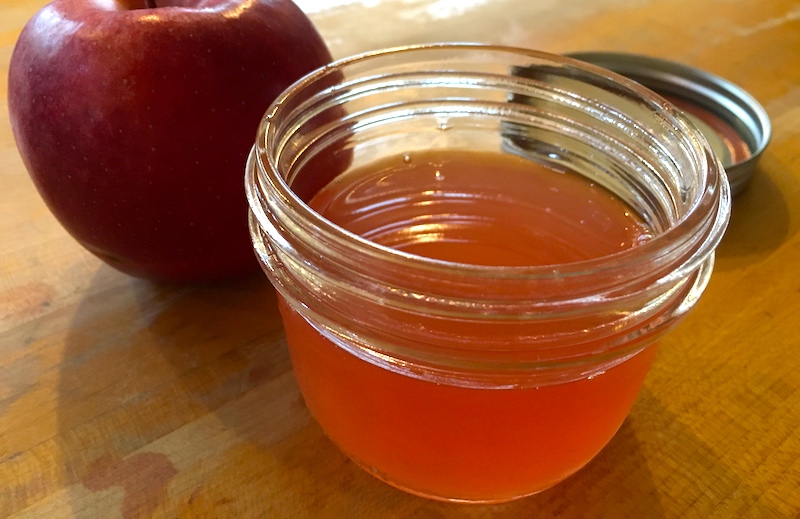
As with most fermentation projects, it takes patience. As in waiting a month until you know if your vinegar experiment has yielded a desirable result, which is the hardest part of the process (at least for me). Fortunately this one, when I strained out the solids, gave about a cup of pink-tinged, delicately apple-perfumed vinegar (top photo) that will be lovely sprinkled on soft lettuce salads or to give a light acidic touch to other dishes.
It gives me the courage to try again with a larger batch, maybe with another fruit or vegetable, so stay tuned!
Apple Vinegar
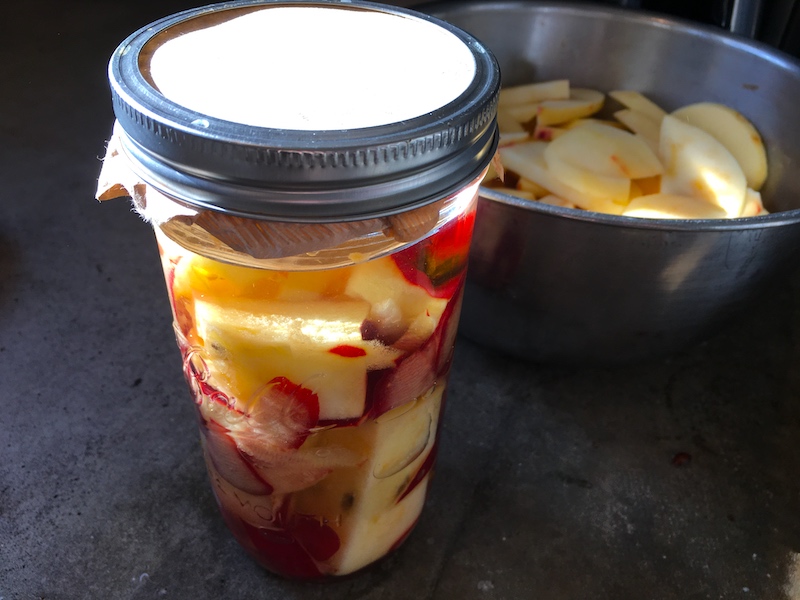
Quart wide-mouth jar
Peels and cores from four or five organic apples
2 1/2 Tbsp. sugar
2 1/2 c. boiling water
Bring the water to a boil and stir in the sugar until dissolved.
Pack the jar 3/4 full of apple peels and cores and pour the sugar water over the top to fill the jar to the shoulders. Use a chopstick to poke the submerged apple peels and dislodge air bubbles. Refill the jar with more sugar water if necessary. The apple bits should stay submerged, so place a canning weight or smaller jar inside if necessary to hold them down.
Place a square of coffee filter or several layers of cheesecloth over the jar and secure with a rubber band or canning ring. Place in cool, dark place for one month, checking to make sure no mold is forming.
The contents may get cloudy or a SCOBY (vinegar mother) may form, but that's normal. Taste the vinegar after 4 weeks and, if it's to your liking, strain out solids, place a lid on it and store in refrigerator.