Fava Beans: To Peel, or Not to Peel?
Once again, it's confession time.
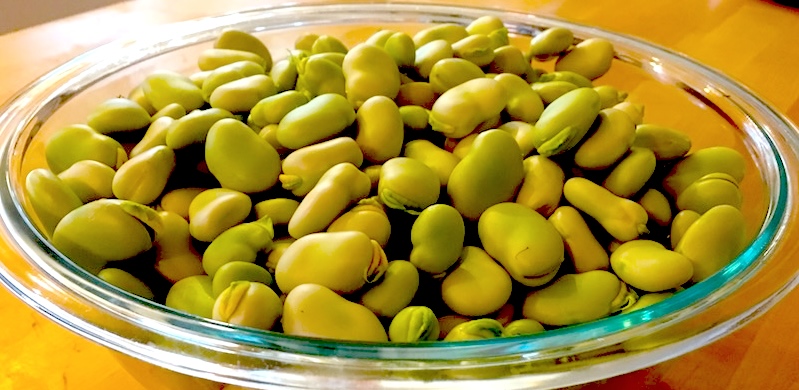
I love fava bean season so much that, at the first sign of the bundles of young green shoots on farmers' market tables in the spring, I get a little giddy thinking of them stir-fried with garlic and tossed with pasta and preserved lemon, or slathered with oil and roasted, served alongside a beautiful grilled, pasture-raised chicken thigh. Then there's the knowledge that in just a couple of weeks, it'll be time for the pods to start appearing, their strange, off-green, blobby exteriors revealing pale green kidney-shaped beans pillowed in a porous white cushion.
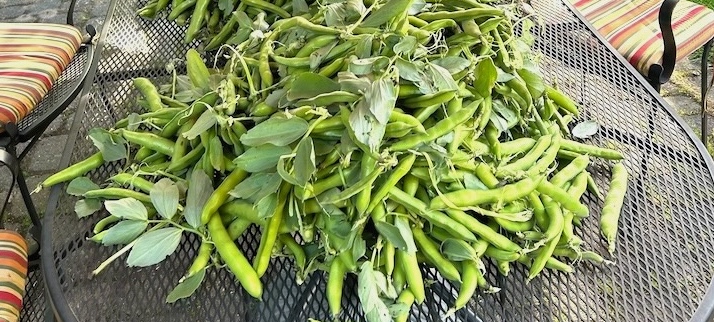
That's about when I remember that to prepare these little beany delights, I have to strip them out of their pods, boil them in a salty pot of water, then spend what seems like hours in the tedious task of popping them out of their skins to get a paltry—albeit decidedly delicious—pile of the bright green, shiny jewels.
I know, I'm whining.
But, wonder of wonders, my friend Nancy Harmon Jenkins, part-time resident of Italy and author of well-regarded books on Italian cuisine like the groundbreaking New Mediterranean Diet and Virgin Territory: Exploring the World of Olive Oil, saved me (and you) from hours of whinging.
In a post on her blog, she excoriates Americans who insist on peeling the skins from their beans:
"What a waste of time! What a waste of flavor!
"Where does this weird practice come from? I suspect from the French professional kitchen where chefs are constantly challenged to come up with new tricks and trucs to keep their enormous brigades de cuisine in operation. In Italy, where restaurant kitchens are run much more economically, no one has to dream up tasks—there are enough to go around and more.
"But why do Americans insist on this? Every food writer except one (me) says you have to peel beans. Then they go through elaborate rigmaroles to show you how to do it. No wonder fava beans are not exactly popular despite their magnificent, slightly earthy flavor, so very different from string beans or limas. Every spring or summer I feel like climbing up in the pulpit and shouting: YOU DON’T HAVE TO DO THAT—IN FACT, IT IS COUNTER-PRODUCTIVE!!!"
Which, as you might imagine, got my attention. And came in mighty handy when my neighbor called offering a grocery bag full of freshly harvested favas from his garden. Let me tell you, I never relished preparing beans more—just shuck, boil in a pot of salted water for ten minutes and they're ready!
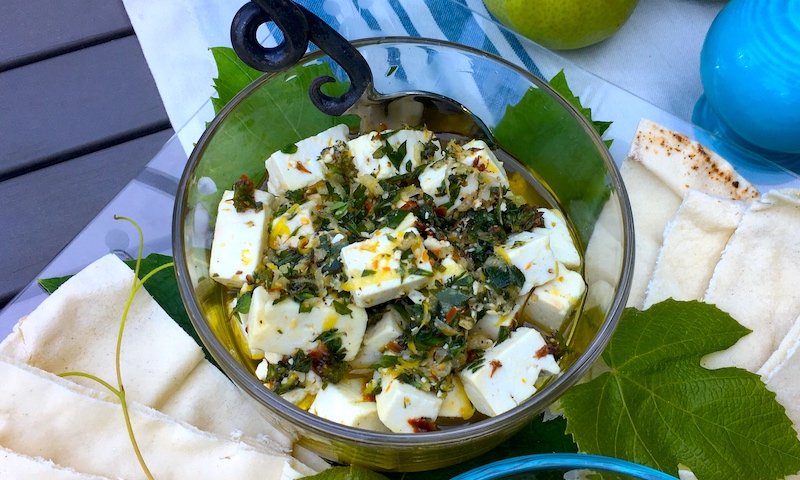
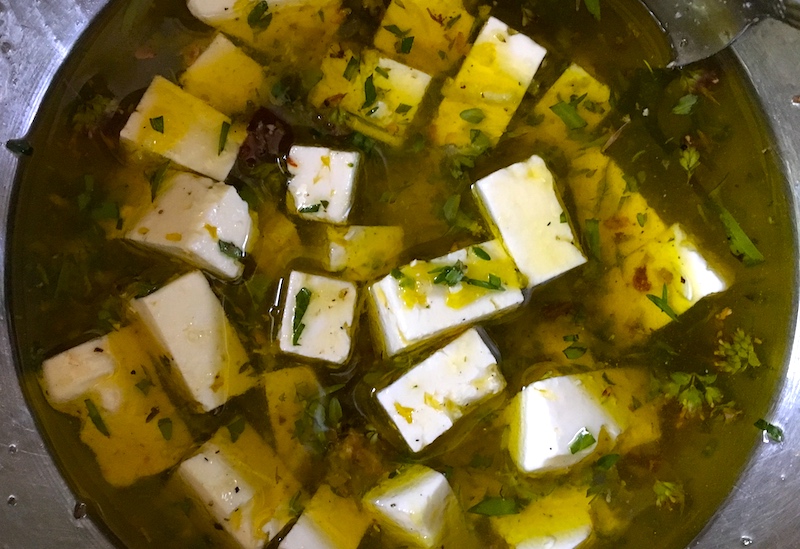
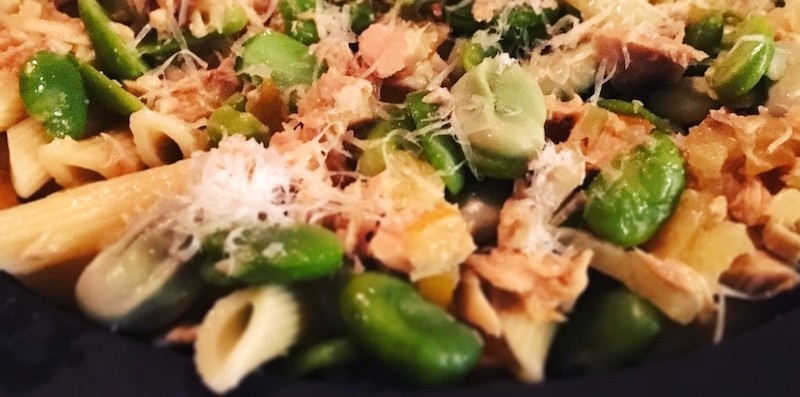
While there's a vast universe of serving suggestions, and more cultural trivia about these delicate denizens of early summer, for me, I used some of my neighbor Bill's beans tossed with preserved lemon and albacore, tossed with pasta, sprinkled with chive blossoms and chopped chives, then used the rest to make the following dip for guests. Though when everyone oohed and aahed over the amount of work it took to peel all those beans, I was torn about revealing my secret. (Psst…I did.)
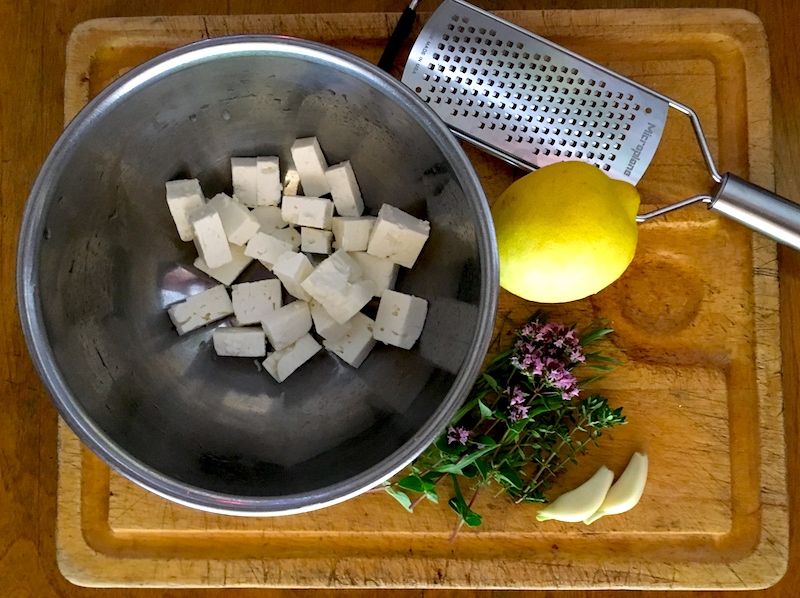
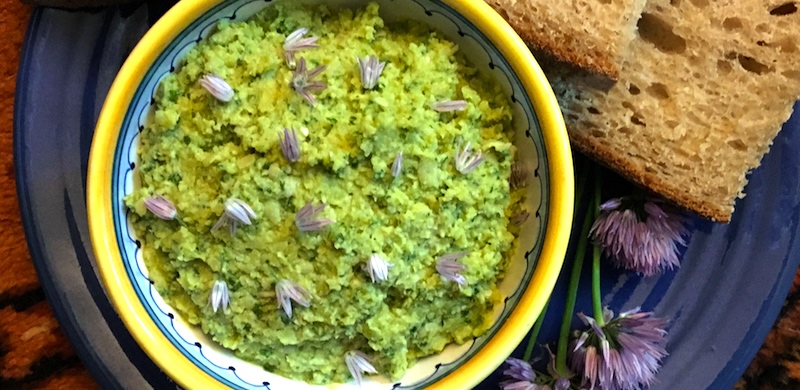
Fava Bean Spread
3 c. shucked beans
2 cloves garlic
1/2 fennel bulb, cut in half, cored and roughly chopped
1/4 c. parsley, coarsely chopped
1/4 c. mint, coarsely chopped
1/3 c. fresh lemon juice
3-4 Tbsp. olive oil
Salt, to taste
Bring a large pot of well-salted water to a boil. Drop in fava beans and cook for ten minutes. Drain and run under very cold water (or ice bath) until cool.
Put beans, garlic, fennel, parsley, mint and lemon juice into the bowl of a food processor. Turn on and while its running drizzle in olive oil until puréed. Adjust lemon juice and olive oil and add salt to taste. Serve with slices of rustic bread or crackers, or on toasted slices of baguette (à la bruschetta).