New Favorite Condiment: Southern-Style Fermented Corn

Love those pickled onions you get at your favorite Mexican place? How about an escabeche of jalapeños and carrots? Well, I've got a new favorite condiment to lavish on tacos and in burritos, or to scatter with abandon on egg dishes.
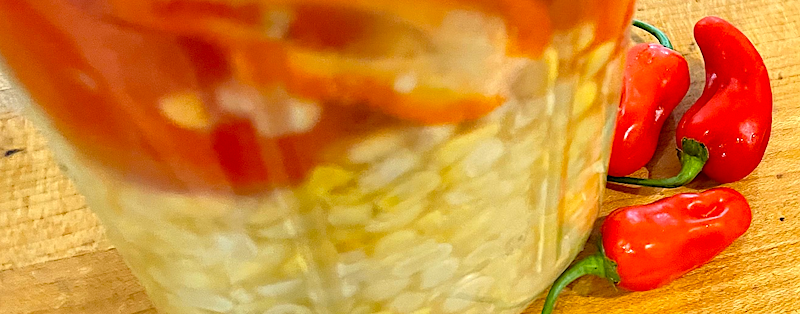
This batch had garlic and habanada peppers, but feel free to do your own thing!

I first heard about fermented corn from my friend Hank Shaw, who ran across it in a book titled "Victuals: An Appalachian Journey, with Recipes" by Ronni Lundy. Smacking my head because—duh—it's an obvious, not to mention dead simple way to preserve fresh corn. It's a classic Southern condiment called "sour corn," often served with beans after warming in bacon fat, according to Garden & Gun, and probably originated with Indigenous cooks, who "still serve a soured corn drink to respected visitors and wedding guests."

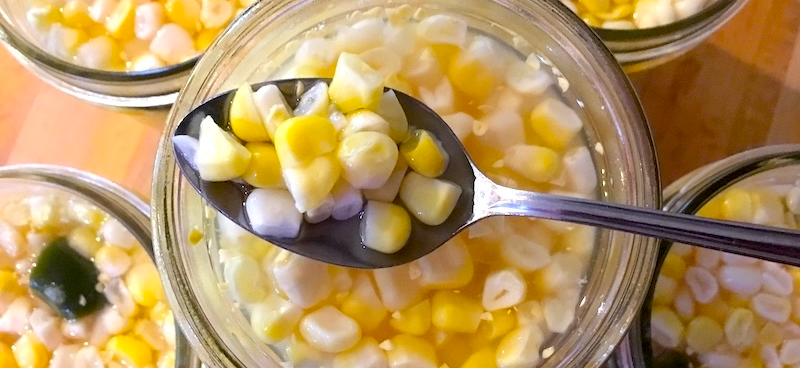
All you need is corn kernels sheared from their cobs, salt and water. I add cloves of garlic and a hot pepper or two, and this year I fermented one batch with habanada peppers, a new variety that has all the fruity flavor of the fiery orange habaneros but packs none of the heat.

Southern-Style Fermented Corn

For the brine*:
4.2g (1.4 oz.) sea salt
1 qt. water

For the fermented corn:
4-5 ears of sweet corn
4 cloves peeled garlic (optional)
2-3 hot peppers, halved (optional)

Add sea salt to the water and stir until salt is completely dissolved. Set aside.

With a sharp knife, cut kernels from ears of corn. (I break or cut my ears in half crosswise, then place the half-ear cut-side down on the cutting board. Then, starting at the top, slice down the cob as close to the core as possible.)

Pack kernels in a quart jar, leaving 1" of space at the top. Add garlic cloves and peppers, pushing them down into the kernels with a chopstick.

Pour the brine into the jar to cover the kernels, poking the chopstick into the kernels in two or three places to release any air bubbles. Place a fermenting weight (you can also use a zip-lock bag with water in it) on top of the kernels to keep them submerged during fermentation. Place a lid on top but do not seal it tightly—you want the brine to be able to bubble out during fermentation—and place the jar in a dish to catch any overflow.

Store in a cool, dry place for at least five days or longer, until corn is nicely sour when tasted. If mold forms on top, simple remove it and discard. Your corn will not be affected. Store in the refrigerator; it should be good for several months.

* If you want to do a larger batch, you can find the ratio of salt to water for 4.25% brine with this handy brine calculator.
In Season: Serving Up Summer

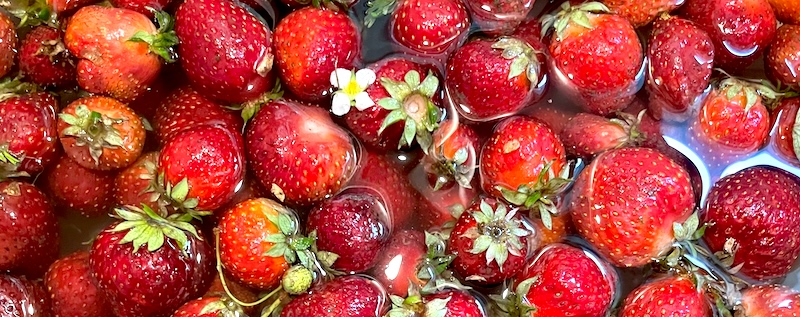
Early summer whets my appetite for what's to come in the Pacific Northwest: First to trickle in from our fields both cultivated and wild are the earliest greens—nettles, fiddleheads and fava tops among them—then comes asparagus, green garlic, early strawberries and the softest young lettuces, soon followed by the briefest appearance of our native, and much anticipated, Hood strawberries, along with fava beans, spinach, mustard greens and more exotic friends like agretti and komatsuna.

While local farmers are starting to worry about what's looking like a hot, dry summer requiring the trouble (and expense) of near-constant irrigating, the relatively mild spring was beneficial for getting a jump on planting, weeding and the growth of the tender seedlings that will be harvested later in the summer and fall. In his weekly newsletter to subscribers, my CSA farmer Aaron Nichols of Stoneboat Farm wrote:

"It's a mixed bag for the spring crops, some are coming on quick and very well (hello fava beans!) and others seem a bit behind (broccoli and cabbage) or are being very temperamental (we're looking at you radishes!).  A lot of things we plan to have for a few weeks are wrapping up in one or two this spring but, so far, it's been fine as other things are ahead of schedule.  I'm pretty worried for a hot summer but no point in borrowing that trouble now!"

Revel in the freshness of summer produce, but don't forget to preserve it for later!

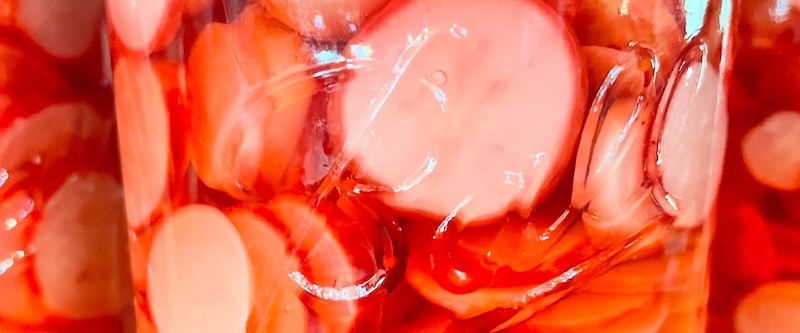
This season always gets my juices flowing for preserving the freshness of summer. After gorging myself on fresh strawberries and shortcakes, I turned around and made three batches of strawberry jam to replenish our dwindled supply from last summer, and I'm already anxiously anticipating the raspberries, blackberries and plums that are on the way. (Check out my hack for perfect fruit jam.) The radishes that Aaron mentioned above went into four jars of simple pickled radishes for our taco Tuesdays, and soon cucumbers will be sliced into rounds and given the hot brine treatment as well!

I'll also be eagerly anticipating the Napa cabbage due to appear in our CSA share and at farmers' markets toward the end of the month, since we are desperately in need of kimchi made from my friend Denise's family recipe. And with cabbage season comes homemade sauerkraut to have with all the grilled things.

Let me know if you have any favorite recipes for preserving the best of what's in season this summer and I'll do a follow-up post on what I learn. Let's share!

Urban Foraging: Figs from a Neighbor make a Spectacular Fig Jam

The combination of dogs and a walkable neighborhood gives me the perfect excuse to go on reconnaissance missions around my neighborhood, looking—some might call it snooping—on parking strips and in front yards for fruit trees. Having older dogs that, like toddlers, are more interested in process than destination, I've taken the opportunity to note the plum, Italian prune, fig, pear, apple, cherry and persimmon trees on our various routes.

Before…

Some are gnarly old things that predate the bungalows built in the 1920s, the only surviving remnants of the orchards and farms that used to dot the countryside between the small towns like Sellwood, Albina, Multnomah, Kenton, Lents and St. Johns that were eventually annexed by Portland. Others were planted as street trees in the intervening years, though I wonder if the hapless homeowner who planted the giant walnut tree in his front yard thought about the terminal velocity of ripe walnuts when they drop 60 feet onto his car (or his head).

In any case, just around the corner from us is a fig tree that was planted around a dozen years ago that the homeowners had tried to espalier along a short retaining wall. The scent of the leaves was intoxicating on warm summer nights, but it never bore fruit until the house sold and the new owners neglected to trim it back. The next year there were big, dark brown figs dangling from its branches and I began stalking the house, hoping to strike up a friendly, if self-serving, conversation with the new owners.

…and after!

A few weeks ago I finally—aha!—caught the sister of the owner carrying groceries into the house and casually asked if perchance they ever used the figs or would…ahem…mind sharing some of them. She said she was hoping to dry some, but there were way more than she could use, so I could help myself.

Score one for persistence!

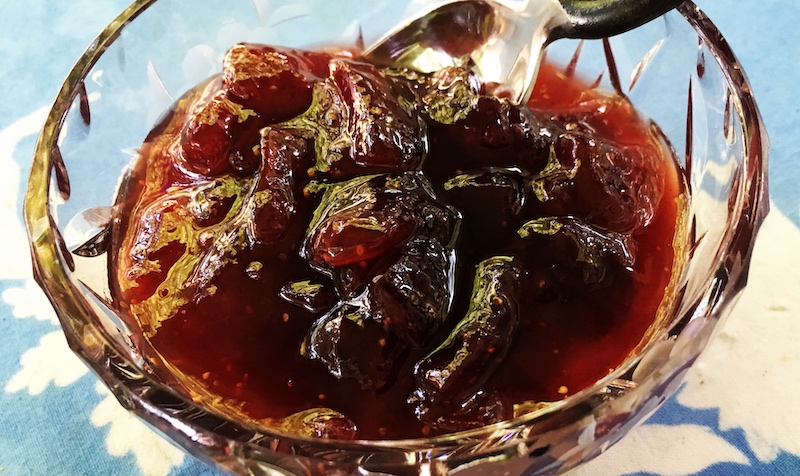
So yesterday, shopping bag in hand, I walked over and plucked five or so pounds. They were delicious for eating out of hand, and I made the rest into a stellar jam using a recipe from Martha Rose Shulman as a guide, though I doubled her recipe and used a bit less sugar than she called for.

Fig Jam

Adapted from Martha Rose Shulman

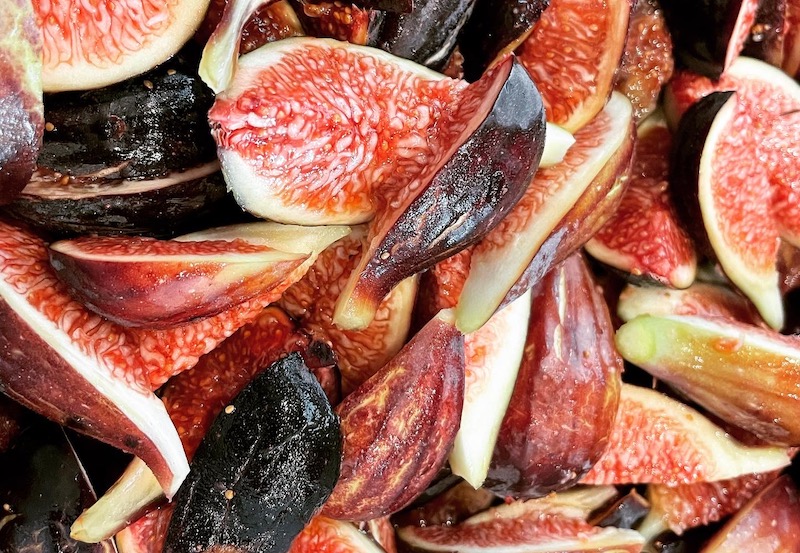
2 1/2 lbs. ripe figs, roughly chopped
4 1/2 c. sugar
5 Tbsp. fresh-squeezed lemon juice, strained
4 tsp. balsamic vinegar (or more to taste)

In a large bowl, toss together chopped figs and half the sugar. Cover bowl with plastic wrap and refrigerate for 1 hour.

Transfer figs and sugar to a medium-sized saucepan. Bring the mixture to a boil, stirring frequently to prevent scorching. When mixture comes to a boil, scrape back into bowl and cover with plastic. Let cool and refrigerate overnight.

Scrape fig mixture back into the saucepan. Place a small plate in the freezer to use for checking the thickness of the jam as it cooks. Bring the fruit back to a boil over medium heat, stirring frequently. When the mixture comes to a boil, stir in the remaining sugar, the lemon juice and the balsamic vinegar. Boil, stirring, until mixture is thick but not too concentrated, 10 to 15 minutes. Skim off any foam that accumulates. I also skimmed off some of the seeds that cluster at the surface, though it's not necessary to skim off all of them. (Dipping the back of a soup spoon into the seeds works like magic!)

To test for doneness, remove the plate from the freezer and place a spoonful of the jam on it. Wait about 20 seconds and tilt the plate. The jam should only run slightly, and fairly slowly. Boil a little longer if it seems too runny, but take care not to cook it until too thick. It needs to be spreadable.

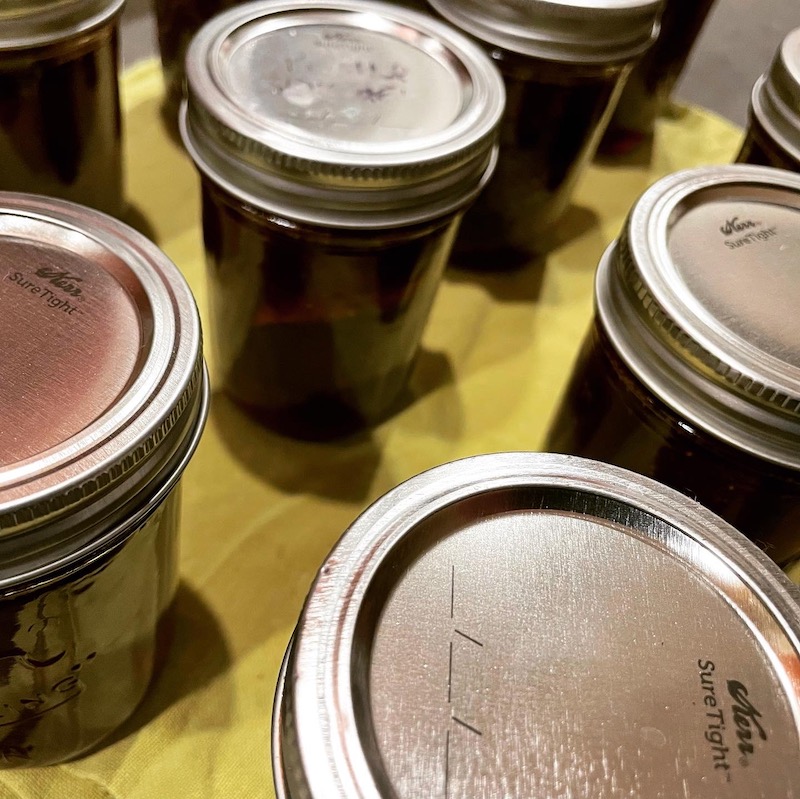
Transfer the jam to clean jars, wipe the rims and place canning lids on top. Place canning bands over the lids but don't tighten bands more than finger tight. Allow to cool, tighten the bands, then refrigerate or freeze.