A Festival to Celebrate Winter (Plus Celeriac Soup)!
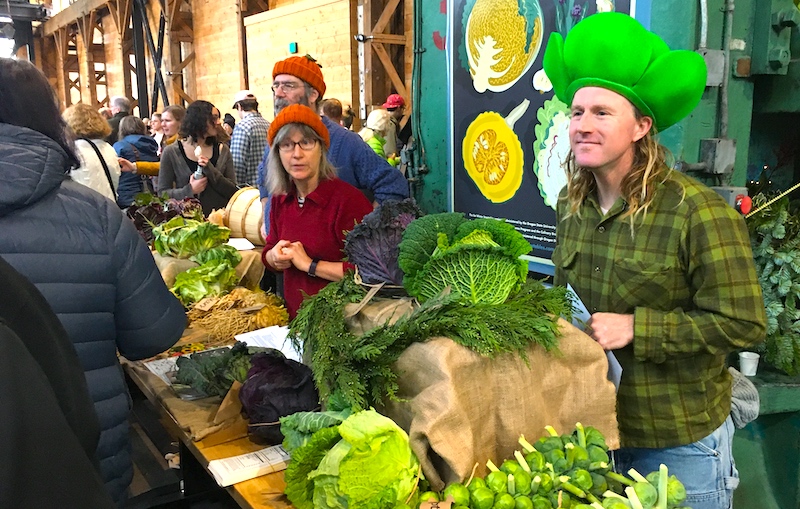
Just about exactly a month ago I posted about an event called the Fill Your Pantry and Winter Vegetable Sagra, a gathering of farmers, ranchers, plant breeders and folks who care about where their food comes from and how it’s grown. It offers the community a chance to order in bulk from local producers and pick up those orders at the event, but since most of the producers bring some extra meat, produce and bulk items along, it becomes a giant community farmers' market.
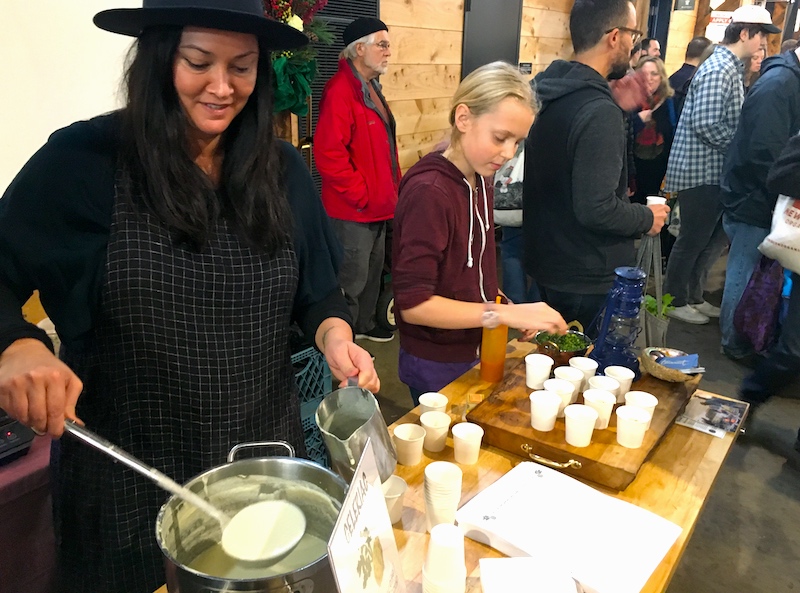
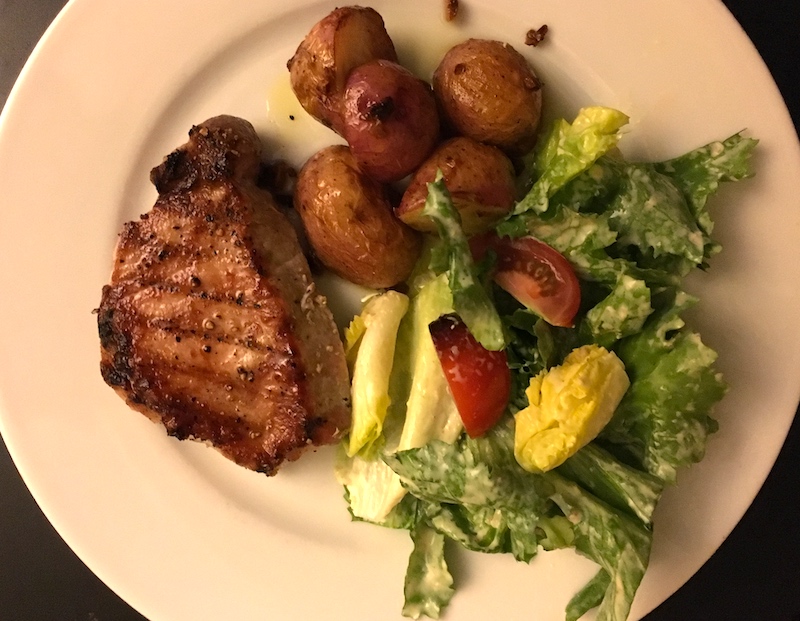
Portland chefs known for their support of local producers—Chef Timothy Wastell Katherine Deumling of Cook With What You Have; Jaret Foster and Mona Johnson of Tournant; Jim Dixon of Real Good Food; and Lola Milholland of Umi Organic Noodles, among others—cook up samples of dishes like radicchio Caesar salad, yakisoba with vegetables, bean and cabbage stew and creamy celeriac soup (recipe below).
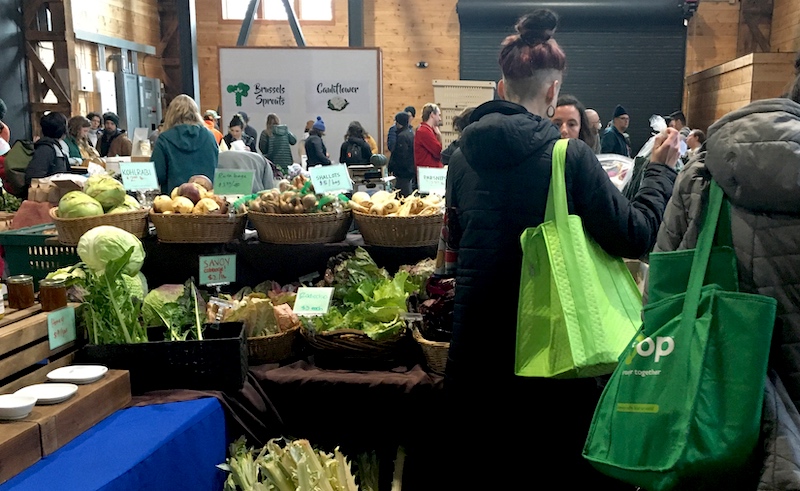
This year the event was literally packed cheek by jowl with people shopping, eating, talking and, in some cases, even singing the praises of our local bounty. I can't tell you how uplifting and inspiring it is to see your community come together to enjoy and celebrate the goodness that is produced here. The atmosphere was absolutely electric!
Thanks to Friends of Family Farmers, the Culinary Breeding Network and Oregon State University Small Farms Program for sponsoring this outstanding gathering.
All in the [Apiaceae] Family Celeriac Soup
By Mona Johnson and Jaret Foster of Tournant
This creamy, comforting celeriac soup is served with a supporting cast of characters from the same Apiaceae family to which it belongs. Celery, parsley, fennel and caraway all play a role in complementing celeriac's mild, earthy flavor. If time is short, feel free to top with only the ghee or gremolata, or skip both and just swirl in a dollop of creme fraiche or a drizzle of brown butter.
For the celeriac soup:
3 Tbsp. butter
2 medium leeks (white and light green parts only), halved lengthwise, sliced into thin half moons, rinsed and drained
2 medium fennel bulbs, halved lengthwise, thinly sliced
2 medium celery roots (about 1 1/2 lbs.), trimmed, peeled and chopped in 1/2" dice
1 c. dry white wine
1 Tbsp. kosher salt, plus more to taste
2 bay leaves
2 sprigs fresh thyme
6 c. water
1/2 c. heavy cream
For the smoky caraway ghee:
4 Tbsp. ghee
1 tsp. caraway seeds
1 tsp. smoked paprika
For the celery gremolata:
1/4 c. finely chopped Italian parsley
2 cloves minced garlic
2 Tbsp. finely diced celery
Grated zest of 1 lemon
To make the soup, melt butter in a large heavy-bottomed pot over medium heat. Add leeks and cook until beginning to soften, about 2-3 minutes. Add fennel and cook until softened, stirring occasionally, about 8-10 minutes. Add the celery root to the pot along with salt, bay leaves and thyme, stirring to combine. Add wine and simmer until mostly evaporated. Add water and bring to a simmer. Reduce heat to low and continue simmering until all vegetables are soft enough to purée, about 10-12 minutes.
Purée soup with an immersion blender (or in batches in a blender) until very smooth. Heat purée over medium low heat, then stir in heavy cream. Taste for seasoning and consistency, adding more salt, cream or water if needed for desired taste and texture.
To make the ghee, melt ghee in a small saucepan over low heat. Add caraway seeds and smoked paprika and cook, stirring occasionally, about 4 minutes, being careful not to scorch spices. Remove from heat, let cool, then strain through a fine mesh strainer, discarding solids.
For the gremolata, add all ingredients to a small bowl, mixing to combine.
To serve, ladle soup into shallow bowls, swirl with infused ghee and sprinkle with gremolata.


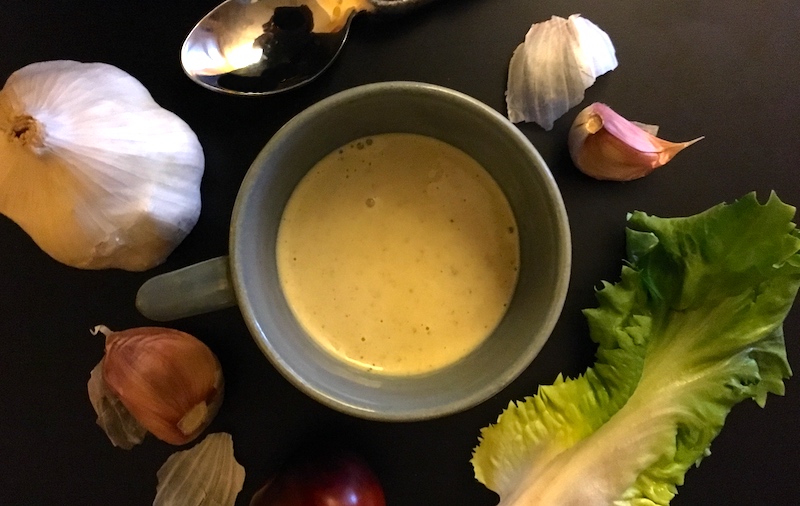
 So when I've got some sturdy heads of romaine, escarole or chicories that can stand up to heftier dressings, my thoughts turn to Caesar dressings loaded with anchovy or, lately, miso mixed with mayonnaise (hey Mom!), studded with garlic and a dollop of mustard.