Pandemic Project: Making Greek-Style Stuffed Grape Leaves
There are several homes in our neighborhood whose residents (current or former) planted grapes that, every spring, faithfully start producing leaves and vines that twine themselves around fences, trees or any stationary object, sporting clusters of teensy, pinhead-sized baby grapes. Most are table types, deep purple and seeded—contributor Anthony Boutard calls them "fecund"—with a few that are seedless, though their specific varieties have been lost to time.
 So it was fortuitous that my friend, gifted cook and writer Denise della Santina, called and asked if I wanted to get together to make Greek-style stuffed grape leaves, the kind her mother used to make. Now, Denise's mother wasn't Greek, but she and Denise's father lived a peripatetic life, traveling extensively all over Europe with their three kids in tow, moving back and forth across the country as easily as they traversed oceans, eating and drinking and immersing themselves in the places they found themselves. It was almost the exact opposite of my own WASP-ish, Oregon-centric upbringing.
 "We lived in Greece for five-plus years, so our Greek street cred is far better than elsewhere," Denise said. "Mom learned from the village ladies even before she could speak the language."
Am I envious? Why yes, yes I am!
Denise said she'd get the supplies for the stuffing if I could find some grape leaves. I said I'd do my best.
 I arrived at her house the next morning with a shopping bag stuffed full of leaves of various sizes, which turned out to be helpful, since we could use the smaller ones for stuffing and the larger leaves for covering the rolls while they cooked. She trimmed the stems and softened them in a pot of salted water on the stove while I chatted from the doorway—pandemic, remember—then brought them out to the deck where I proceeded to separate and dry the leaves.
 Ever the efficient project manager, Denise had cooked and cooled the onions the night before so she could combine them with the meat and spices just before I arrived. In proper socially distanced fashion we set up our work stations at opposite ends of the long table, scissors at the ready should we need to clip some tough leaf veins and a big pot of the meat-rice mixture each.
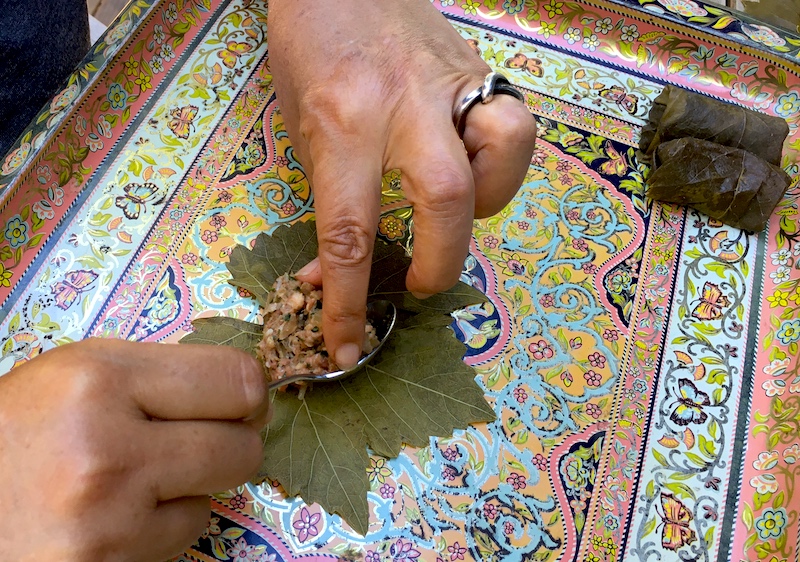
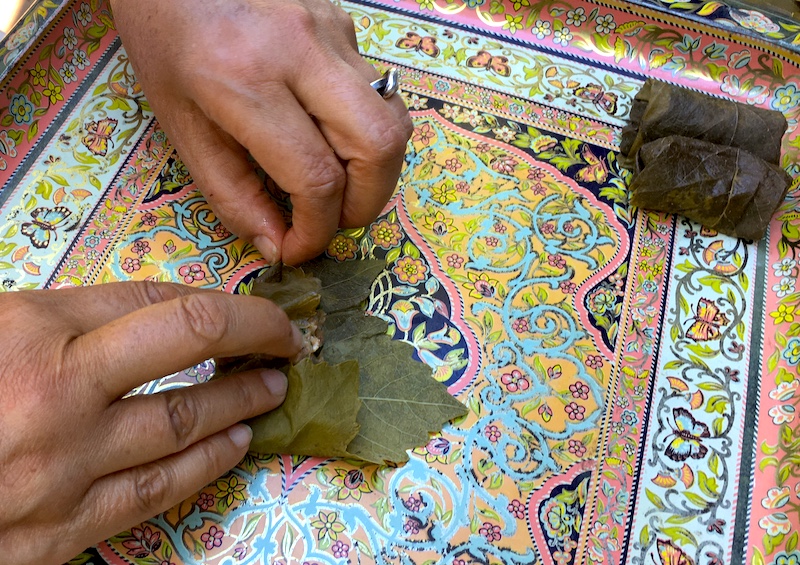
She showed me how to lay the leaf with the underside up and the stem end toward me, and to place a small amount—a tablespoon or less—at the stem joint, folding up the leaf ends to cover it. Then, like a burrito, the sides were folded in and the whole thing was rolled up tightly.
 Magic!
For the next ninety minutes or so we sat and rolled (and rolled some more), eventually filling up our trays with the shiny packets as we caught up on friends and family and summer events. It put me in mind of the kind of repetitive, calming work that women in my family did when I was growing up, sharing stories and gossip while snapping beans or doing dishes—you wash, I'll dry—or folding clothes fresh off the clothesline.
It was a gift of near-normalcy, a small break, a time out that I sorely needed. Not to mention that dinner was done, a bonus in itself! Thanks, my dearest Denise.
Della Santina Stuffed Grape Leaves
For the stuffing:
60-75 grape leaves, about 6" in diameter*
3 onions, minced finely (a processor works for this)
2 lbs. ground lamb (or a combination of beef and lamb)
1/2 c. uncooked long-grain rice
1/4 c. mint, chopped fine
3 Tbsp. dried mint (dried plus fresh gives added dimension)
3 Tbsp. olive oil (more if your meat is lean)
1 tsp. salt to start and generous grinding of pepper (see note)
For cooking the stuffed grape leaves:
1 c. water (or so)
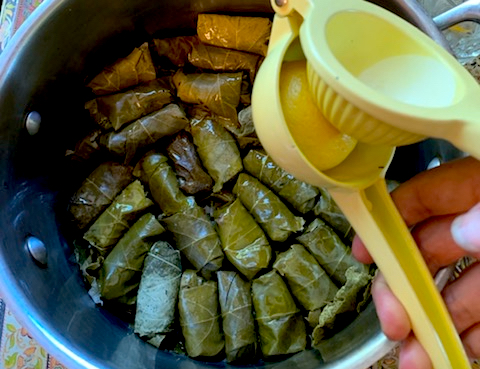
1/2 c. lemon juice
1/2 c. olive oil
If you're using freshly picked leaves, bring a large pot of salted water to a boil. While it is heating, prepare the leaves by snipping off the stems and any thick vein ends. When the water boils, place the leaves in the boiling water and simmer for five minutes until softened and pliable (they'll turn dark green). Drain in a colander and run cold water over them until they can be handled.
Heat 2 tablespoons of olive oil over medium-high heat and sauté the onions until they're translucent and tender. Cool to room temperature.
While onions cool, take the blanched leaves and pat them dry with paper towels. In a large mixing bowl, combine the cooled onions with the meat, mint and olive oil and some salt and pepper.
NOTE: To test for salt, pepper and mint, heat a small frying pan over medium-high heat and brown a small amount of the meat before you add the uncooked rice; rice will dilute the saltiness. Taste and adjust salt.
Once you're satisfied with the salt level in the meat mixture, mix the uncooked rice into the meat.
Take one leaf and lay it with the shiny side down and the veined underside up, with the base of the leaf toward you. Place a tablespoon (or less if it's a smaller leaf) of the meat mixture at the base near the joint. Bring the bottom lobes up over the meat and fold in the sides (like a burrito). Then roll the packet up toward the point of the leaf. It should make a tight packet. Repeat until you've used all the meat. At this point you can store the stuffed grape leaves in the refrigerator until you're ready to cook them.
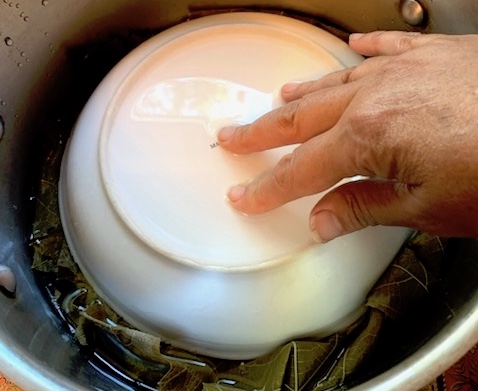
To cook the stuffed grape leaves, pour three tablespoons of olive oil into a large Dutch oven. Place the stuffed leaves into the pot, stacking them in layers if necessary. Pour the water, lemon juice and remaining olive oil over them. The water should barely cover the stuffed leaves. If it doesn't add more. Top with more leaves (fresh are fine, too) and cover with a plate to hold it all down.
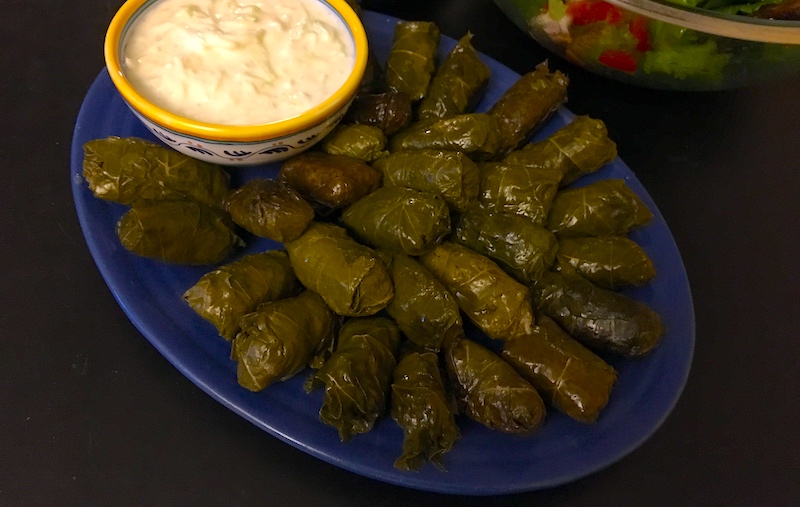
Bring to a boil, then reduce heat to simmer and cover the pot with a lid. Cook for 45 minutes to an hour until the rice is done (test at 45 minutes and add time until meat is cooked, rice is very soft and the leaves are tender). Transfer to a platter, bathe in more lemon juice and olive oil and sprinkle with salt.
You'll also want to consider making tzatziki, a simple combination of yogurt, grated cucumber and crushed garlic.
* You can also use the preserved grape leaves that come in a jar. There are approximately 55 leaves in a 2-lb. jar.
Get Denise's grandmother's recipes for Korean Gochujang (Kojujung) and the family's Kimchi.
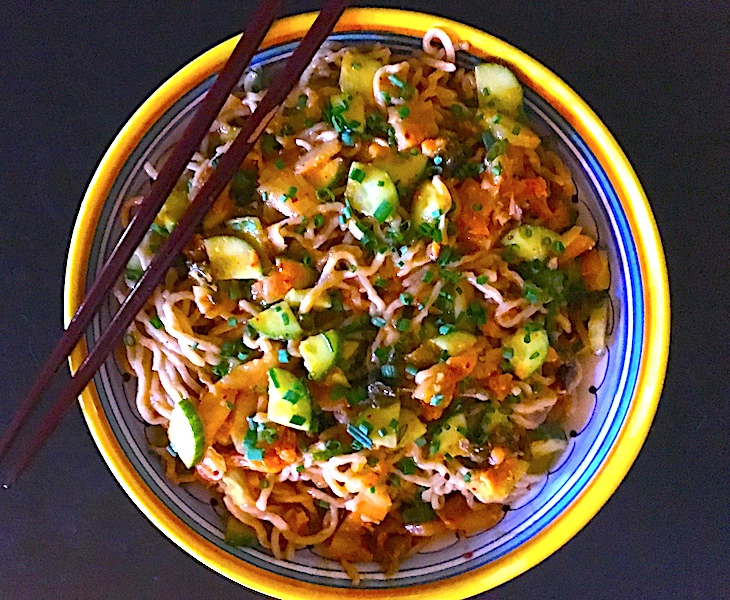 15-Minute Ramen Noodle Salad with Kimchi
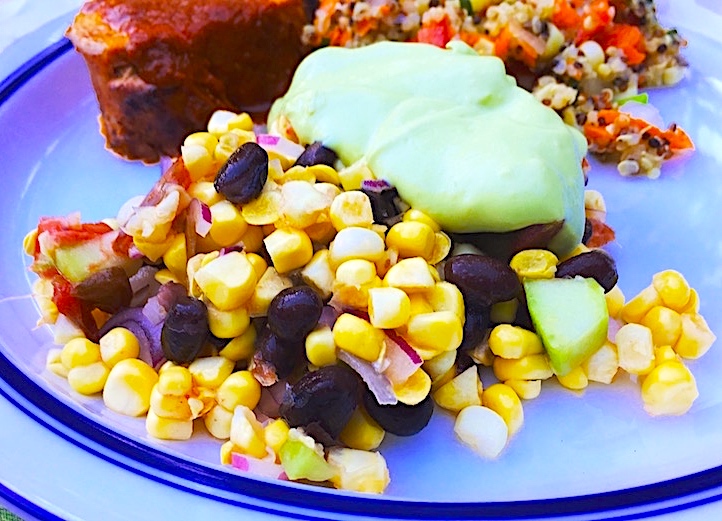 Corn Salad with Avocado Crema
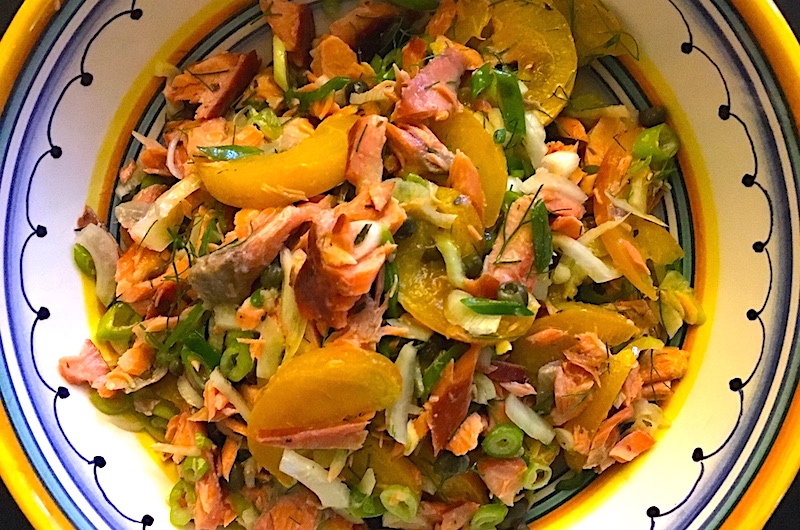
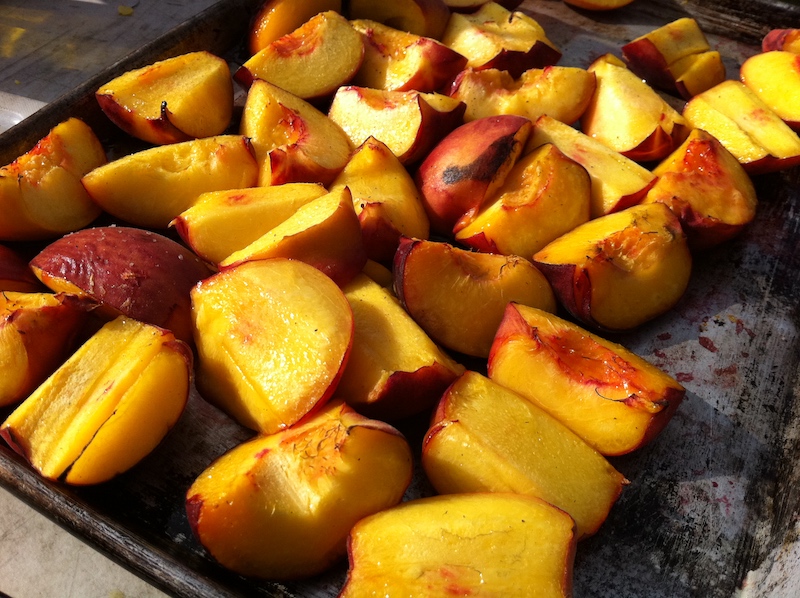 Nectarine and Cherry Salad with Roasted Hazelnuts
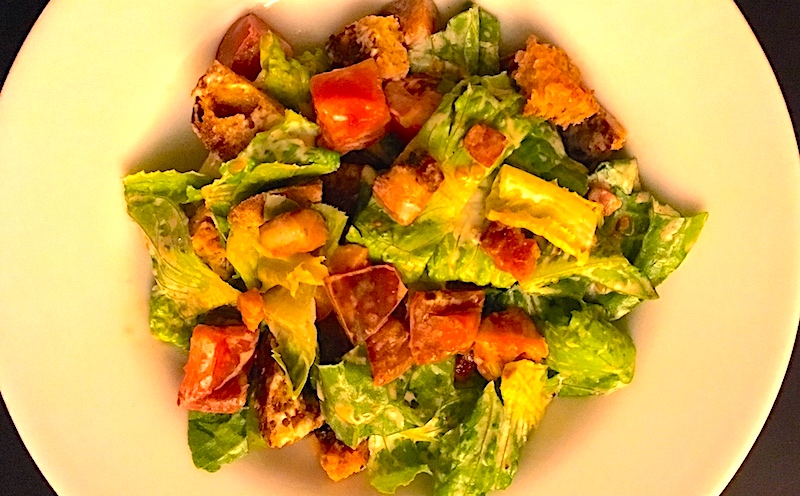
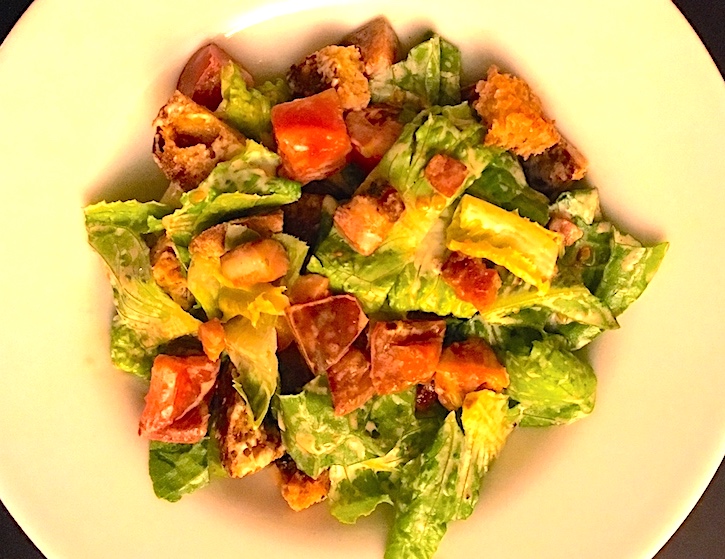 BLT Salad
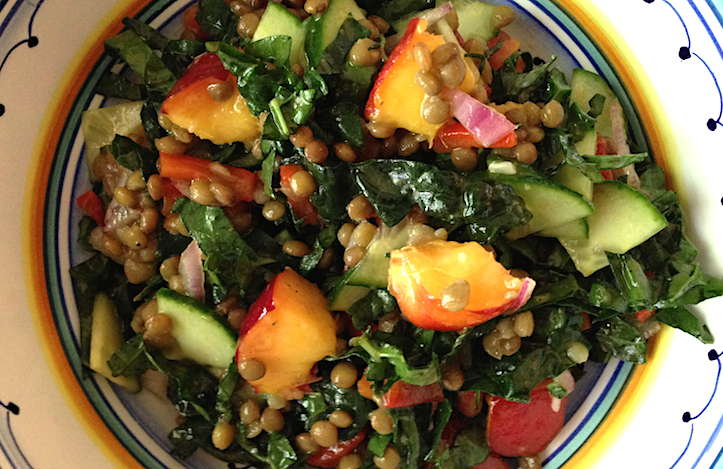 Kale, Lentil and Nectarine Salad
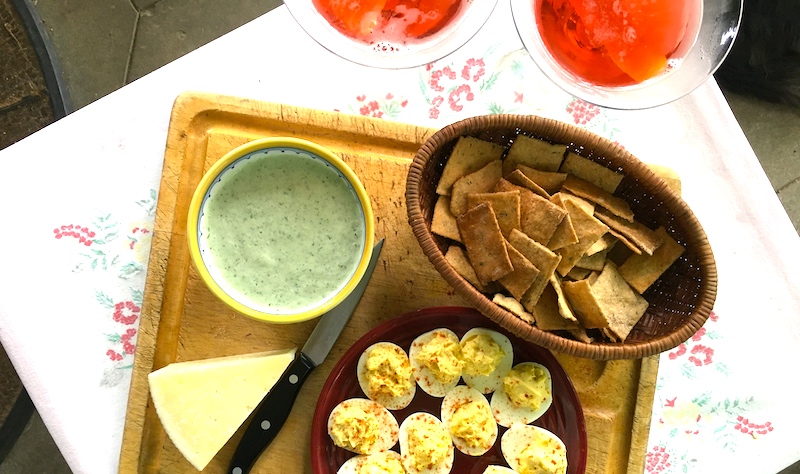
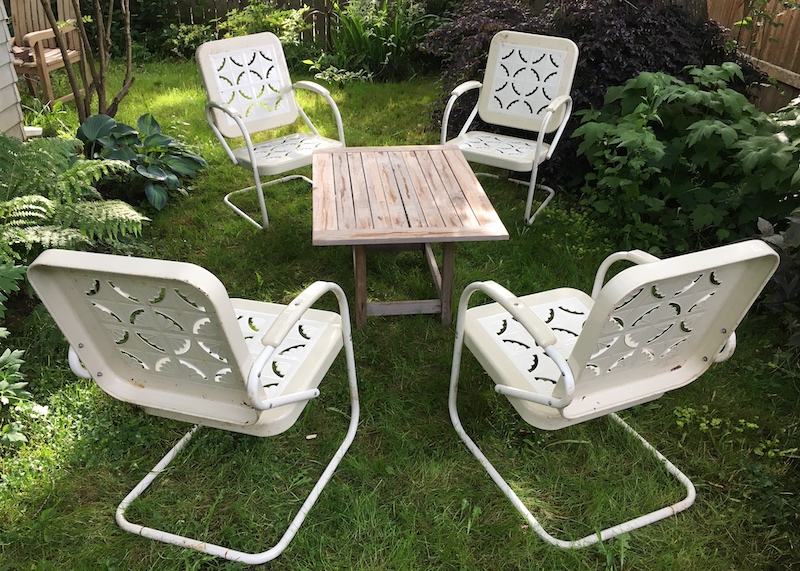
 I've been loving our mild spring weather that has allowed for roasting chicken in the oven and making soups on the stovetop, but hasn't precluded grilling outside or (distanced) happy hours in the back yard with friends. (Expect a separate post on outdoor happy hours in a pandemic, including appetizers and drinks!)
 Personally, my cranky quotient has been off the charts lately. (Just ask Dave.)
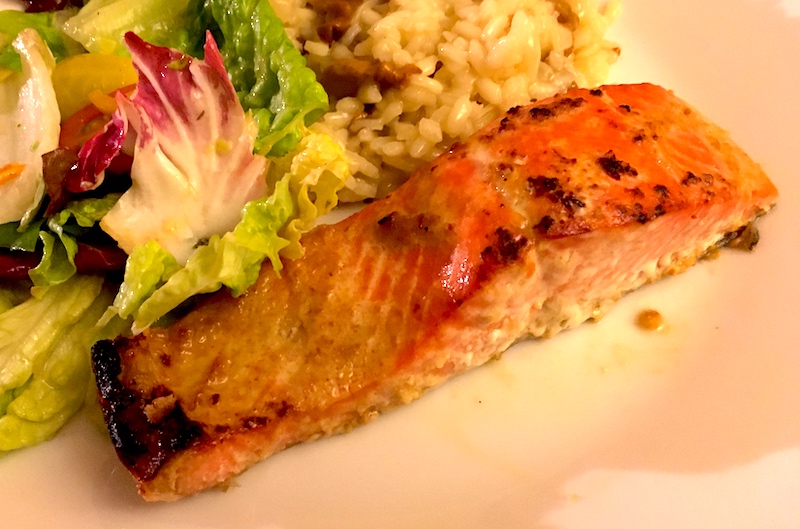
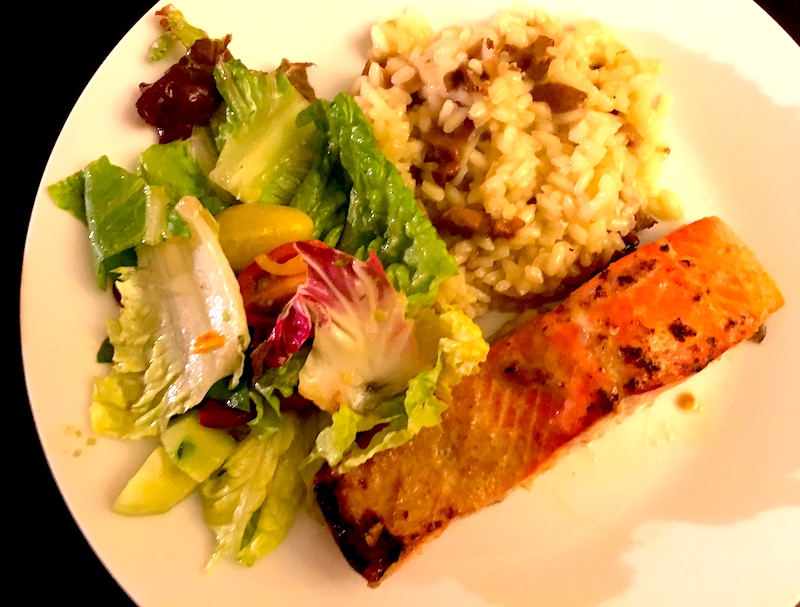 So now's the time to go to the freezer and haul out one of those sides of salmon
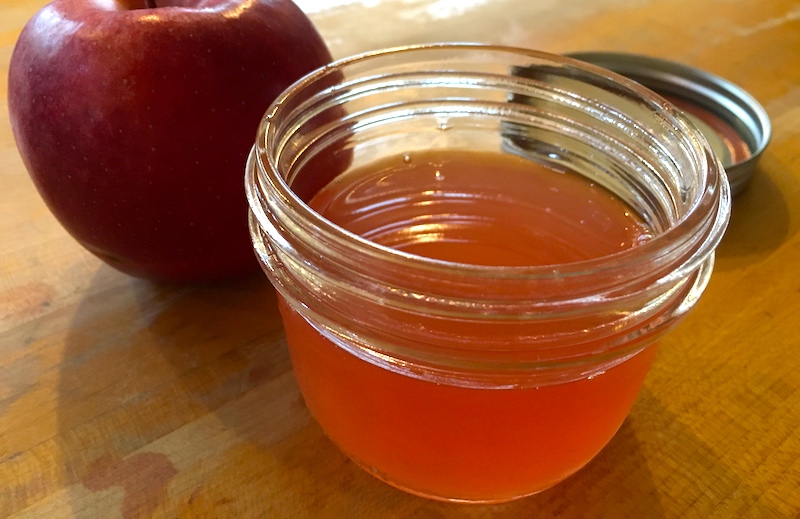
 Looking up a few vinegar how-to websites made it even more of a slap-myself moment.