Adversity Brings Opportunity in the Form of...Strawberry Sorbet?
I'm sure some sage has written wise words correlating adversity with opportunity and growth. And you would be well within your rights to ask why I'm bringing this up in a post that's ostensibly a recipe for strawberry sorbet, and the answer is this: When Dave developed lactose intolerance in his early 40s we were devastated. As I wrote at the time:
It was a very bad day. One of those days that forever changes you. A day that delineates a definite "Before" and "After." The life-altering occurrence? My husband found out he was lactose intolerant. And, no, not just the "take a Lactaid pill and have some cheesecake anyway" kind of lactose intolerant, but the kind where it's inadvisable to partake of butter, fresh cheeses or any product containing milk without risking...ahem...shall we say "explosive repercussions."
As Joni Mitchell wrote: "You don't know what you've got till it's gone."
 It led to a complete rethinking of our very profligate and, frankly, thoughtless use of dairy in everything from our morning toast to creamy casseroles to buttery pastries and desserts. Store shelves today proudly proclaim their products to be "dairy free" and "vegan," with lactose-free butter, milk and cheeses in stock almost everywhere. Even restaurant menus now offer dairy-free options and label entrées "DF" or "V," but thirty years ago it meant switching to margarine and tofu-based simulacra of our beloved dairy products.
And you could pretty much rule out a romantic date night—the machinations involved in trying to ascertain what was and wasn't available, the wait staffs' eyes rolling around their heads and a whimper of "I'll have to check with the kitchen" uttered in complete helplessness, then ordering something and hoping desperately they'd got it right made for a less-than-relaxing experience.
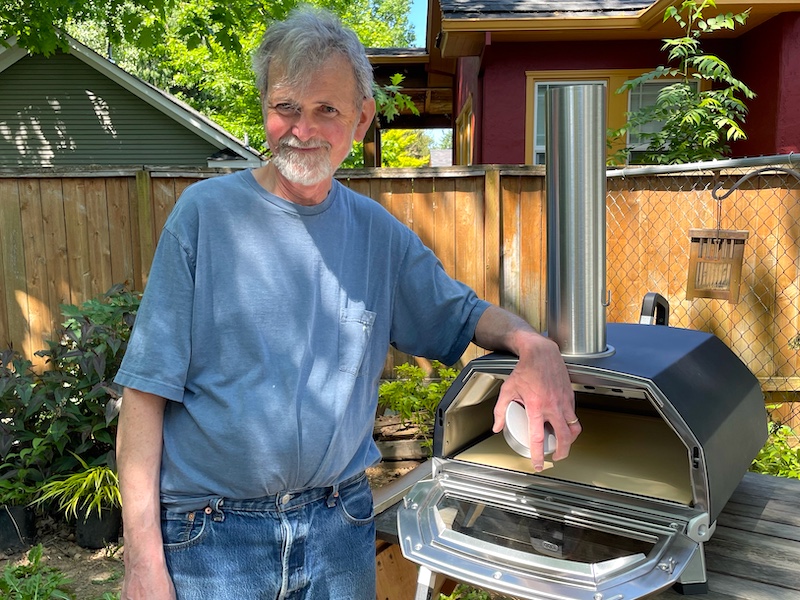
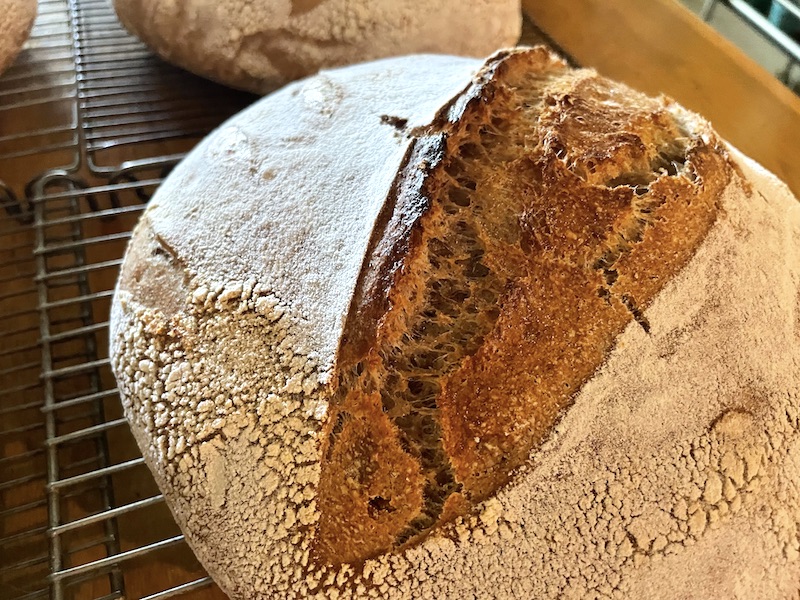
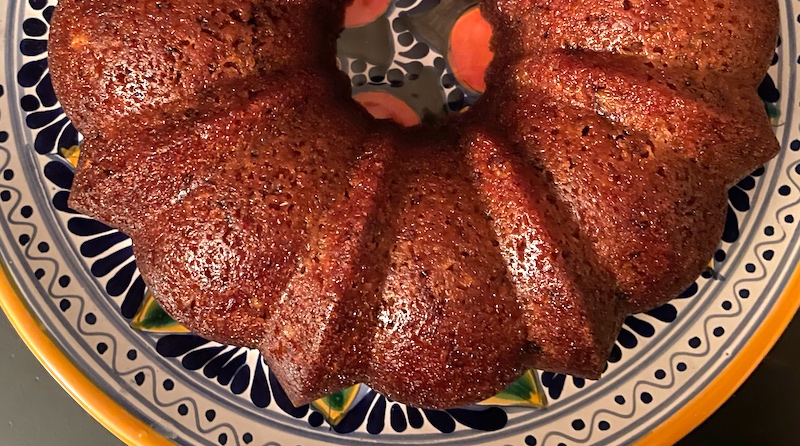
 But the upsides were legion, as well. One of the big reasons for Dave's dive into sourdough—yes, it predated the nation's "discovery" of this ancient technique during COVID, particularly by middle-aged white men—was because reading paragraph-long bread labels on shopping trips was taking way too long and the "may have been produced in a facility using dairy" descriptions felt too risky. I could also list benefits like discovering the infinite and delicious permutations of olive oil cakes, and the concomitant escalation in our use of (organic) olive oil, or, to get back to the point of this post, the discovery of fresh sorbets that were like the creamier, less icy Italian versions our Cuisinart ice cream maker produces.

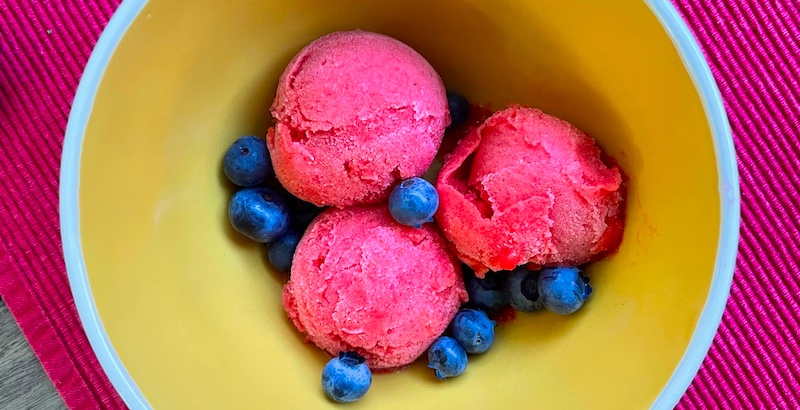
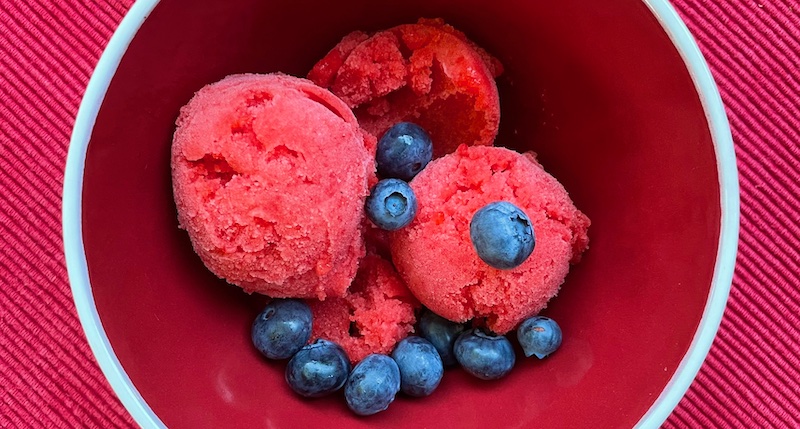
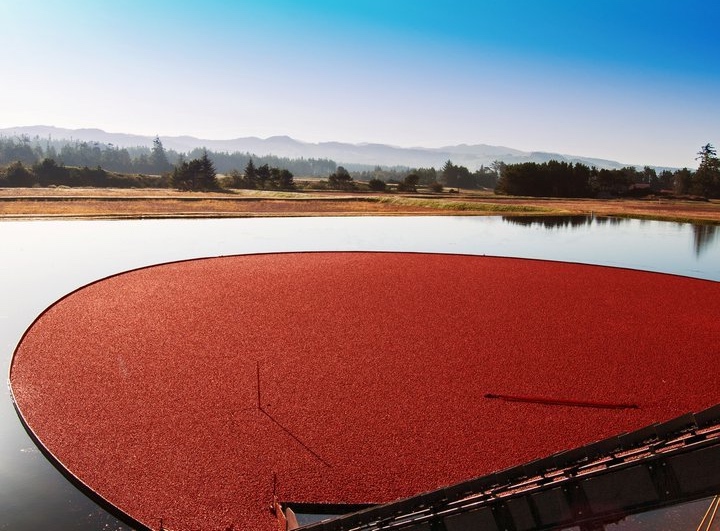
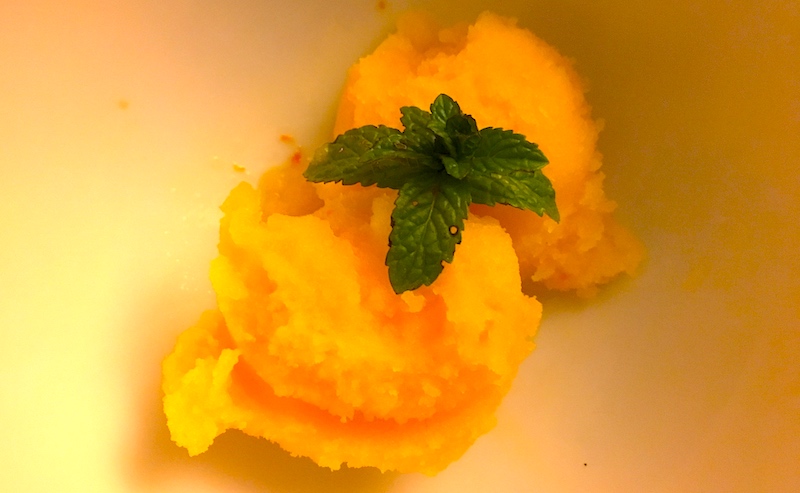
With local fruit season just beginning to burst onto the scene, you can count on several berry and stone fruit sorbets appearing as luscious cappers to backyard soirées here at Good Stuff NW. For instance, this strawberry version is easy, taking less than an hour to pop into freezer and then three or four hours to freeze.
Don't have an ice cream maker in your kitchen inventory? No problem! Read to the last part of the recipe below and check out how my friend Mary Bartlett made the incredible sorbet pictured on the left using just a whisk and her freezer.
Fresh Strawberry Sorbet
2 pints fresh strawberries
1 1/4 cups simple syrup (equal parts sugar and water, warmed and stirred until sugar is completely dissolved)
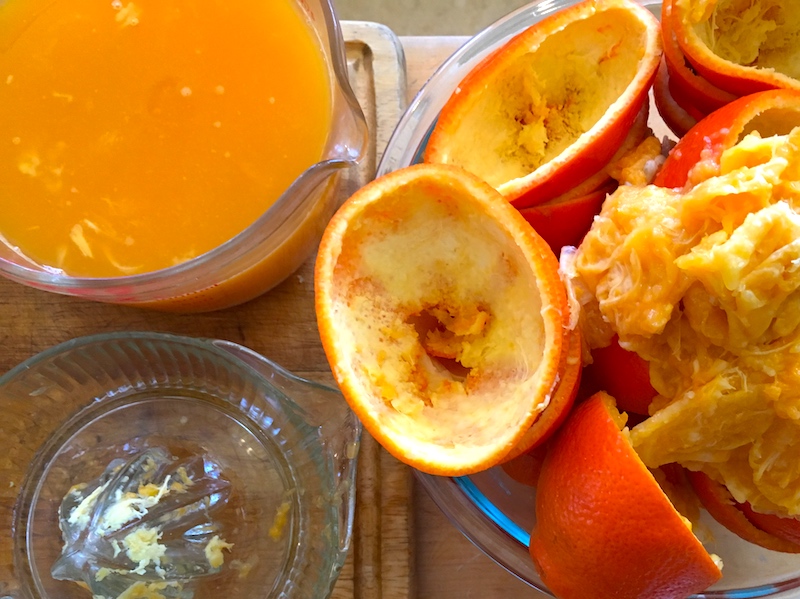
2 Tbsp. fresh-squeezed orange juice or a teaspoon or two of triple sec or Cointreau (optional)
Cool the simple syrup in the refrigerator.
Put the rinsed, stemmed and halved strawberries into a food processor or blender with a quarter cup of the simple syrup and blend until smooth. Pour the mixture into a larger bowl. Mix in the rest of the simple syrup (or to taste). Mix in the orange juice or booze, if using. Pour into an ice cream/sorbet machine and follow manufacturer’s directions. Freeze for a few hours before serving.
No ice cream machine? No problem! My friend Mary Bartlett said: "Follow the instructions, make the base and put it in a bowl that will go into the freezer. Place the bowl in the freezer. After one hour, using a whisk, stir the mixture. (Pro tip: Keeping the whisk in the freezer between stirrings will help speed the process along.) Repeat this hourly for about 4 to 6 hours.
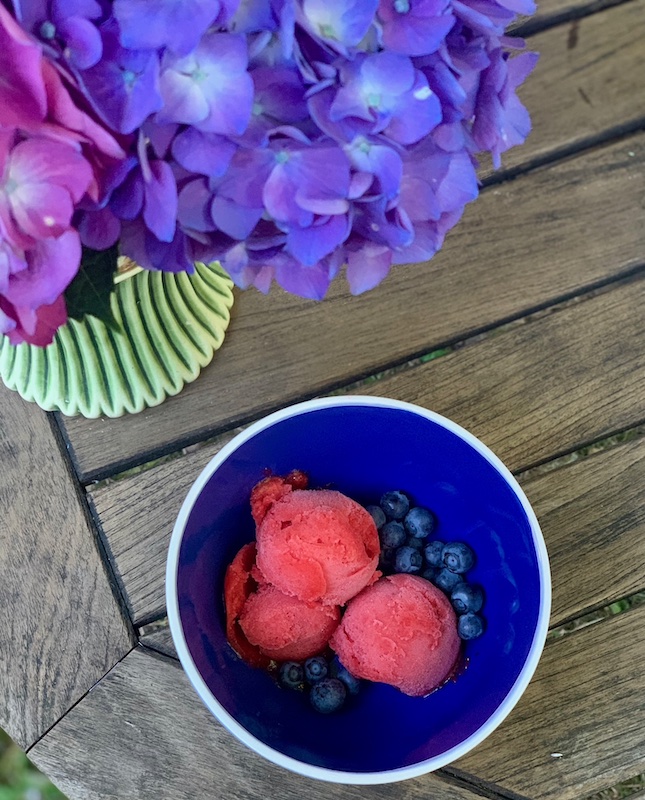
Photo of blue bowl and hydrangeas by Denise della Santina. Photo of sorbet in china cups by Mary Bartlett.


 Preheat the oven to 350°.

 But I digress.