Further Adventures in Sourdough: Focaccia!
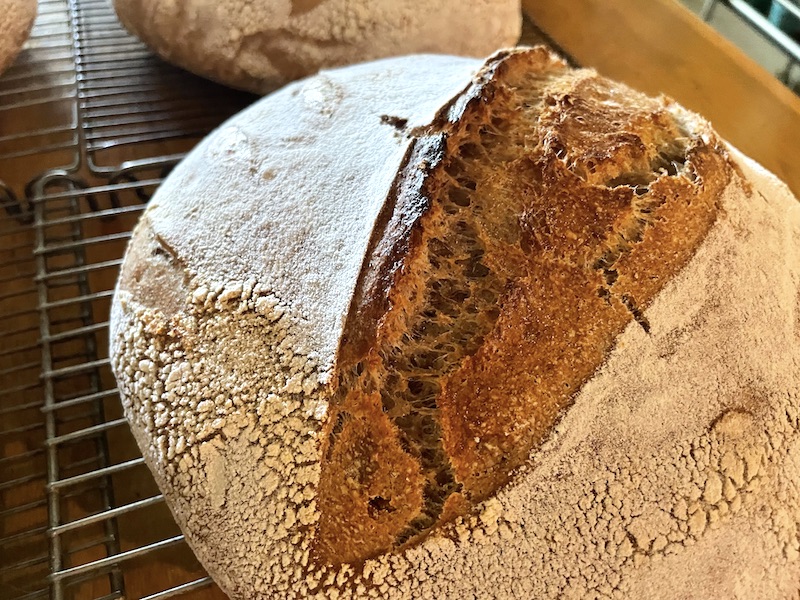
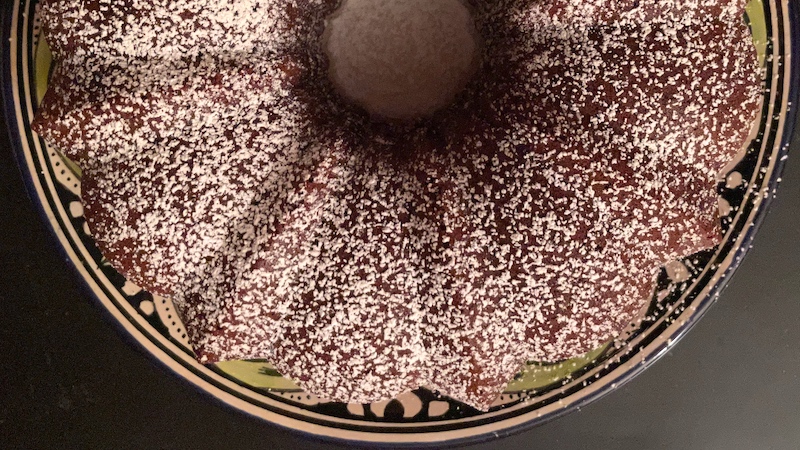
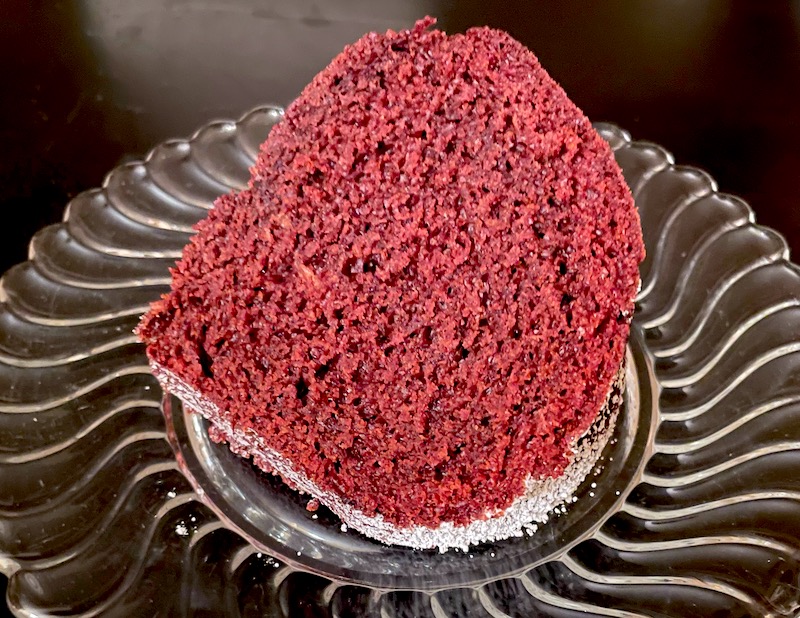
Over the last 15 or so years, Dave's sourdough journey has not only produced amazing breads, for which he's now milling his own locally grown, organic wheat, but to far-flung baking adventures including a luscious Sourdough Chocolate Cake—a stunner from King Arthur—and cookies, pancakes and waffles.
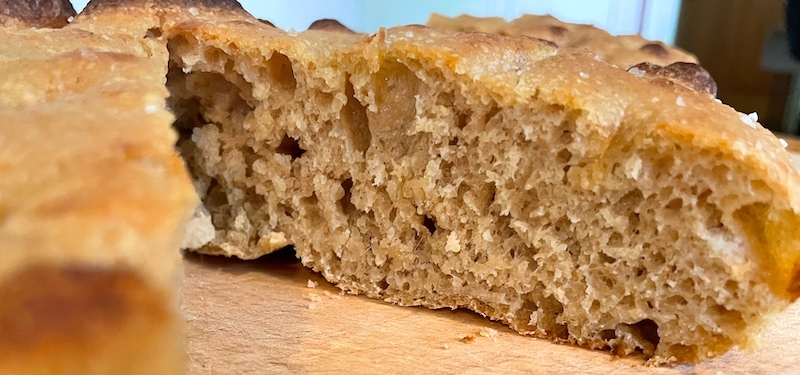
Lately, he's been playing around with different focaccia recipes, and pulled out one (again from King Arthur) where he substituted his sourdough for the yeast it called for. With a couple of modifications to the original recipe, we think he's come up with a real winner!
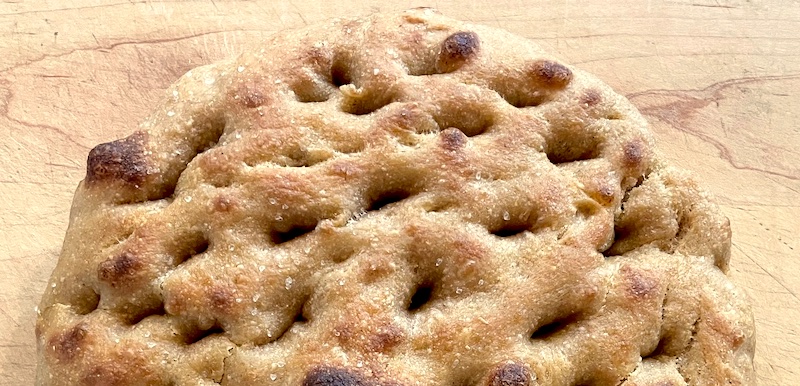
Sourdough Focaccia
Adapted from King Arthur's Big and Bubbly Focaccia
290 grams fed and active starter that is half flour and half water (see Note)
215 grams high-gluten flour (I used Chimacum hard red bread flour)
9 grams fine sea salt
1 teaspoon granulated sugar
139 grams water at about 80º
18 grams extra-virgin olive oil
To oil the baking pan, you’ll also need a bit more olive oil, and for sprinkling on top you’ll need about 2 Tablespoons of extra-virgin olive oil and a half-teaspoon to a teaspoon of coarse or flaky sea salt.
Mix the starter, water and 18 grams of oil in a large bowl to break up and disperse the starter. Whisk the flour, salt and sugar in a separate bowl, then add to the liquids and mix until completely combined. Cover and set aside.
After 15 minutes. uncover and do a set of bowl folds: With a wet hand, reach under an edge of the dough and grab some, stretch it up and pat it onto the center of the dough. Give the bowl a little turn and repeat the stretch. Repeat for a total of eight to 12 times. (There’s a good demonstration of bowl folds at King Arthur.) Cover and set aside.
After 15 minutes, wet your hand and repeat the bowl folds.
After 15 minutes, repeat.
After 15 minutes, repeat for fourth set of bowl folds..
Cover and let rise until doubled in size (probably two to four hours, depending on the temperature of the room and the activity of the starter).
When dough has doubled, prepare a 10-inch cast-iron pan or a 9-inch-by-9-inch baking pan: Lightly oil the bottom and sides of the pan. Line the bottom and sides of the oiled pan with parchment, leaving enough parchment to extend enough above two opposite sides so that you’ll have handles to remove the loaf from the pan partway through the baking. Generously oil the dough side of the parchment.
Gently place the risen dough into the pan, then with the help of a bowl scraper and using your hands as paddles, turn the dough over to oil both sides. Gently stretch the dough toward the edges of the pan. Cover and let rise until it is pillowy and has risen almost to the top of the pan.
Toward the end of the rise, preheat the oven to 475º with a rack a third of the way from the top and a third of the way from the bottom.
When the dough has risen, dip your fingers in oil and gently stick your fingers in the dough so they touch the bottom, then pull them out. Do this all over the dough until it is covered in dimples. Drizzle a tablespoon of oil over the dough. Sprinkle with a half teaspoon to a teaspoon of the coarse or flaky salt.
Bake in the lower rack for 15 to 18 minutes, until the high spots have browned and the lower spots are very lightly browned. If the bread isn’t browned enough, move the pan to the upper rack and broil for a minute, watching closely to avoid burning.
Remove from the oven and turn the oven off. Lift the loaf from the pan using the parchment handles. Place the loaf directly on the lower rack and leave in the oven for five minutes until the sides are lightly browned and the loaf is crisp.
Remove from the oven and place on a rack to cool.
Note: This recipe is basically the King Arthur recipe but eliminating the yeast and using sourdough starter instead. Thus the 290 grams of starter is the total I had on hand after feeding; since it’s 100 percent hydration, I deducted 145 grams from the 360 grams of flour in the KA recipe and 145 grams of water from the 284 in the recipe. Changing from yeast to sourdough also adds to the rising time for the dough.

 When it's all bubbly and ready to go to work, you'll need to save out a bit for your next project down the road, then take out however much you need for the job at hand. That leaves about half of that ready-to-rock starter sitting there staring at you.
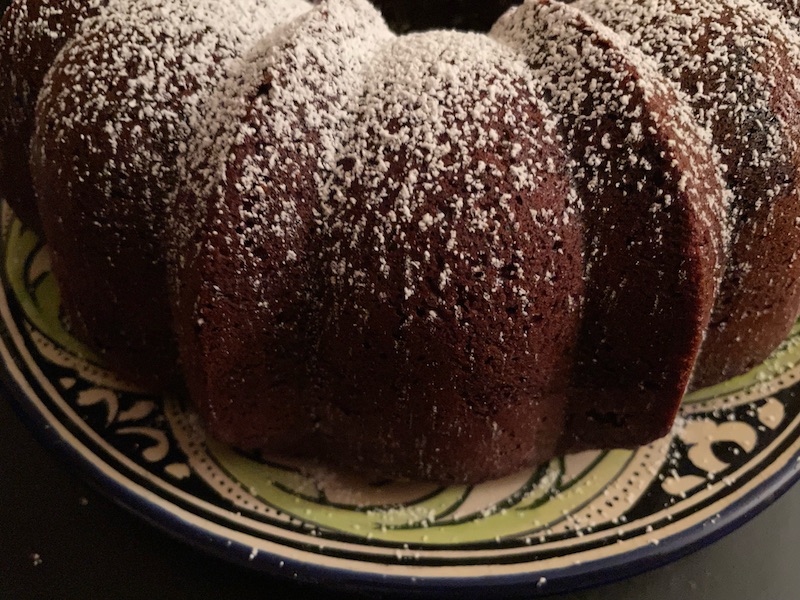 Fortunately Dave is always on the prowl for recipes using sourdough discard, and is a dedicated fan of the
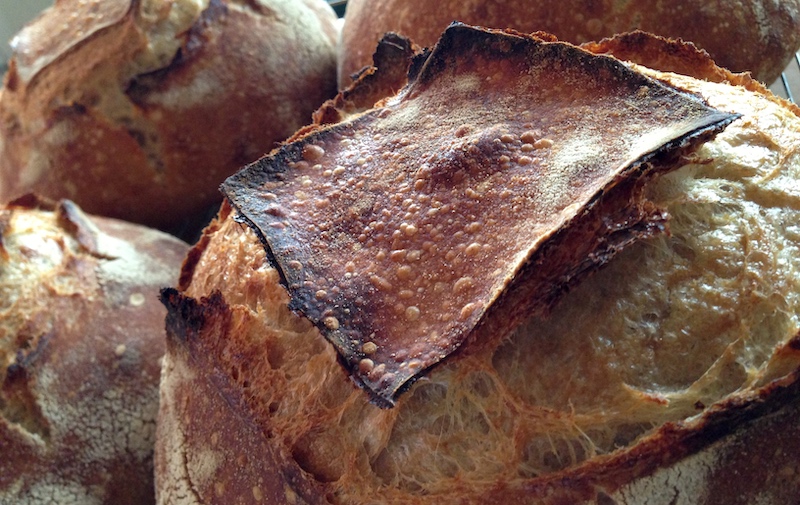
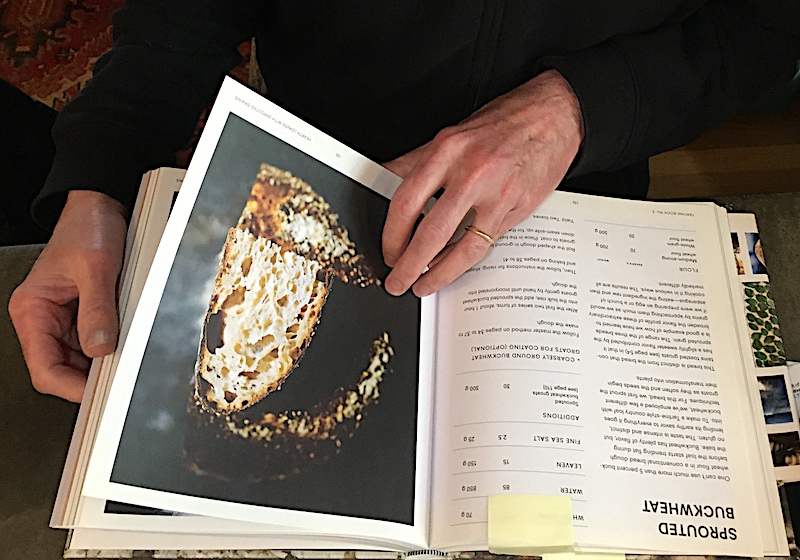 Then he got Chad Robertson's book,
 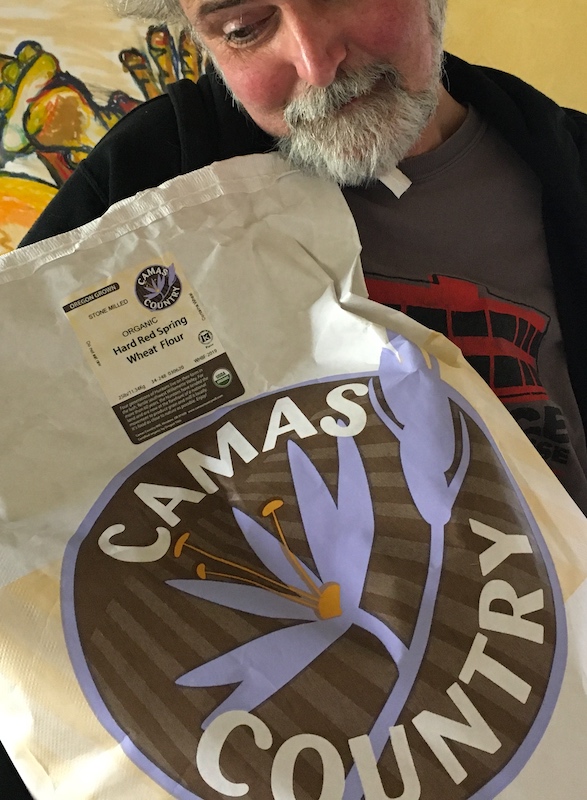 Shortly after that he began reading about locally grown grains being pioneered by farmers and institutions like
 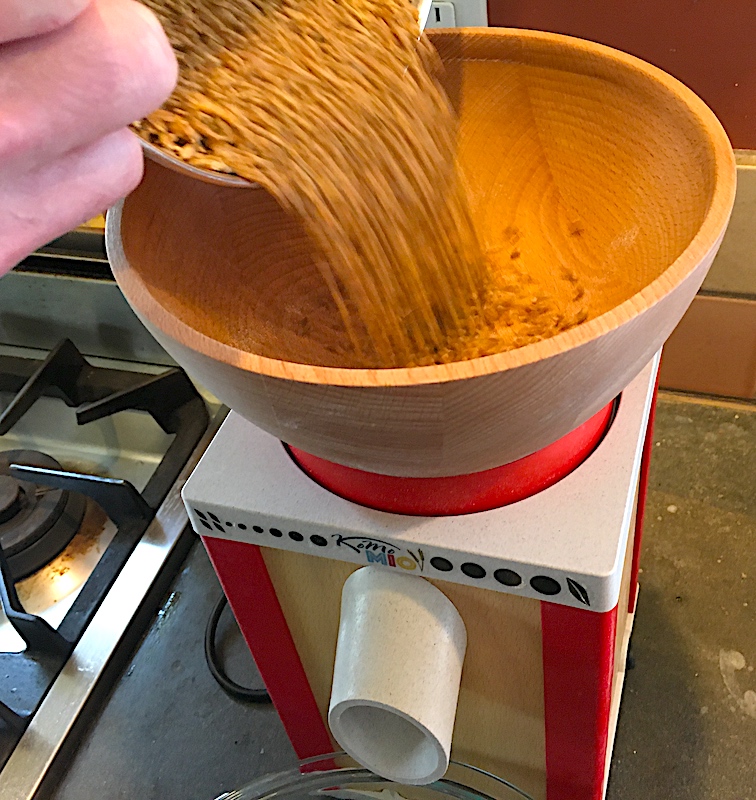 Now those 25-pound bags of flour have turned into 25-pound bags of grains with the addition of a