
Root Vegetable Primer: Sweet Potatoes and Yams
The e-mails I get from local farmers' markets are often packed with information, not only about the vendors you'll find there each week, but often containing helpful information and recipes for the seasonal products stacked on their vendors' tables. The essay below, for instance, is from a recent Beaverton Farmers Market newsletter:
Most people think that they know the difference between sweet potatoes and yams, but they have been deceived. Sweet potatoes are not a type of yam, and yams are not a type of sweet potato. They are both tuberous root vegetables that come from a flowering plant, but they are not related and actually don’t have a lot in common. Yams are native to Africa and Asia and are related to lilies. Compared to sweet potatoes, yams are starchier and drier. In our country, yams are likely to be found in international and specialty markets, if at all. Sweet potatoes are the vegetables that you find in our grocery stores and farmers' markets.

Sweet potatoes come from the morning glory family (Ipomoea). Of the numerous varieties grown in the U.S., there are two major types: firm sweet potatoes, which have golden skin and paler flesh, and soft sweet potatoes, which have copper skin and orange flesh. The firm varieties cook up firm and a little waxy, the soft varieties are creamy, fluffy, and moist. Firm varieties were the first to be grown in the U.S. When we started growing the soft varieties, it was felt that there was a need to call them something different so they decided to call them “yams." This was a marketing decision, not a botanical one.

Yams have rough brown skin and a dry, starchy texture and grow mainly in Europe, Asia and Africa. The word “yam” comes from the West African word “nyami," which means “to eat.” Sweet potatoes, on the other hand, are native to North America, have a conical shape, are usually red or orange in color, and have a sweet and creamy texture, which makes them very versatile and easy to cook with.
Roasted Yams or Sweet Potatoes Your Way
Recipe from the Good Stuff NW files.
This is a basic recipe that you can adapt any way you want. Roast the sweet potatoes in the oven, then serve them as is, or slather with butter; sweeten with a drizzle of maple syrup or a sprinkling of brown sugar and a splash of lemon; or simply improvise!
2-3 large yams or sweet potatoes, peeled and cut crosswise in 1/2" slices
2-3 cloves garlic, minced
2 Tbsp. olive oil
1/2 tsp. salt
Herbs, optional
Preheat oven to 350°.
Place slices in a large bowl with garlic, olive oil, salt and herbs, if using. Stir to combine and coat the slices. Line a baking sheet with parchment paper and lay the slices on it in a single layer. Place in oven and roast for 30-45 minutes until they can be easily pierced with a fork. Serve as is or zhoosh to your heart's content.
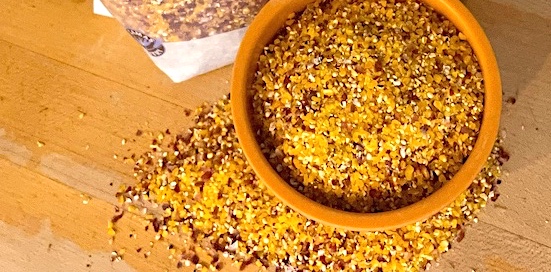
Top photo: Nat, Riverland Family Farm, courtesy Beaverton Farmers Market.

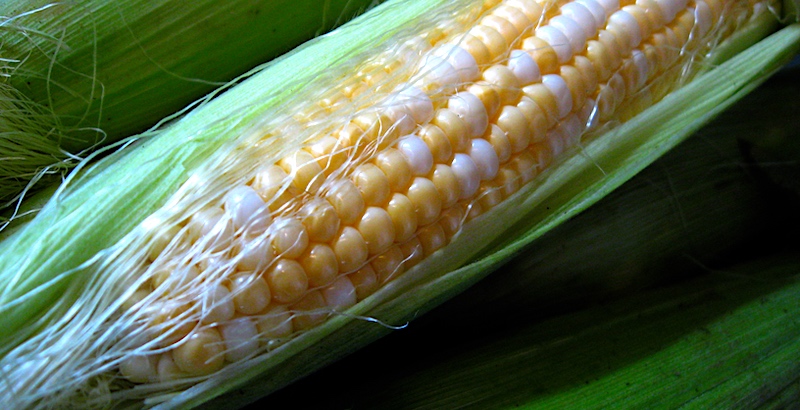
 Across the street in front of our house was another row of houses identical to ours, beyond which stretched another field, this one planted with row upon row of corn. All the kids on our street would play hide-and-seek in that field, losing each other in the sameness of the shadowy stalks that stretched into the sky, their tassels glowing in the evening light. During the late summer I'd often wander off into the field on my own and pick an ear or two, peeling back the green husk and nibbling the sweet raw corn that always tasted better than anything boiled and buttered, and only emerge when I heard my mother calling from the front porch to come in for dinner.
 This year, just as the early July heat wave was hitting the Northwest with a vengeance, our


