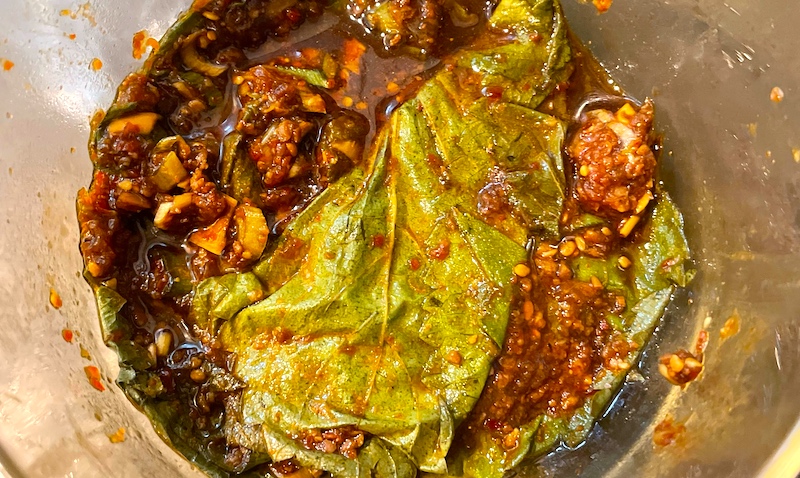
A Little Goes a Long Way: Fermented Shiso
Okay, so this recipe is hitting on several cylinders at once for me. It's Korean, a cuisine I'm exploring these days—see the recipes for Kimchi and Gochujang I've written about recently—and it fits into the category of banchan, a collective name for small, pungent side dishes served with rice. And, like kimchi, it's a fermented food, a category that scared the dickens out of me for most of my life due to the dire warnings of my mother, who had the misfortune to major in dietetics in college at a time when anything that wasn't cooked within an inch of its life was sure to kill you on the spot.
 It's made using shiso leaves, halfway between a leafy green and an herb that the New York Times described as "a mysterious, bright taste that reminds people of mint, basil, tarragon, cilantro, cinnamon, anise or the smell of a mountain meadow after a rainstorm." (Ooooookay…?) I'd say it's flavor is on the same spectrum as cilantro: definitely pungent, with a slightly minty twang. Shiso is, for me, a little strong to use in a salad, for instance, but the process of fermentation and the other ingredients in the brine—soy, ginger, garlic and the Korean ground peppers called gochugaru—seem to tame its somewhat, shall we say, overpowering personality.
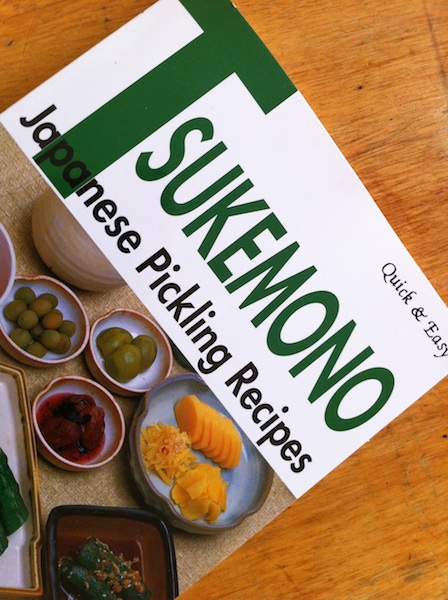 The recipe is adapted from a book I absolutely love, Tsukemono: Japanese Pickling Recipes by Ikuko Hisamatsu, a collection of quick, easy recipes for everyone from beginners to masters. It was recommended to me by Kevin Gibson of Portland's Davenport restaurant when I asked about good books on pickling, since I'd known about his fascination with the art from his days at Evoe, where he had a literal bank of large, colorful jars of pickled items displayed on the front counter.
Another nice thing about this particular ferment is that it only takes overnight to work its magic. Plus it only makes a small amount, since the leaves shrink mightily in the process, so you're not stuck with jars and jars of the stuff hanging around in the back of the fridge.
So far a small chiffonade has accented rice dishes, a curry, grilled fish and even deviled eggs. I'd say that's a darn good start!
Fermented Shiso Leaves in Soy Sauce
Adapted from Tsukemono: Japanese Pickling Recipes by Ikuko Hisamatsu
30-40 shiso leaves
1/4 c. soy sauce
1 Tbsp. toasted sesame oil
1 Tbsp. gochugaru (Korean ground red pepper)
1 tsp. garlic, minced
1 Tbsp. green onion, minced
1 tsp. ginger, finely grated
2 tsp. fish sauce
1 tsp. sugar
Gently wash leaves under running water and pat dry with paper towels.
In a small mixing bowl combine soy sauce, sesame oil, gochugaru, garlic, green onion, ginger, fish sauce and sugar. Stir to dissolve sugar.
Lay leaves in several layers in a small flat-bottomed dish. Spoon pickling liquid over the top. Place a slightly smaller dish on top and put a weight in it (I used a can of beans) to press it down. Let stand for one hour and remove the weighted dish, scraping off any pickling liquid that sticks to it. Cover with lid or plastic wrap and let the dish sit on the counter overnight. The next day put it in the refrigerator. It should keep for at least a couple of weeks, if not longer.
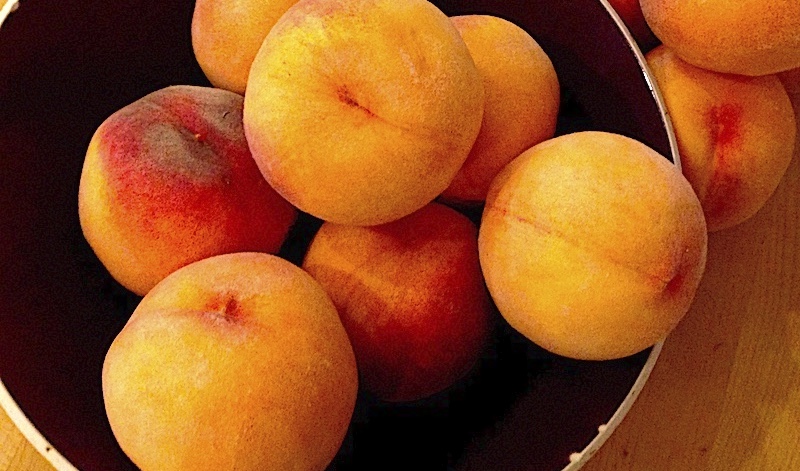
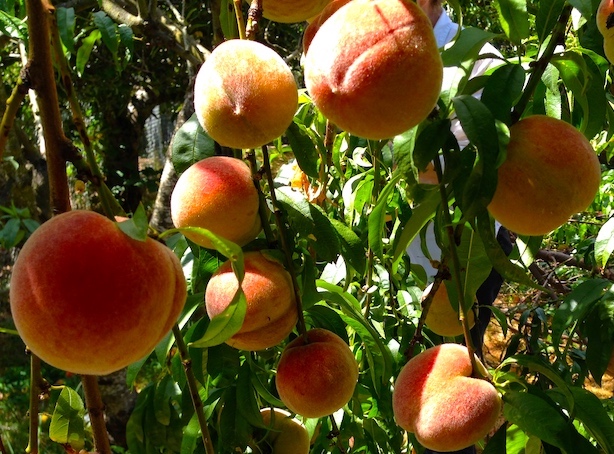 Among its many attributes, a medium peach is a mere 37 calories and is high in vitamins A, B, and C. Because a fully ripe peach is delicate and easily bruised, you will often find them sold just “under-ripe.” To fully ripen your fruit, place them on the counter in a brown paper sack, folded closed, for two or three days. (Do not try this in a plastic bag. As the fruit respires, it gives off moisture which will collect on the plastic bag and cause the fruit to rot.) The ripe fruit will be soft and fragrant. Refrigerate them at this point.
 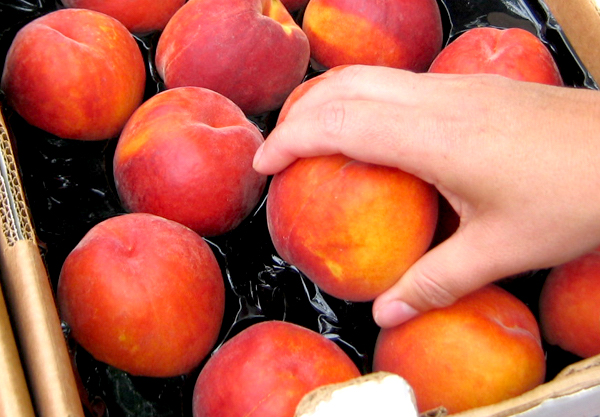 Like the plum and the apricot, peaches are members of the rose family (Rosaceae), distinguished by their velvety skin. If the peach fuzz bothers you, try rubbing the fruit with a terry handtowel after washing, it will diminish the feel of the fuzz on your mouth. Of course, you could also choose to purchase nectarines instead if the fuzzy skin bothers you.
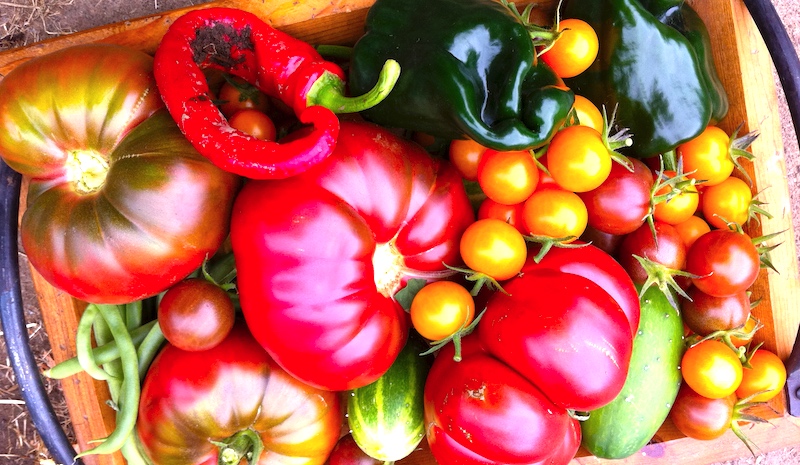

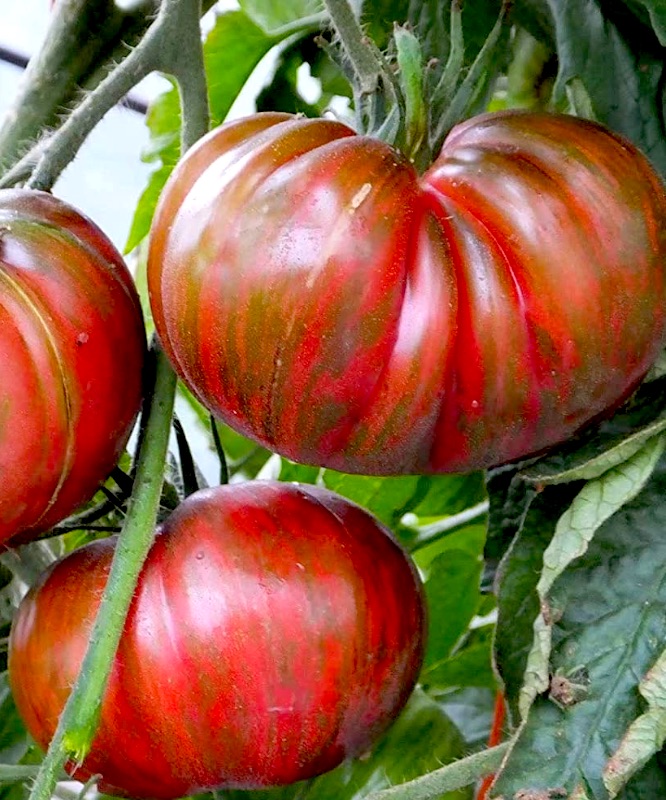
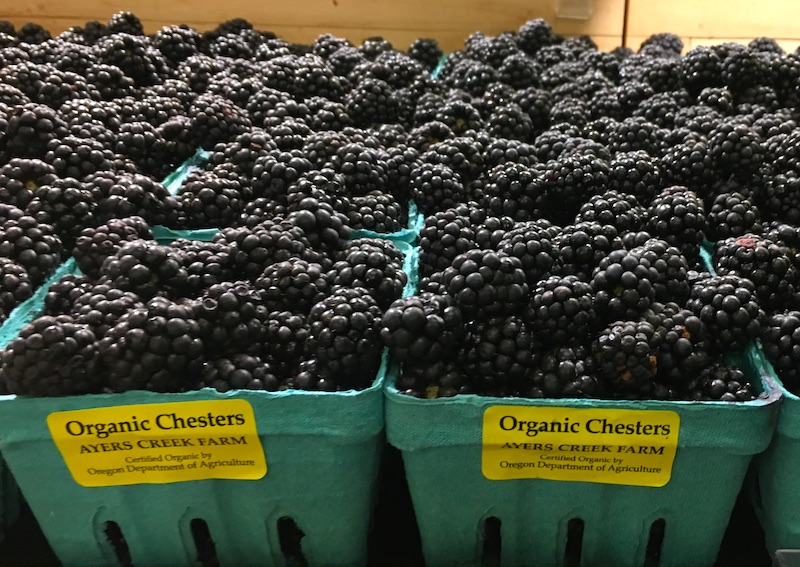
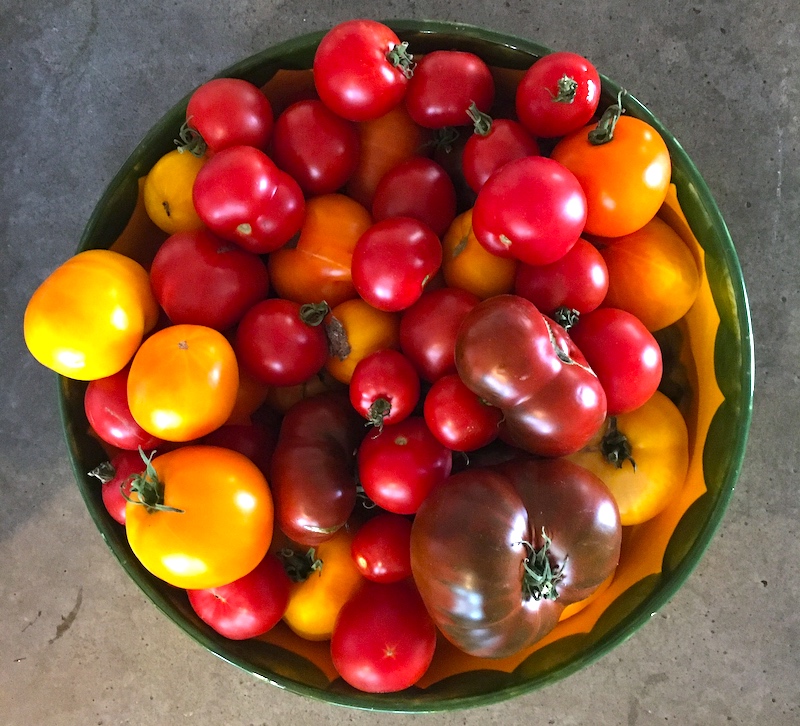
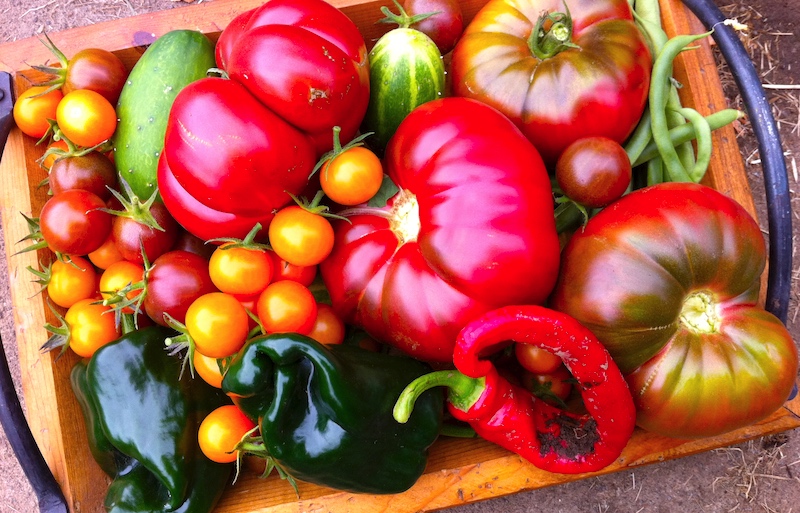
 The time is now to get your heirloom tomatoes at the farmers' markets, and there's a plethora of peppers, eggplant, beans, corn and peaches tumbling in from local farms. Strawberries and cane fruit like raspberries and blackberries are nearly done, as are summer squash and cucumbers, so if you haven't got around to making your grandma's favorite dill pickles yet, you'd best get cracking.
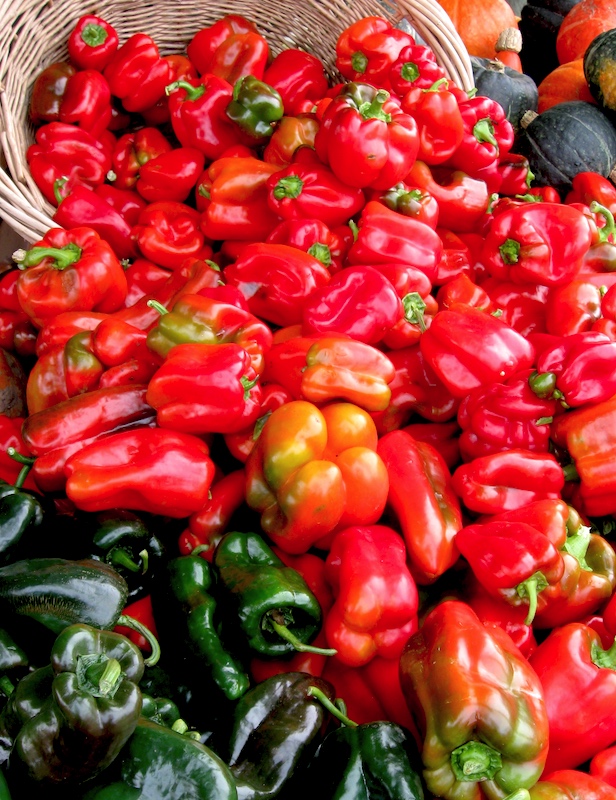 "It's been kinda strange," he said, recounting cooler temperatures early in the summer that got everything off to a late start, with some early crops experiencing a short, not-very-robust season. Tomatoes were delayed early on, and then 100-degree days like those we've had lately "put the kibosh" on some varieties that are normally prolific in midsummer, so expect a slightly shortened season.
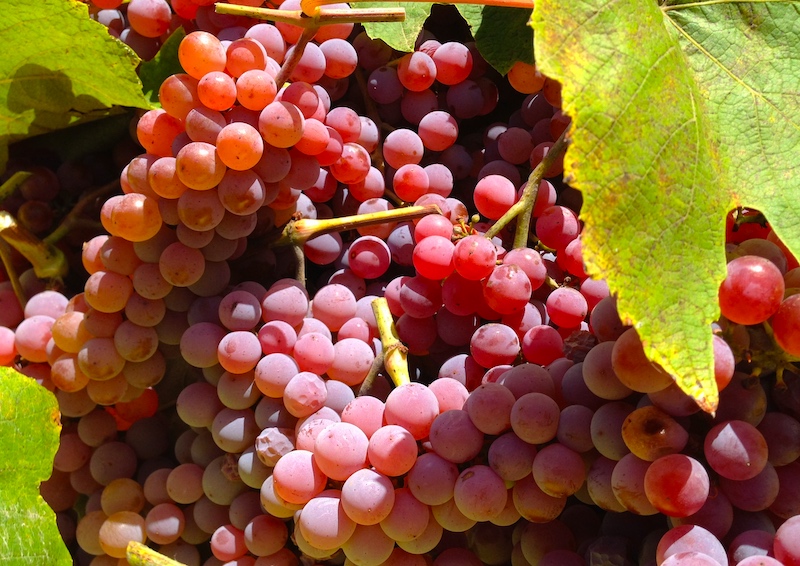 Plums and table grapes are just getting started, as are local melons, and kiwi berries and ground cherries should start appearing soon. We can also look forward to freshly dug potatoes and onions by the end of the month, as well as winter squash like delicata and butternuts. Local apples and pears will be arriving from orchards by the end of September, though Alsberg said he's seeing a few local Gravensteins listed on his farmers' hot sheets, along with Zestar, Ginger Gold and Pristine varieties.
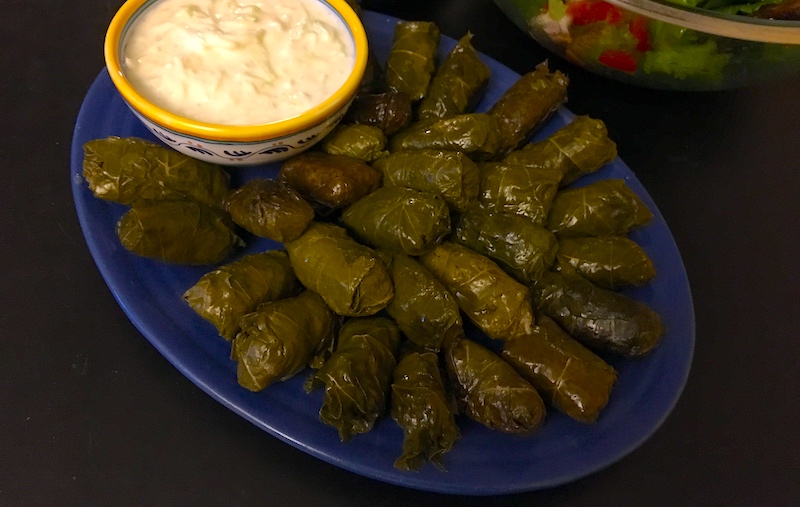
 So it was fortuitous that my friend, gifted cook and writer
  "We lived in Greece for five-plus years, so our Greek street cred is far better than elsewhere," Denise said. "Mom learned from the village ladies even before she could speak the language."
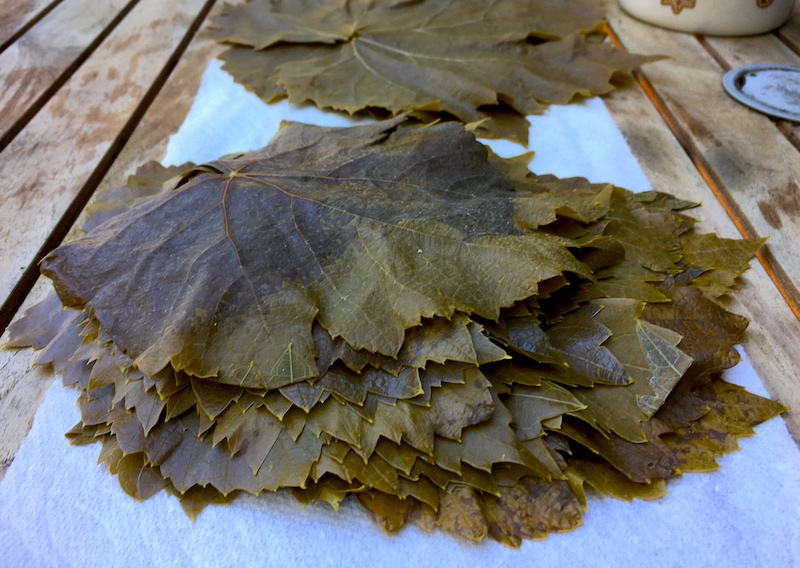
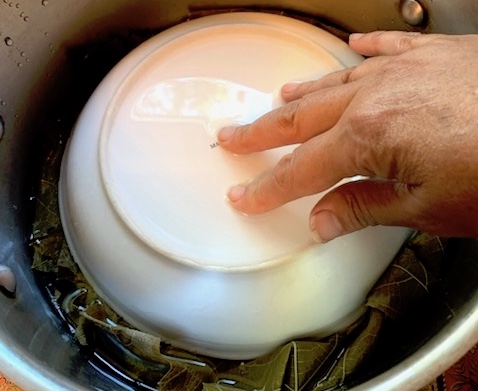
 I arrived at her house the next morning with a shopping bag stuffed full of leaves of various sizes, which turned out to be helpful, since we could use the smaller ones for stuffing and the larger leaves for covering the rolls while they cooked. She trimmed the stems and softened them in a pot of salted water on the stove while I chatted from the doorway—pandemic, remember—then brought them out to the deck where I proceeded to separate and dry the leaves.
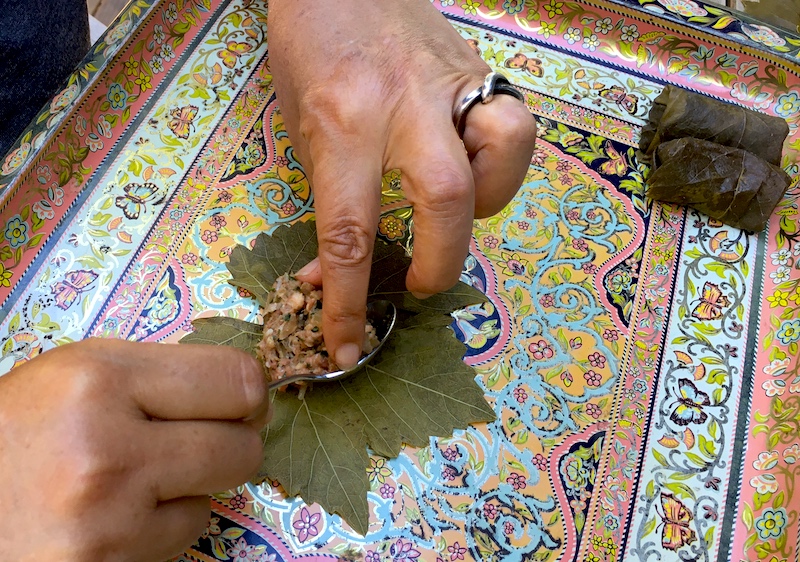
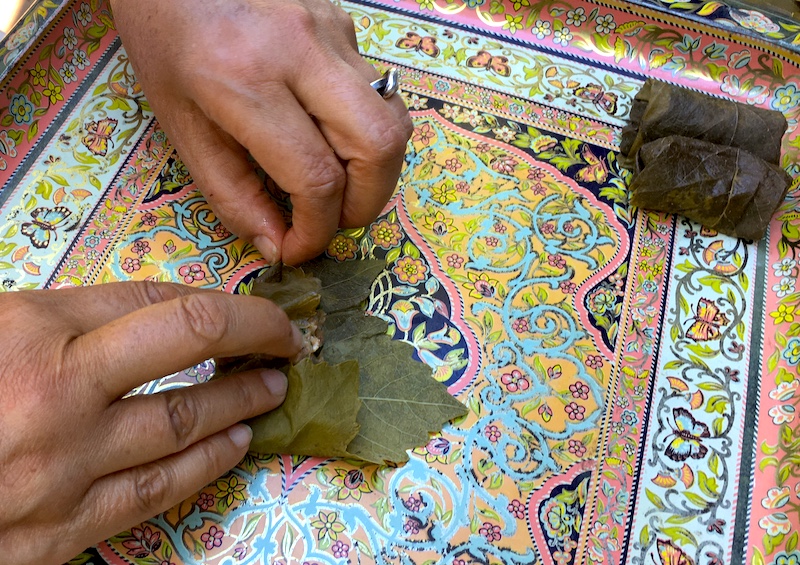
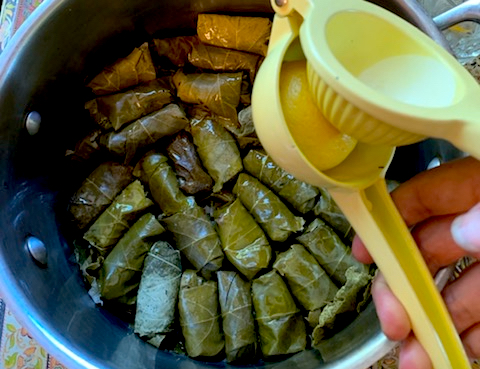 Ever the efficient project manager, Denise had cooked and cooled the onions the night before so she could combine them with the meat and spices just before I arrived. In proper socially distanced fashion we set up our work stations at opposite ends of the long table, scissors at the ready should we need to clip some tough leaf veins and a big pot of the meat-rice mixture each.
 Magic!
 Twitty is an author, teacher, and culinary historian. He explores culinary injustice at
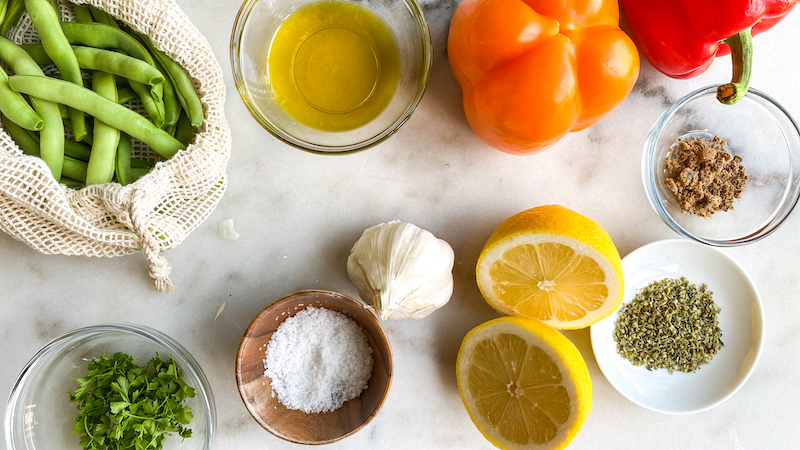
 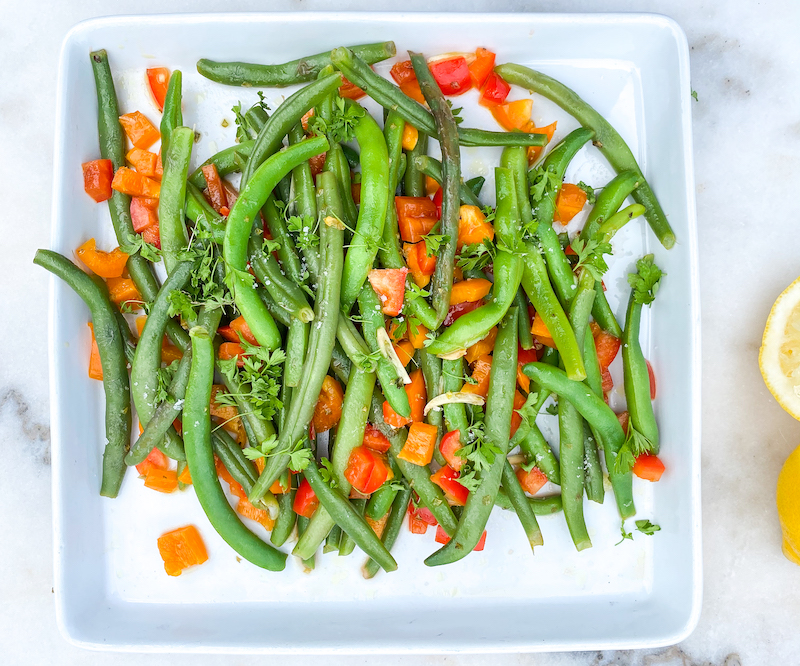 1 1/2 lbs. fresh green beans, trimmed and snapped
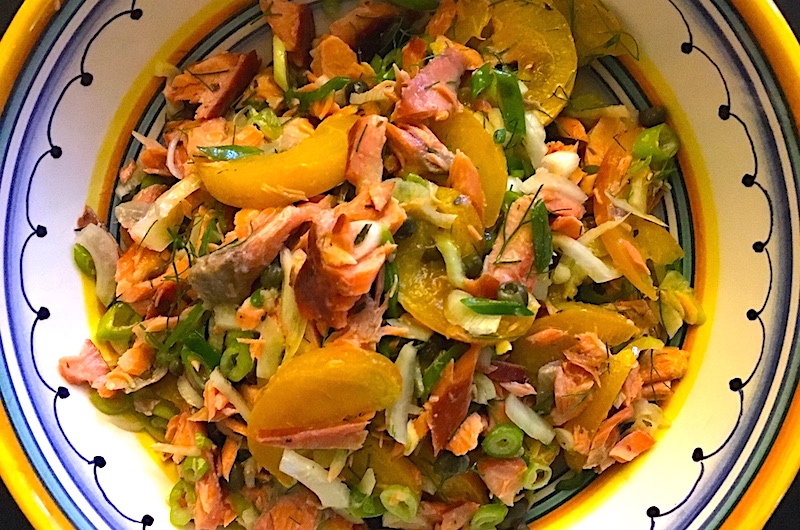
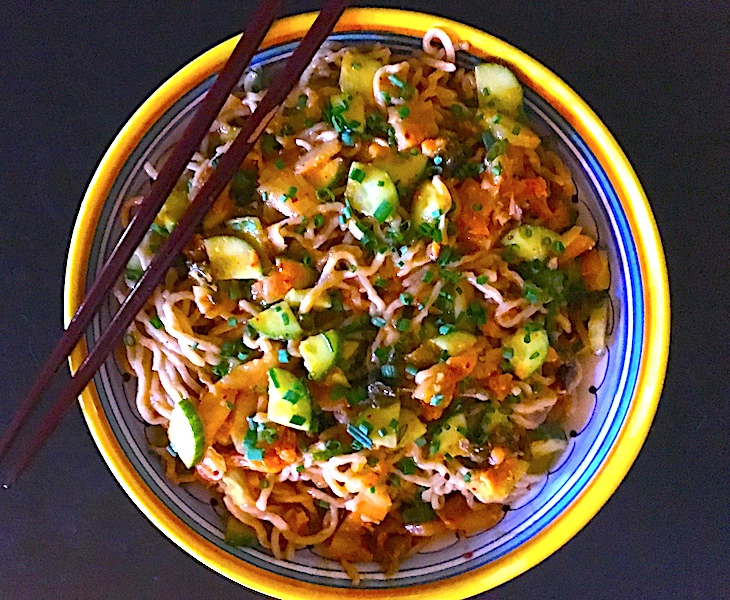 15-Minute Ramen Noodle Salad with Kimchi
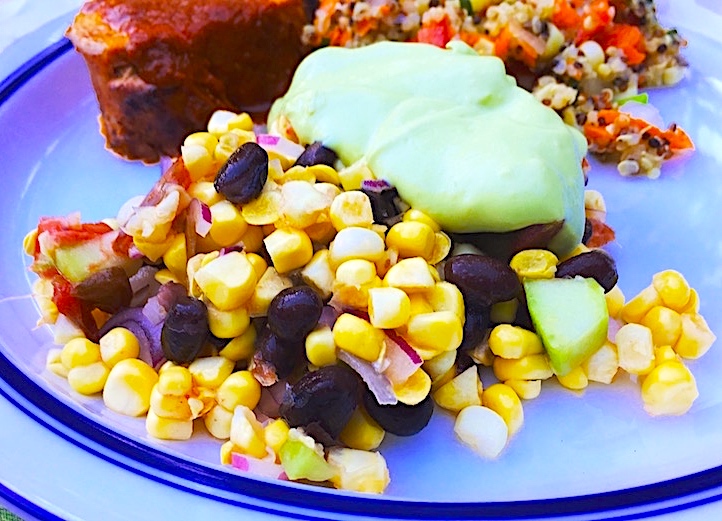 Corn Salad with Avocado Crema
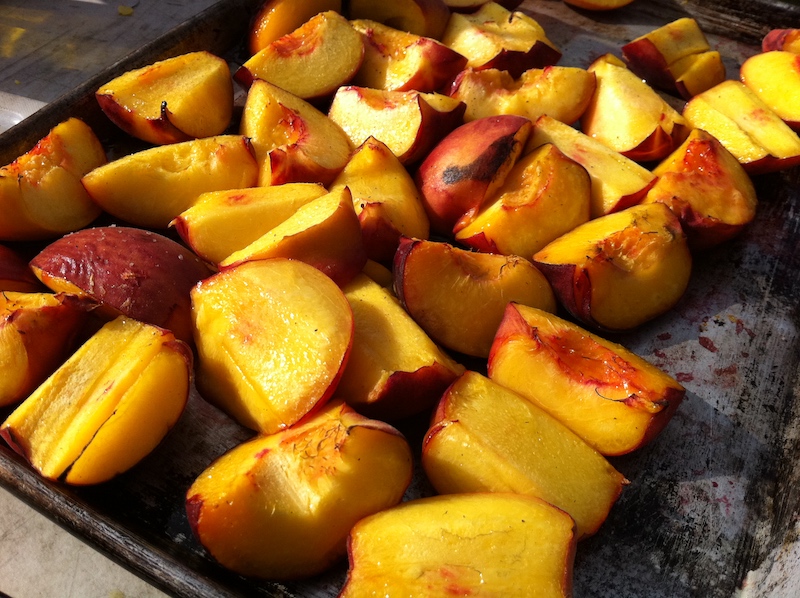 Nectarine and Cherry Salad with Roasted Hazelnuts
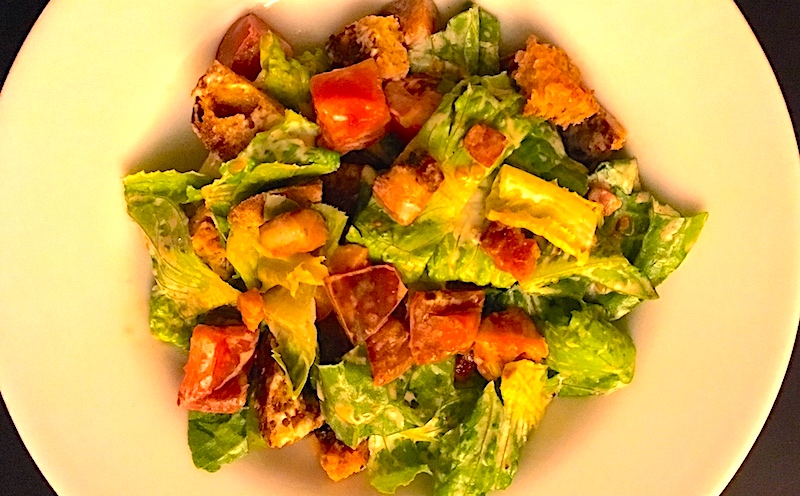
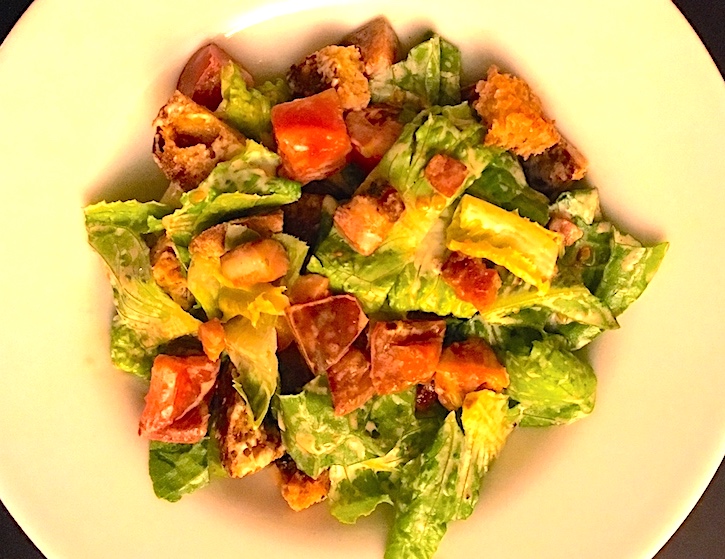 BLT Salad
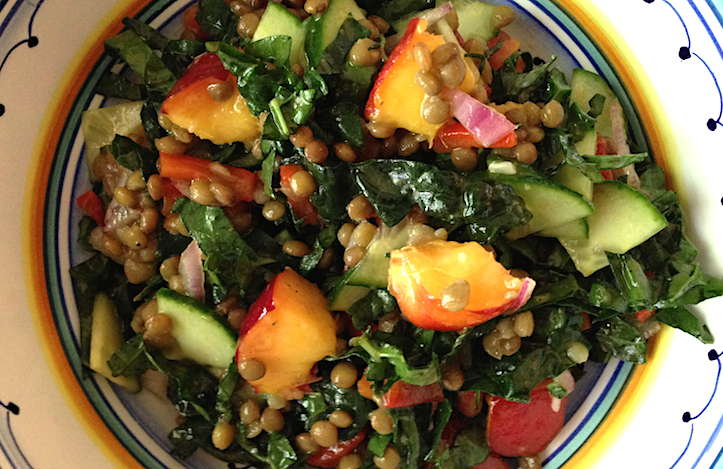 Kale, Lentil and Nectarine Salad