Winter Breakfast Warm-Up: Applesauce Bran Muffins from The Bread Lab
Back in my college days in the 1970s, bran muffins were lumped into the category of "hippie food" along with granola, hummus, brown rice and pretty much all whole foods.
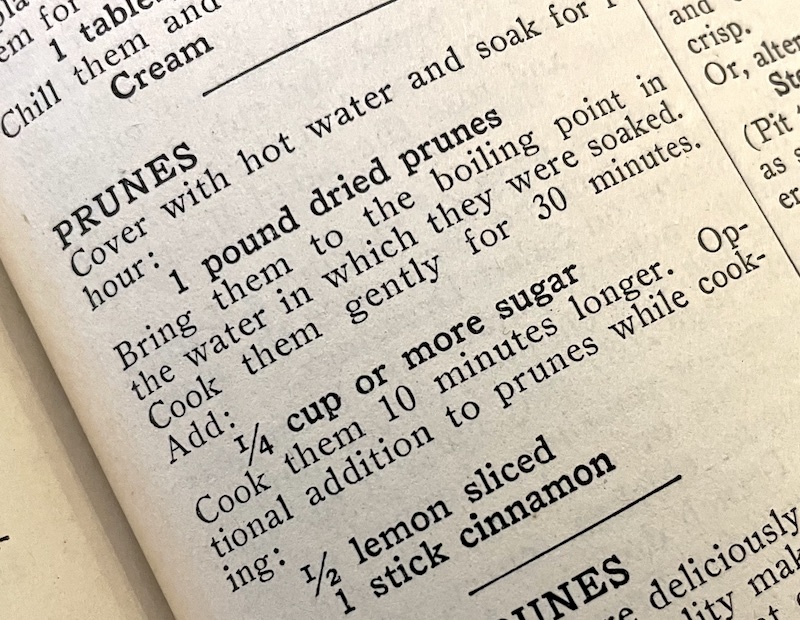
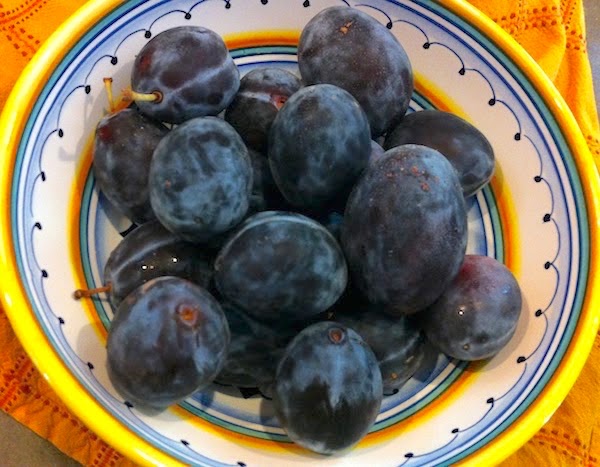
In my grandmother's time, bran and other foods, like prunes, were used as "digestive aids," a euphemism for their laxative properties. I remember my grandmother, a ranch wife in Eastern Oregon, putting up a dozen jars of stewed prunes every winter, the little black fruits doled out in moderation lest they prove too effective at their task.
I, of course, would sneak them out of their hiding place in her fridge whenever I thought she wasn't looking, enjoying their savory sweetness and even sipping the syrup they were preserved in—with no discernible ill effect as far as my grade-school self could tell.
(I was kind of a weird kid, foodwise, preferring having a slice of pie to a frosting-slathered cake, chewing on raw rhubarb to sucking on candy and generally favoring savory to sweet. But I digress.)

isn't all that appetizing.
After my grandmother's day, bran's laxative superpower slid easily into the "health food" arena, synchronizing nicely with the booming weight loss industry of the 1950s and 60s. One television commercial from the era advised that if you consumed bran cereal it would promote "youthful regularity," and an article on the contemporary history of bran stated that "multiple diets emerged on the scene promoting bran as either the foundation of a healthy nutrition plan, or the secret weapon for preserving a rapid weight-loss strategy."
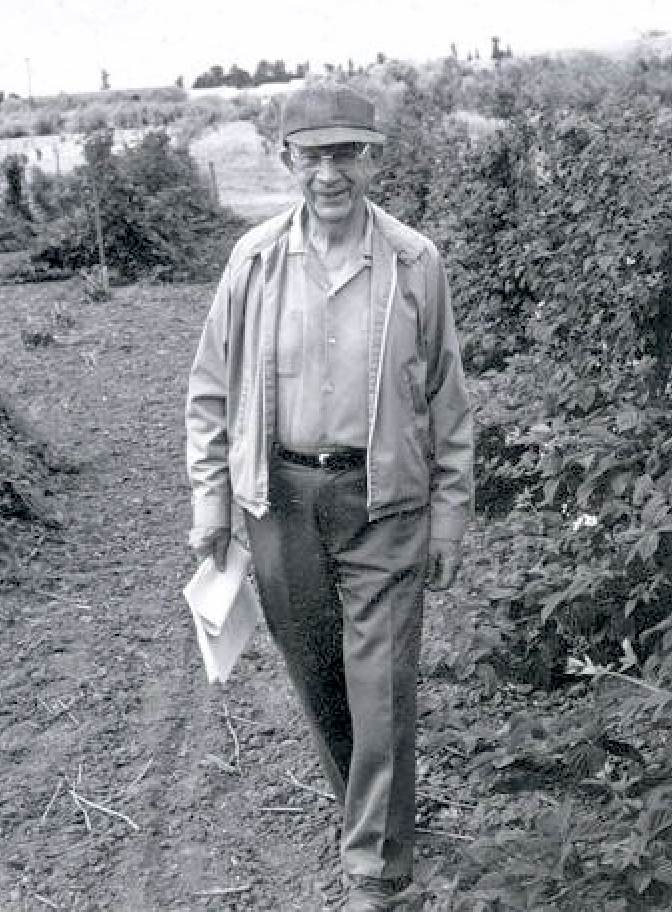
Here at home these days, bran is a fortuitous byproduct of Dave's home-milling, a result of grinding whole wheat for his sourdough bread and then sifting it to remove some (but not all) of the bran to get the result he wants. The recipe below probably uses bran from the same sifting process—the Washington State University (WSU) Breadlab, a group of WSU researchers, are dedicated to developing better tasting, healthier, affordable grains to support small-scale organic farmers while not pricing people out of staple foods. (Read more about The Breadlab's origins.)
As for the dead-simple recipe below, apples of all stripes are available this time of year, so find a nice tart variety—we are currently in love with Ashmead's Kernel from Kiyokawa Family Orchards in Parkdale and Liberty apples from Queener Farm—and make your own applesauce, or simply core and dice one up, sauté it in a knob of butter until it's slightly tender, then mix into your muffin batter.
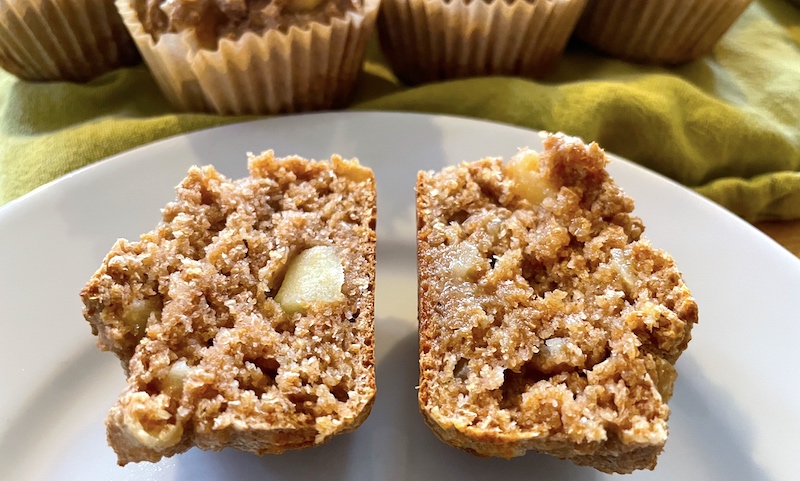
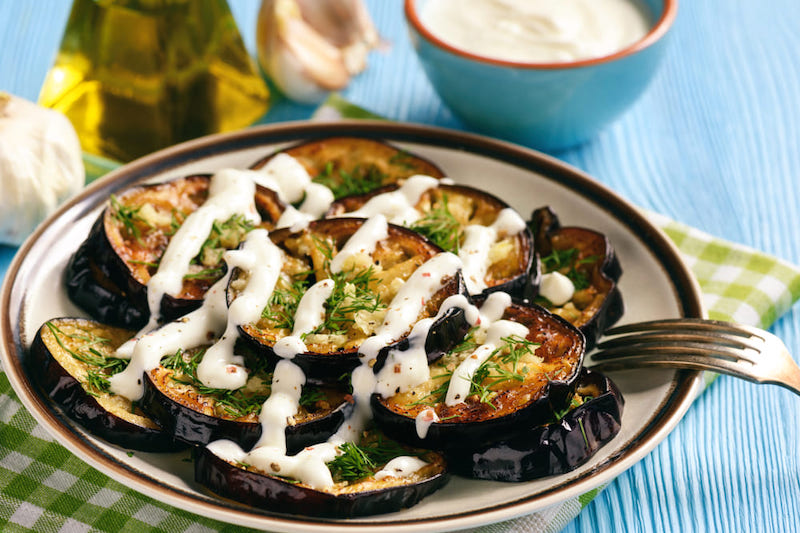
Applesauce Bran Muffins
From the WSU Breadlab: These apple sauce bran muffins are made with 100% unsifted Climate Blend, with a ton of extra bran added. We say it every few months, but we do not understand bran muffins that call for white flour. Our lab, along with soil scientists, plant breeders, food scientists and medical professionals, is participating in a USDA-funded Soil to Society grant to create more nutritious, affordable and accessible whole grain-based foods. From the soil to your table, we think a muffin is a good start.
1 1/2 c. any whole wheat flour
2 c. bran and germ (if you sift use that) or a good all-bran cereal
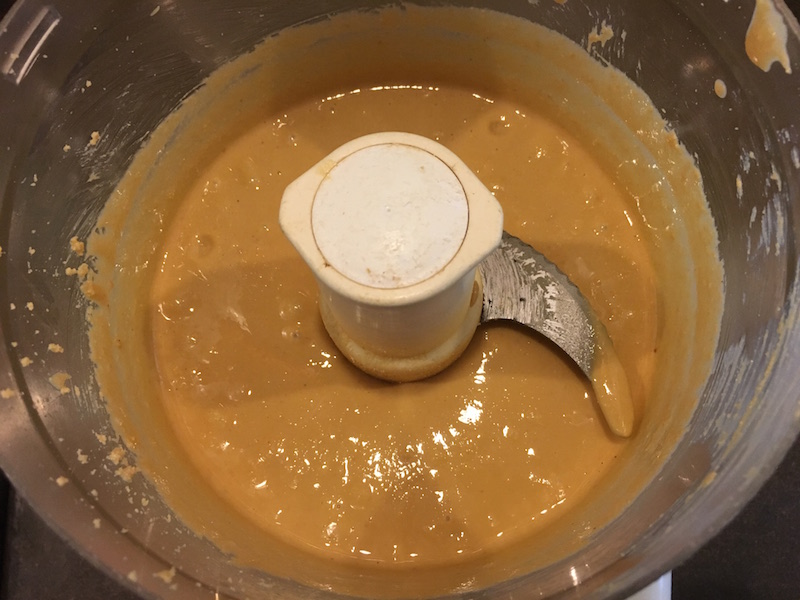
3/4 c. tart apple sauce [or sauté 1 medium-sized chopped apple in 1 Tbsp. butter until tender]
Scant 1/2 c. sugar
1/2 tsp. salt
1 1/2 tsp. baking powder
1 1/2 c. milk
1 egg
1/4 c. oil
Soak bran in milk for a few minutes. Add all other ingredients. Mix by hand. Adjust moisture as needed. [We didn't need to add any more milk.] Line a muffin tin with parchment baking cups and fill with batter. Bake for 20 minutes at 400°. If needed, you can broil for last 30 seconds or so to brown the tops. [We've never needed to broil them.]


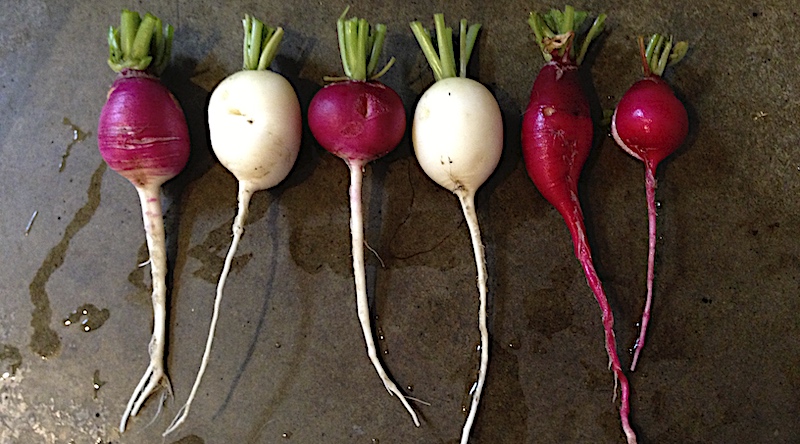
 But there's that harsh edge to you that's always held me back. Though other people can't seem to get enough of you; so I keep thinking it's me, not you. After all, it just wouldn't be spring without seeing you out in the garden, the way you reliably pop out of the soil within a couple of days of poking your seeds in the ground.