Garden Chronicles: Sorrel Puzzle Solved with a Touch of Sweetness
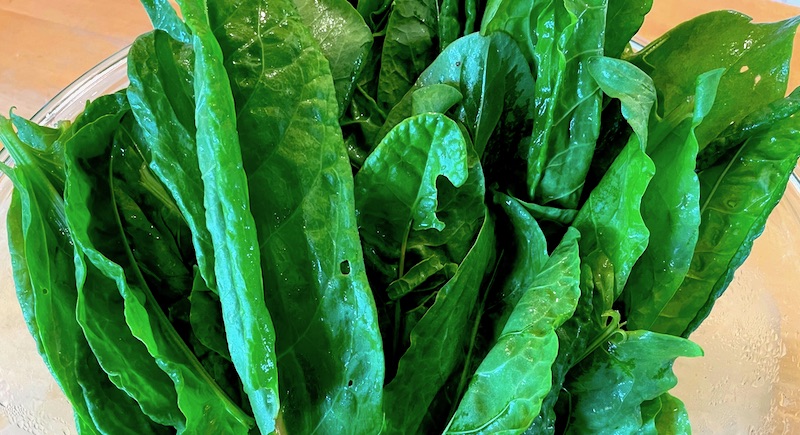
I've been ashamed to admit it, but every spring for years now I've been mocked by the sorrel I planted five or six years ago. Just three little plants, stuck in the dirt at one end of the raised beds that Dave built in the one sunny spot in our very shady yard. Every spring, like clockwork, they push out new leaves, joining the previous ones still hanging around that apparently kept it alive through some brutal winter temperatures and several days of six-inch-thick ice.
The plants have grown larger every year, and for all those years I did my level best to figure out what to do with the abundance of leaves, once trying to pan fry them like other greens, which turned them into a mass of grey, gooey mush, or another time stirring them into a potato-leek soup that made the color and the goo less noticeable.
 Chopping a few leaves into a salad was okay, but adding much more than four or five leaves, and their tangy, citrus-y bite overwhelmed the pleasant sweetness of the other greens. A pesto using half sorrel and half of another herb like spinach or parsley or basil worked, pepping up its flavor and giving it a lively greenness. But any of the above only used a smidgen of what the prolific plants were producing.
My epiphany came with my recent adaptation of a sweet red wine vinaigrette that I came up with to dress the lighter, more delicate spring salad greens, a change from the creamy vinaigrettes and Caesar-type salad dressings I use for winter's salads.
Would a sweet dressing counterpoint the bite of the sorrel? Only one way to find out, and my family is always my go-to for experiments, since I can trust their honesty and forthrightness even if it's on the order of "What have you done???"
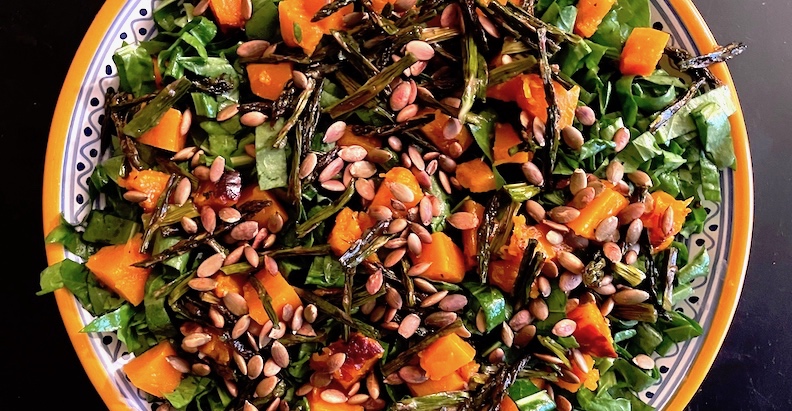
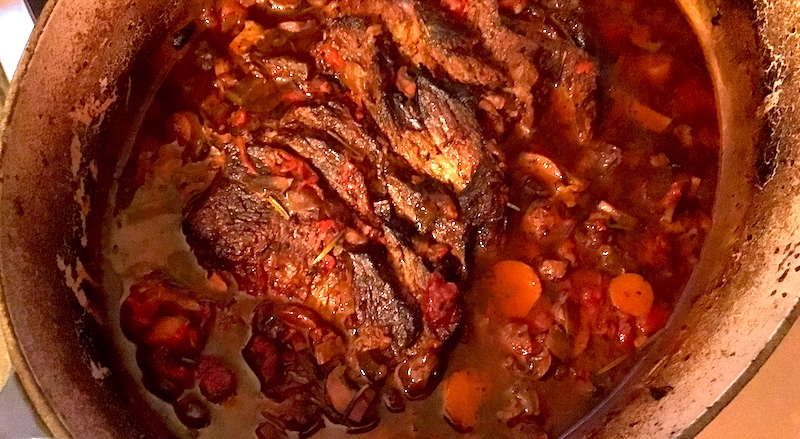
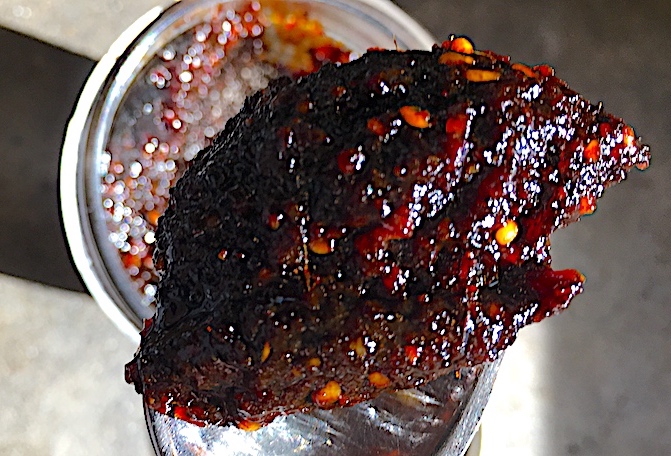
My first attempt was a simple one, just a chiffonade of sorrel with green olives and crushed hazelnuts with that sweet dressing—it got an enthusiastic thumbs-up around the table. The second (top photo) was more hearty, with the sorrel chiffonade topped with leftover roasted asparagus, tetsukabuto squash and roasted pumpkin seeds tossed with the dressing. Another success!
So I'm passing it on, and with the well-entrenched plants furiously producing new leaves in a pitched battle to defeat the army of snails and slugs chewing holes in them. I'm getting ideas about trying it with a gremolata of hard-boiled eggs, capers, and parsley, among other ideas. Wish me luck!
Sorrel Salad with Sweet Red Wine Vinaigrette
For the dressing:
1/4 c. extra virgin olive oil
2 Tbsp. red wine vinegar
1 Tbsp. Dijon mustard
2 Tbsp. honey
1 tsp. dried Italian seasoning (or a combo of basil, thyme, rosemary and marjoram)
1 small clove garlic, crushed
1 tsp. sea salt
For the salad (see story for more suggestions):
3-4 c. sorrel, cut into chiffonade
1/4 c. hazelnuts, crushed
8 Spanish anchovy-stuffed olives, chopped
1/4 c. raisins or currants (optional)
Salt to taste
Put all dressing ingredients in a small lidded jar. Shake.
In a salad bowl combine sorrel, hazelnuts, olives and raisins (or whatever ingredients you're using). Pour 3 Tablespoons of the dressing over the salad and toss. Add salt and fresh ground pepper to taste, adding more dressing if desired.


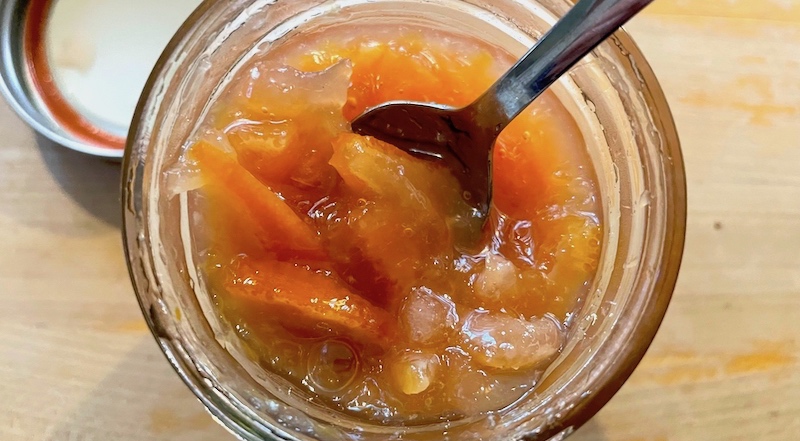 For me, the dark days in the depths of winter are brightened by their brilliant colors and sparkling flavor. I make a point of throwing together a batch of preserved Meyer lemons that will punch up everything from roasted vegetables to stews, salads and grain dishes. The last couple of years Dave has concocted a masterful citrus marmalade, combining a couple of recipes from the New York Times along with his own brushstrokes of genius.
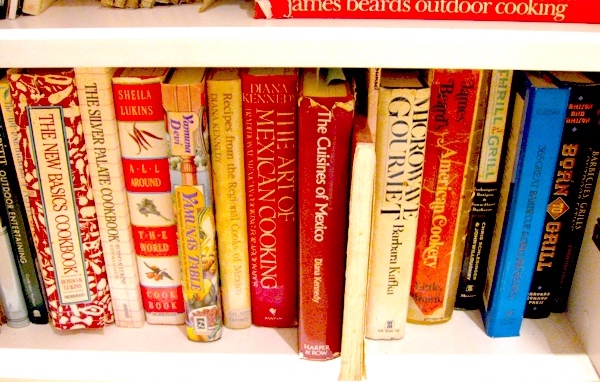 But I propose a different way to categorize a cookbook, and that's by how you feel. Happy? Make some small plates of your favorite foods, including simple salads and desserts. Depressed? You could indulge in a big ol' chocolate cake by yourself, or treat your mood with lots of fish and kale for their Omega 3s and anti-oxidants.
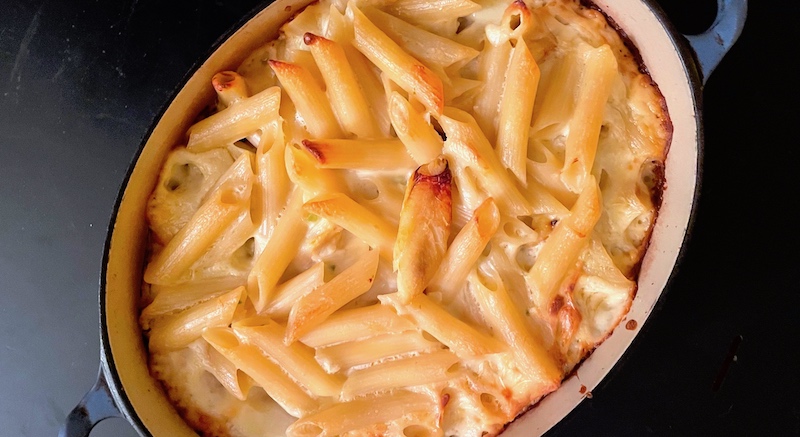
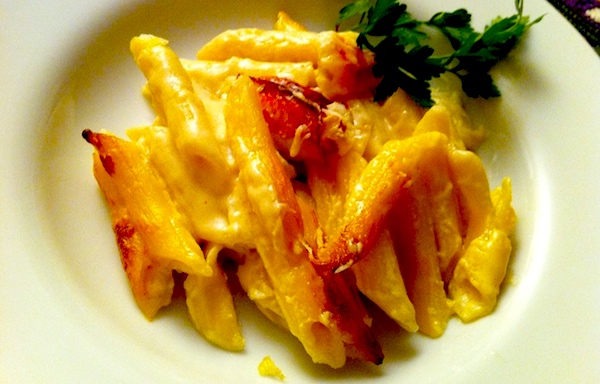 Which is why, when I saw that cooked whole crabs had hit a ridiculously low price per pound, and knowing that early season crab is the sweetest, I bought two and fantasized about using it in macaroni and cheese. While I was only planning on using the meat from one of them for the casserole, the price and my lack of inhibitions made me throw the meat from both into the noodles and sauce just before I slid it into the oven, and it was so worth it.
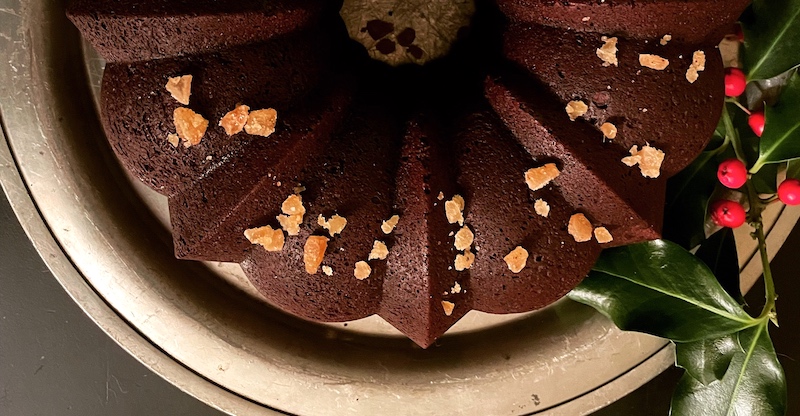


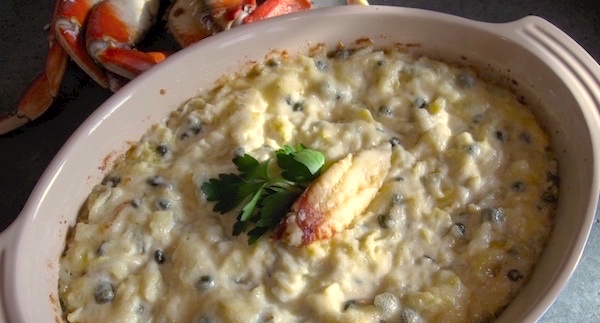 Hot Artichoke and Crab Dip
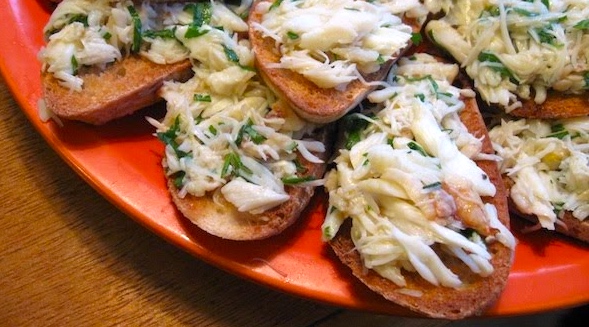 Crab Crostini
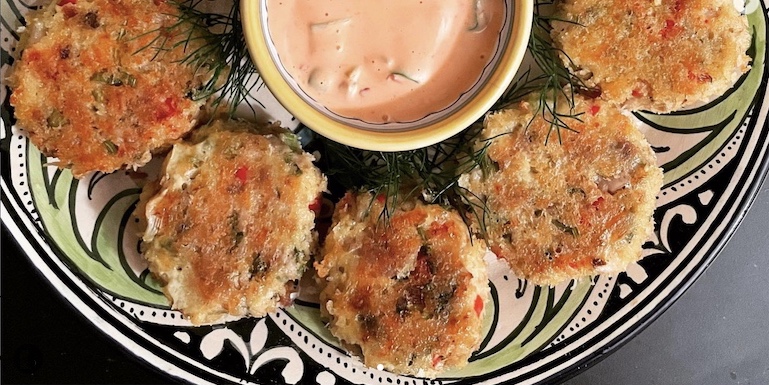 Michel's Thai-ish Crab Cakes
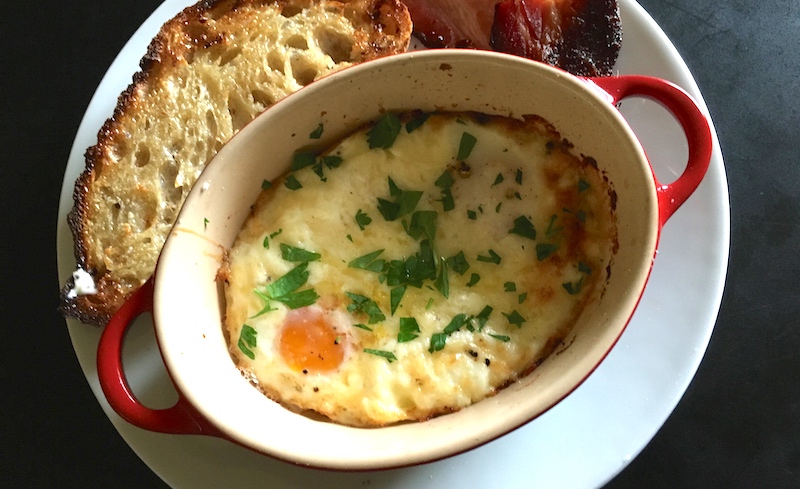
 Now, a dish can burrow its way into your brain for lots of reasons—a romantic setting, great company, a few too many mimosas—but this one was alluring because of its simplicity. Just butter, eggs, cream and cheese baked to a golden finish, crispy yet creamy, the yolks still oozing.